Goal:
Lets <Event>Bridge the gap for SNS email notifications to trigger an alarm to stop an EC2 & check the CloudWatch logs
Lessons Learned:
- Create SNS & add email address
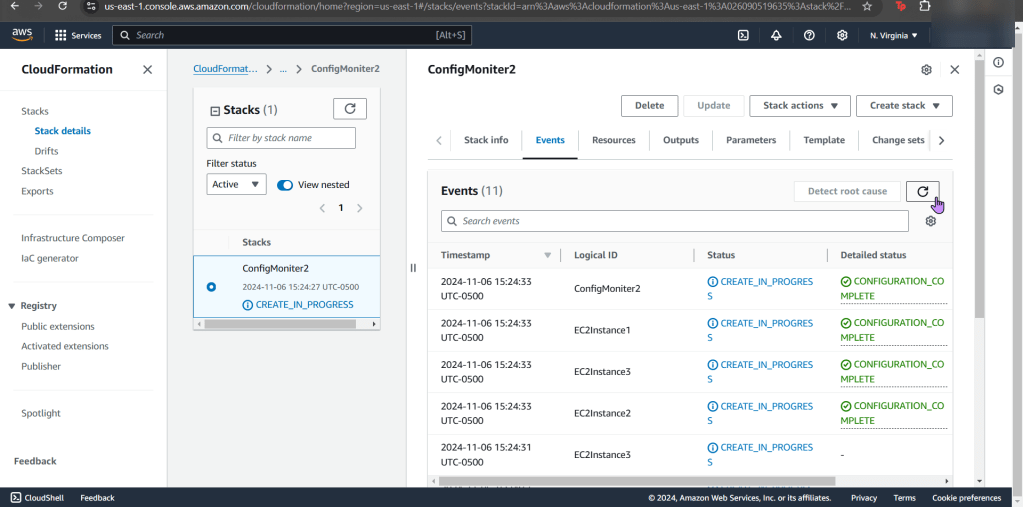
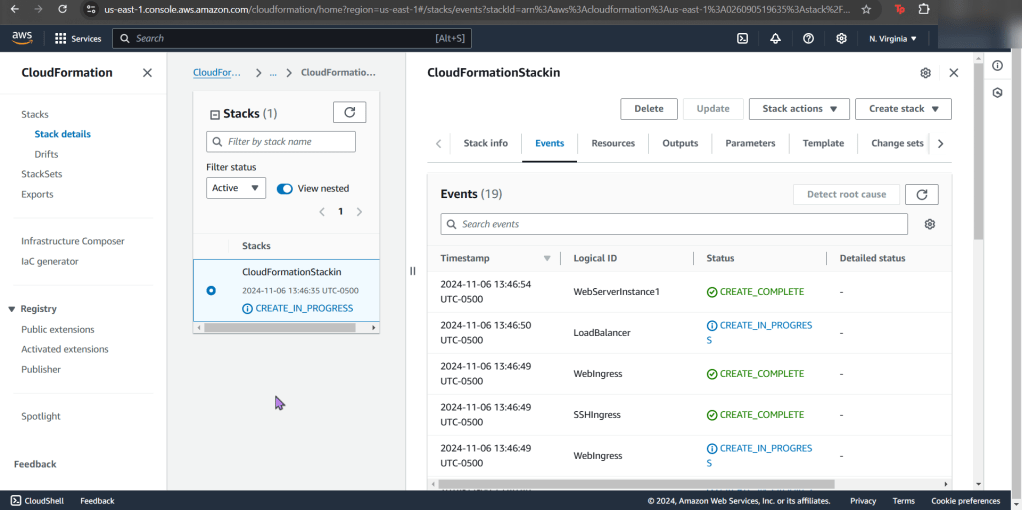
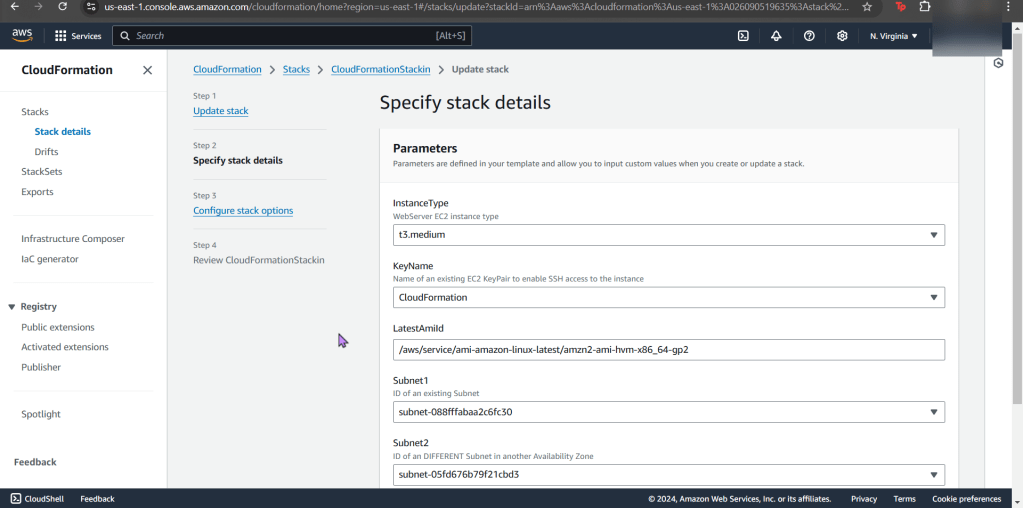
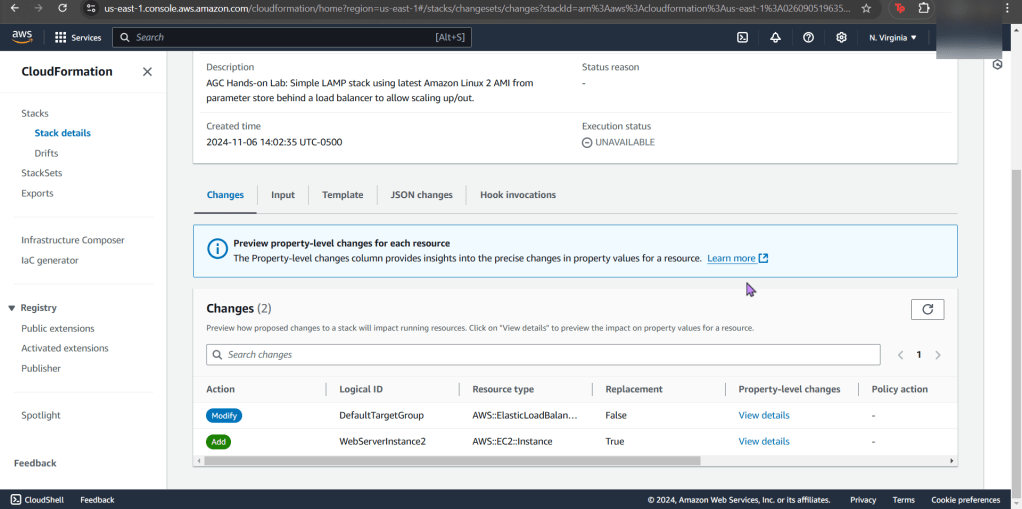
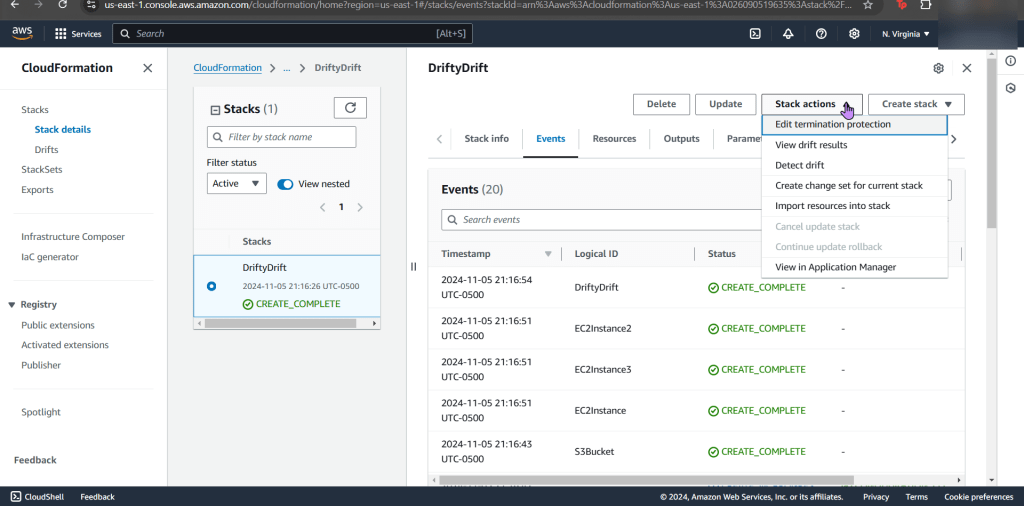
- Create Amazon EventBridge rule to trigger SNS when EC2 state changes
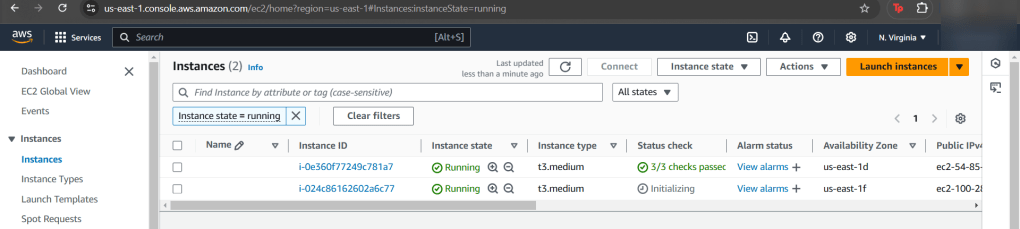
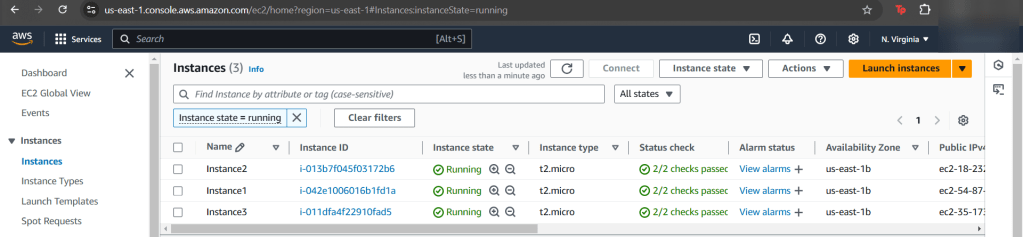
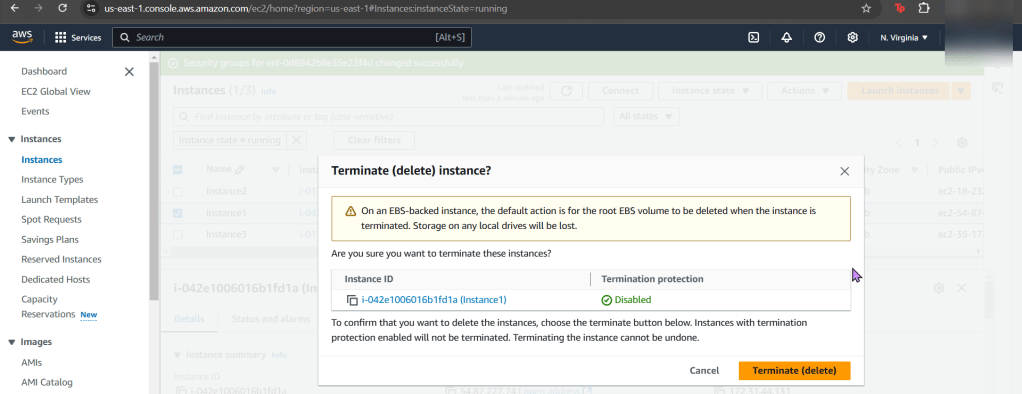
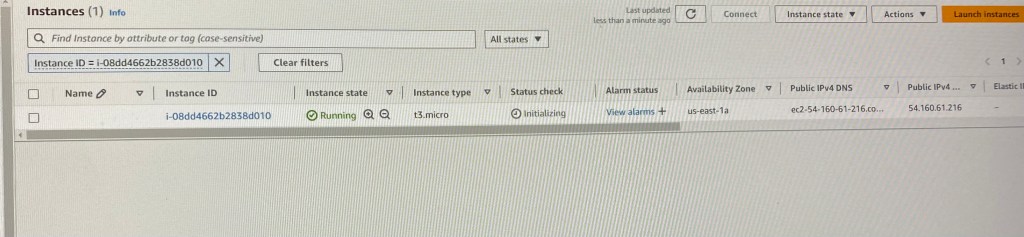
- Change state of EC2 & verify change in CloudWatch logs from a SNS notification
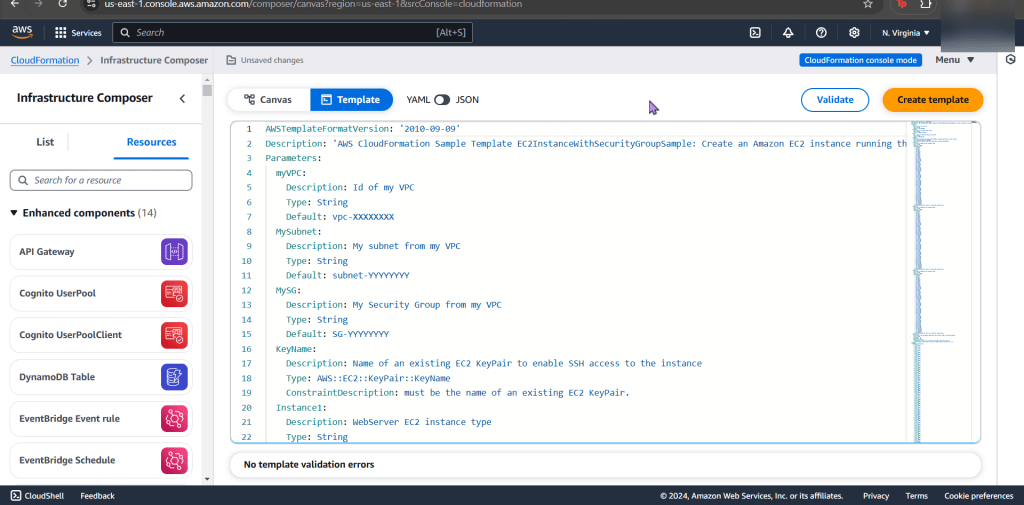
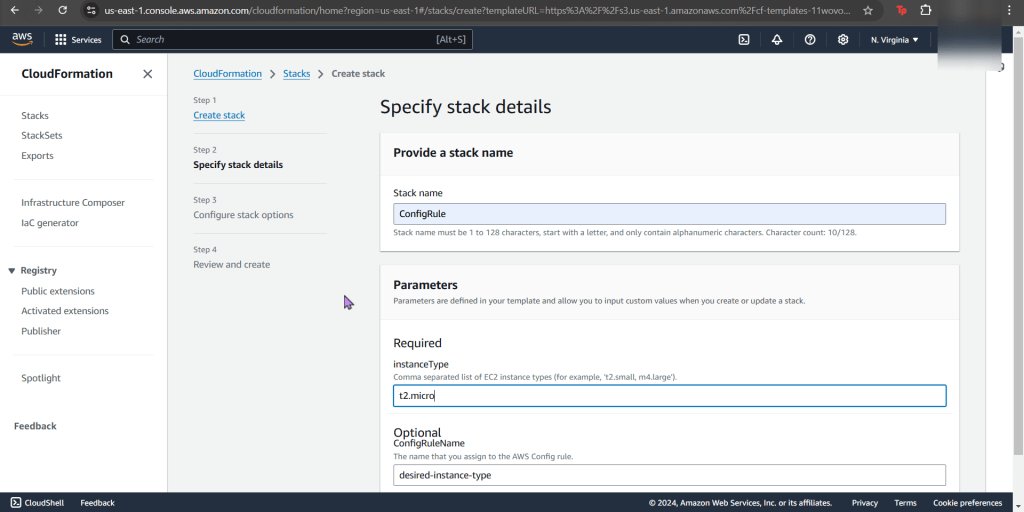
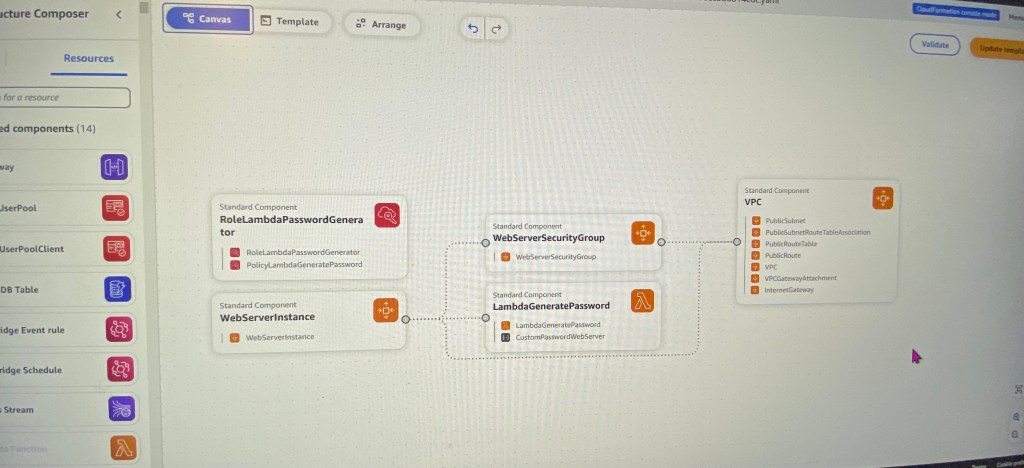
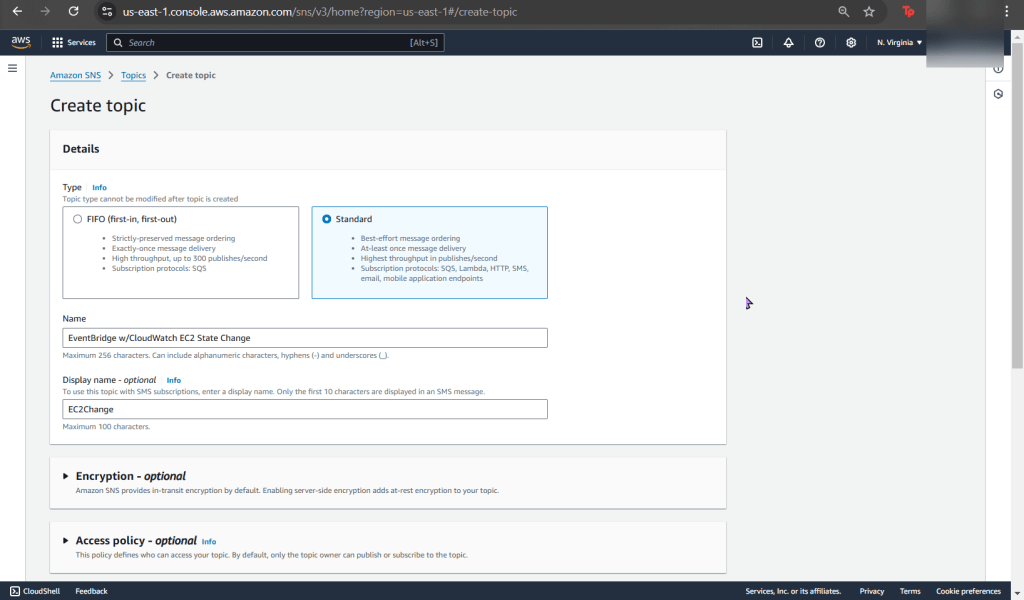
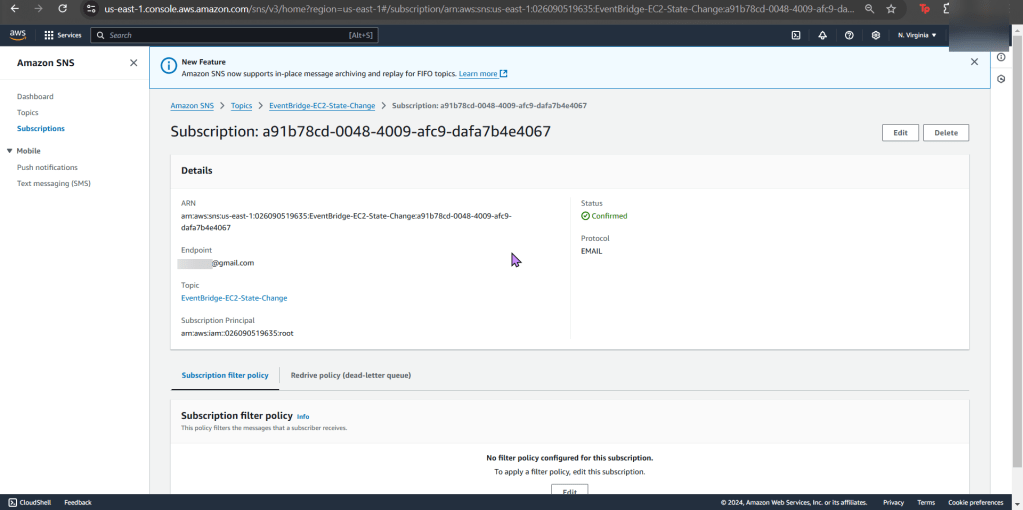
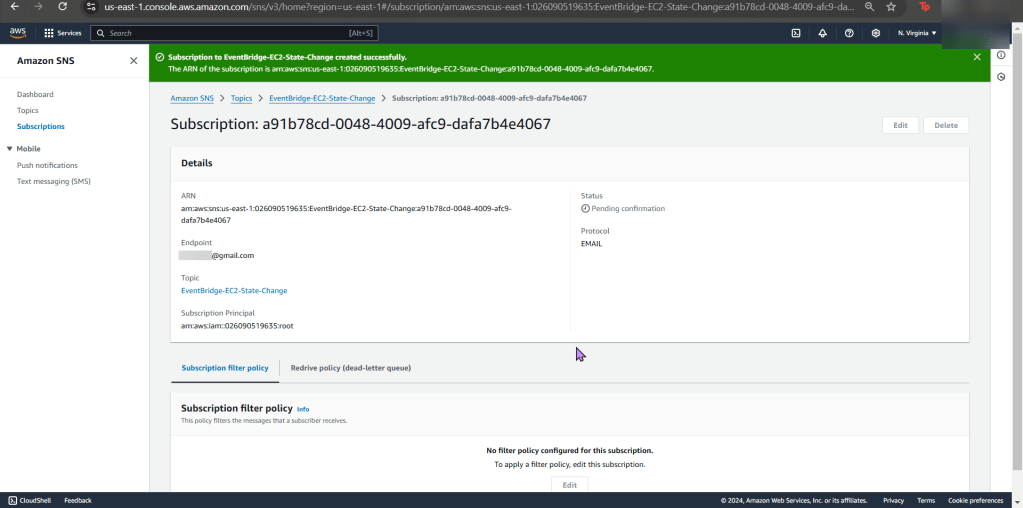
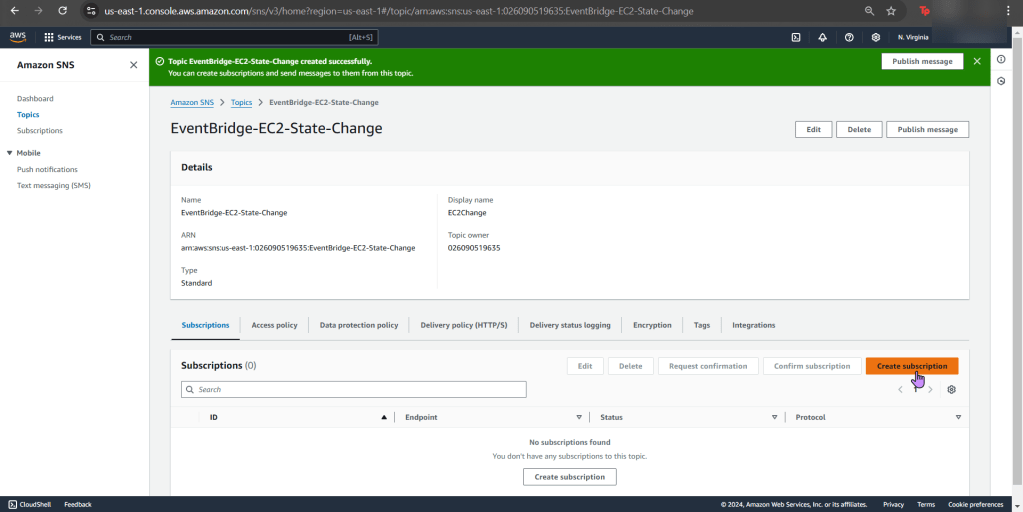
Create SNS & add email address:
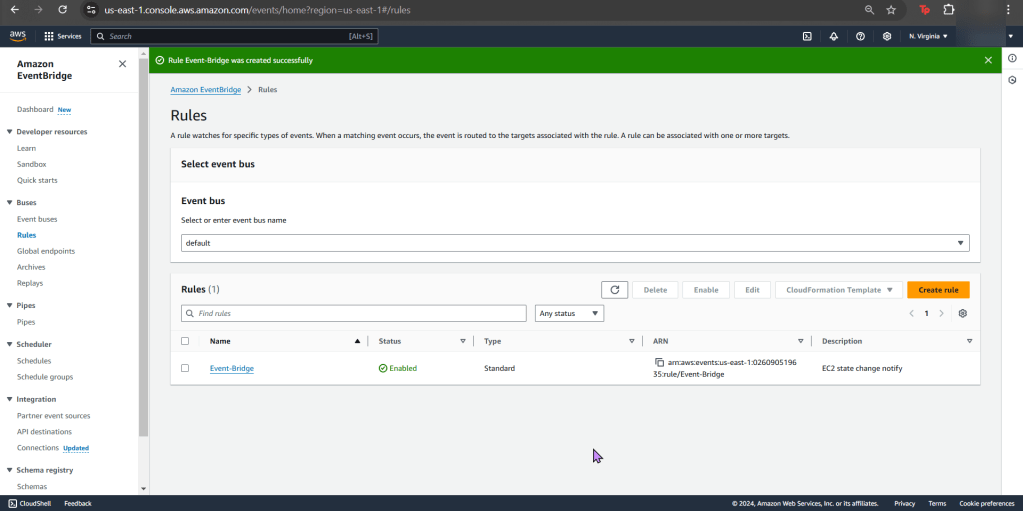
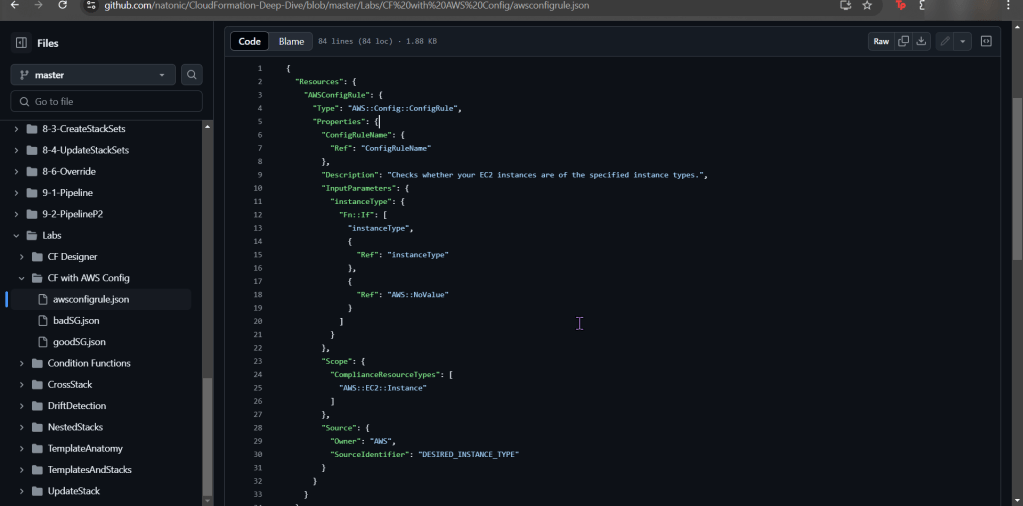
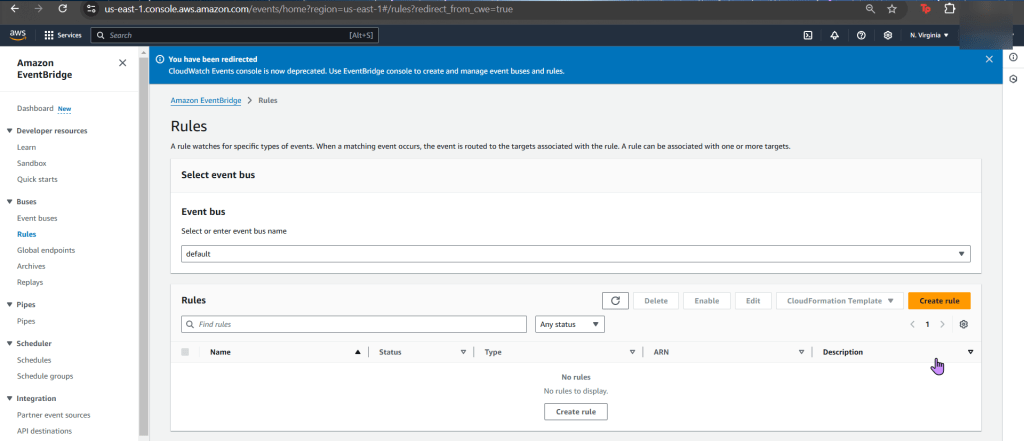
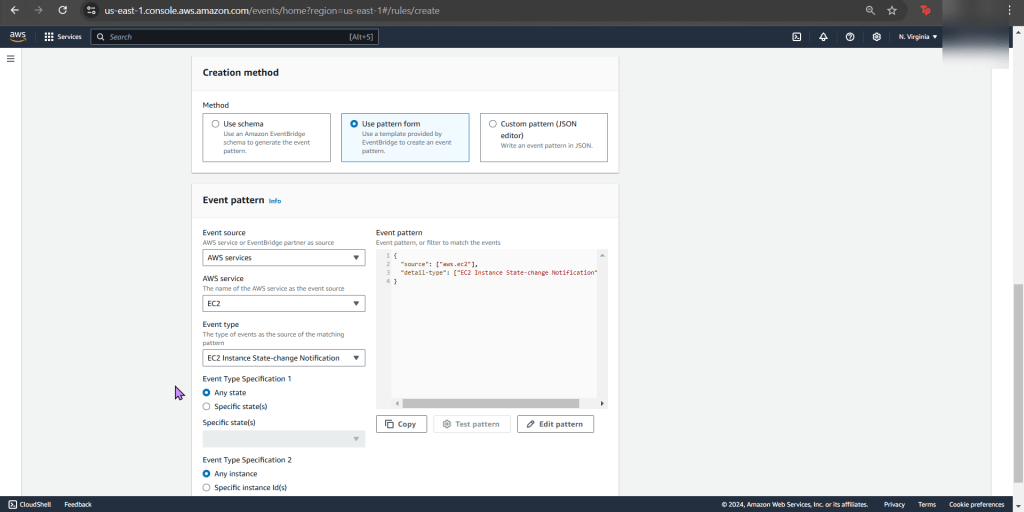
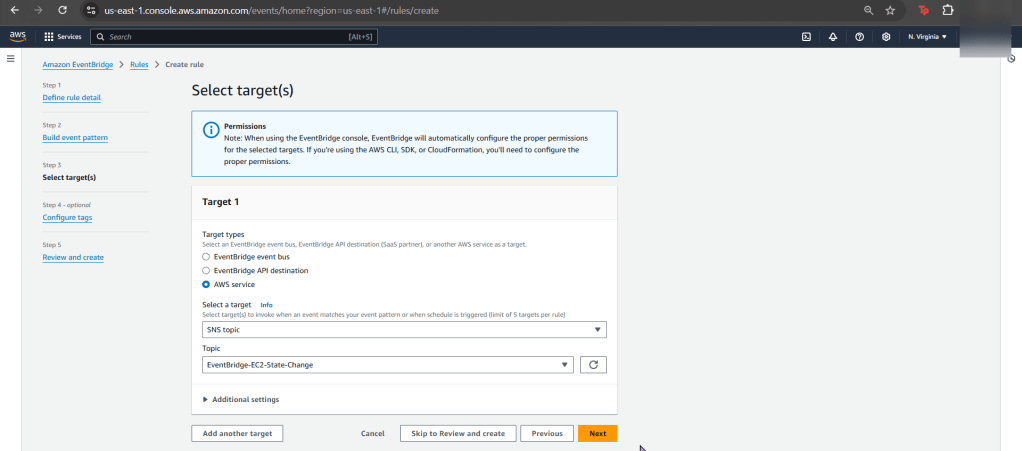
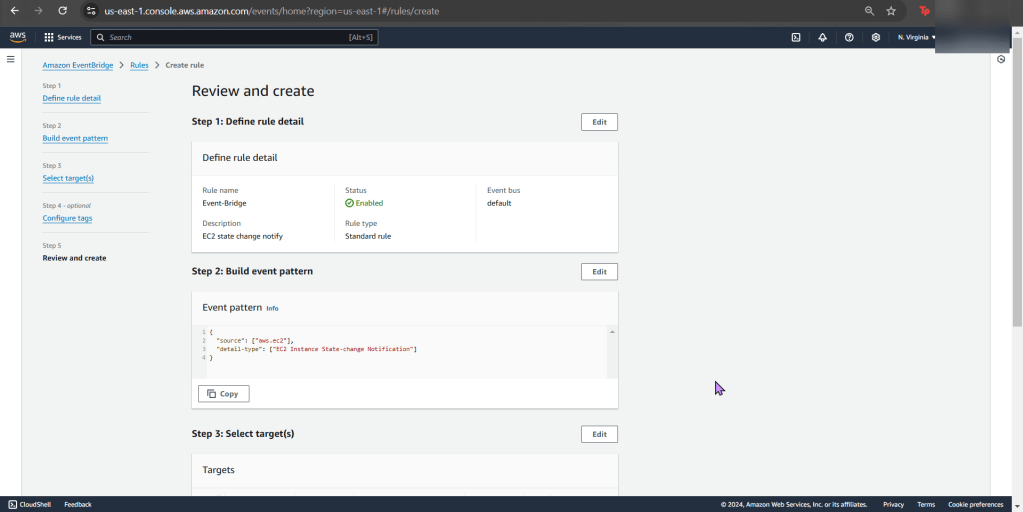
Create Amazon EventBridge rule to trigger SNS when EC2 state changes“
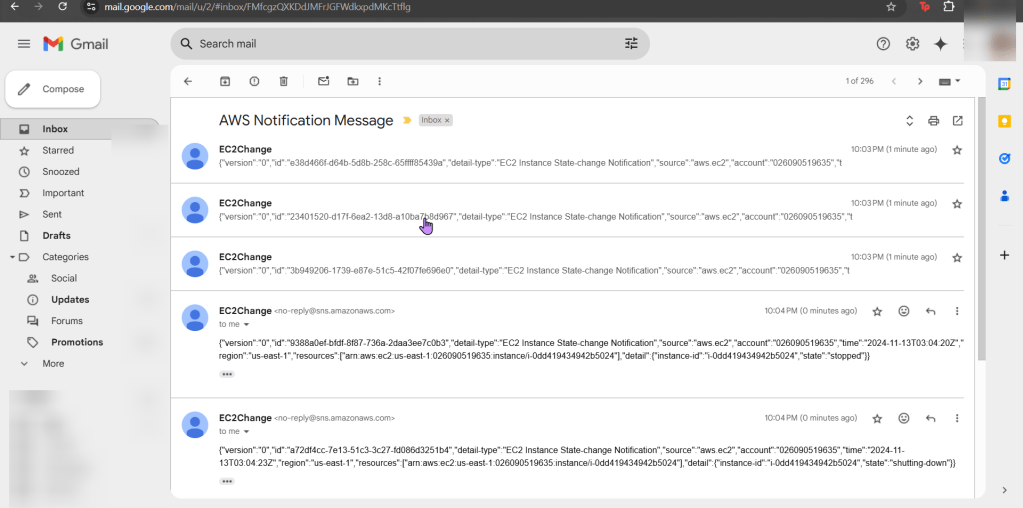
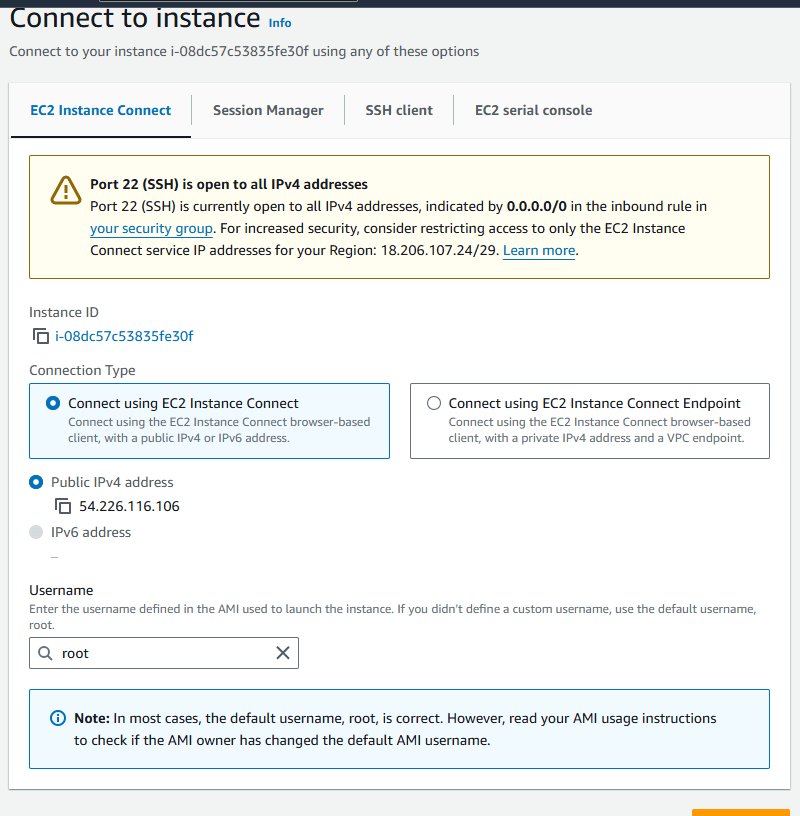
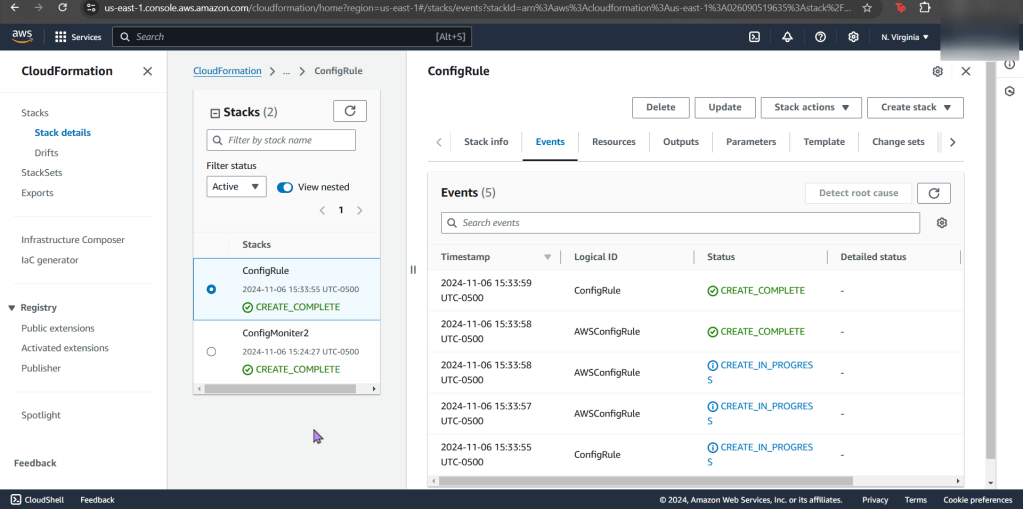
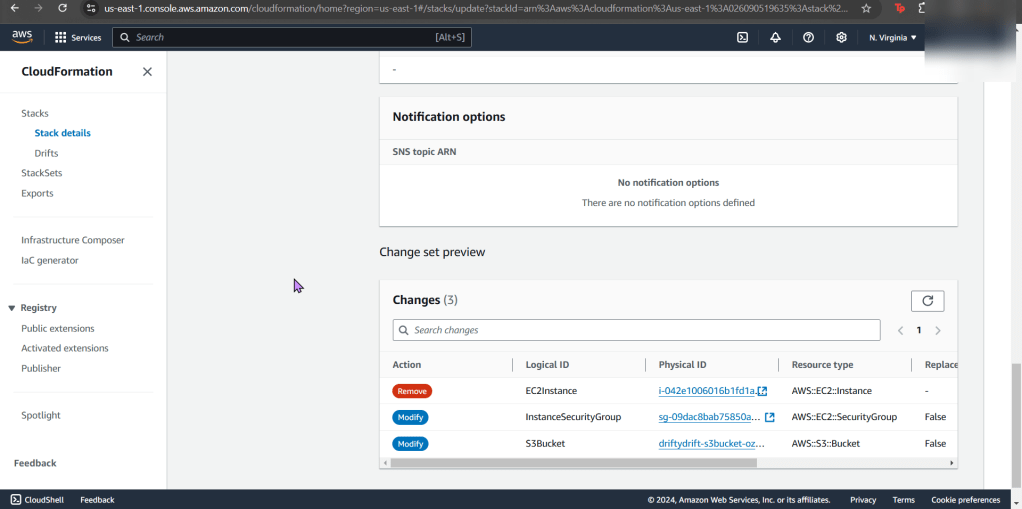
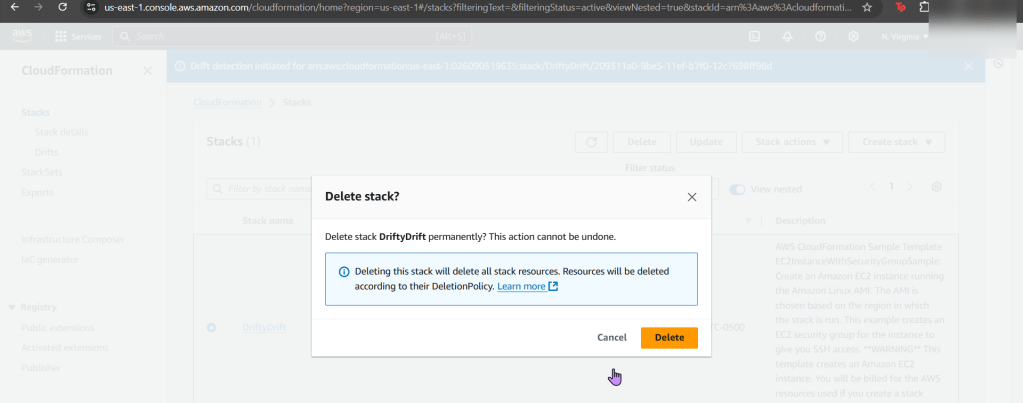
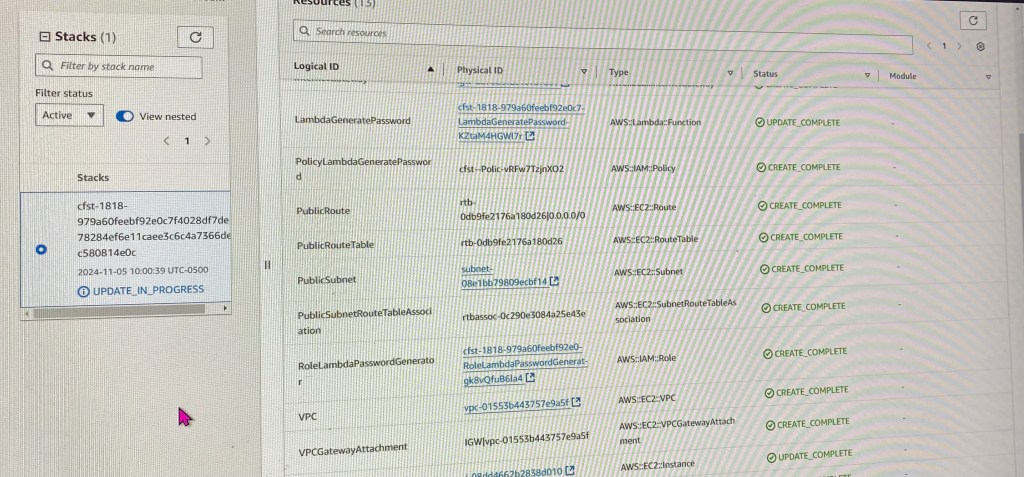
Change state of EC2 & verify change in CloudWatch logs from a SNS notification: