Ditch the click-opps w/CLI & Lambda

Goal:

Click-Opps is old school! Have you ever thought what it be like to get out of the console & use CLI to create a Lambda function! During this we’ll check CloudWatch to see whats going on!

Lessons Learned:

  • Create Lambda function using AWS CLI
  • Check CloudWatch logs
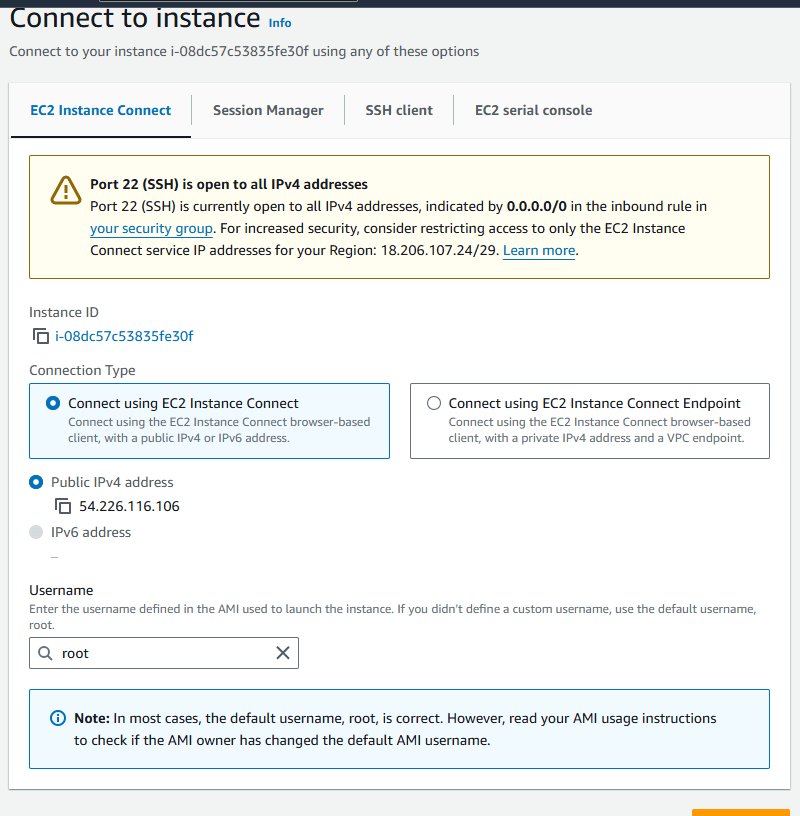
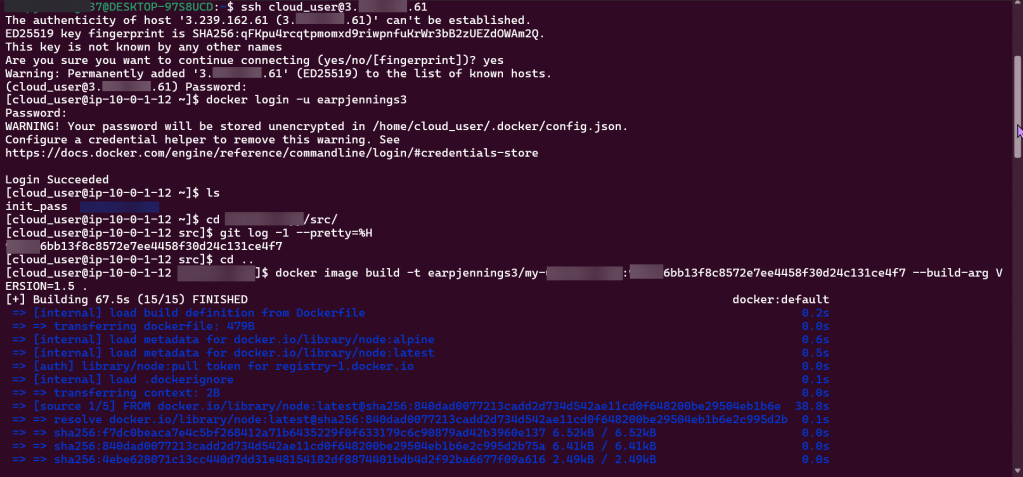
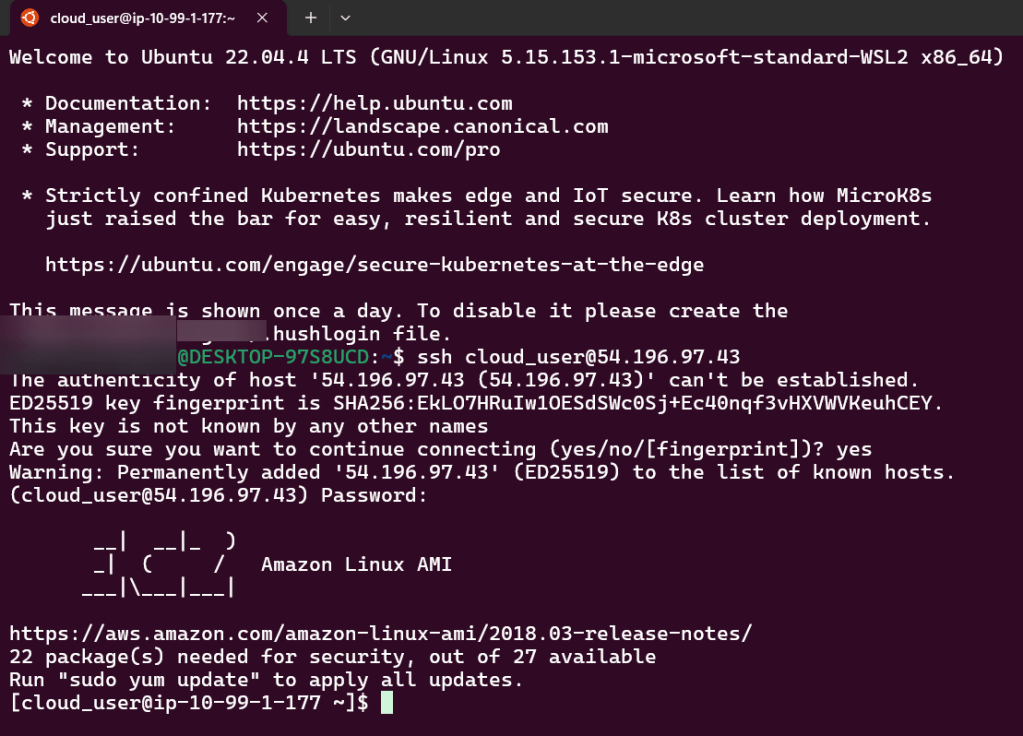
SSH:

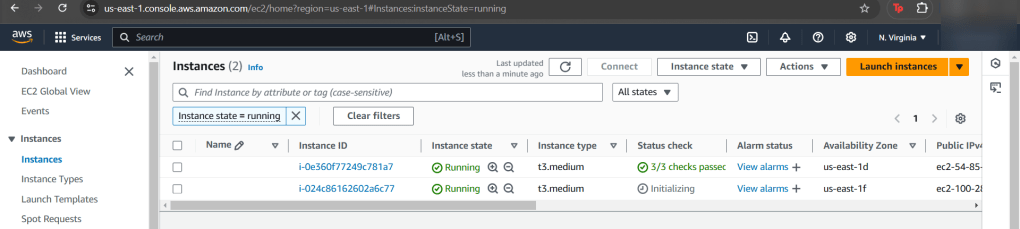
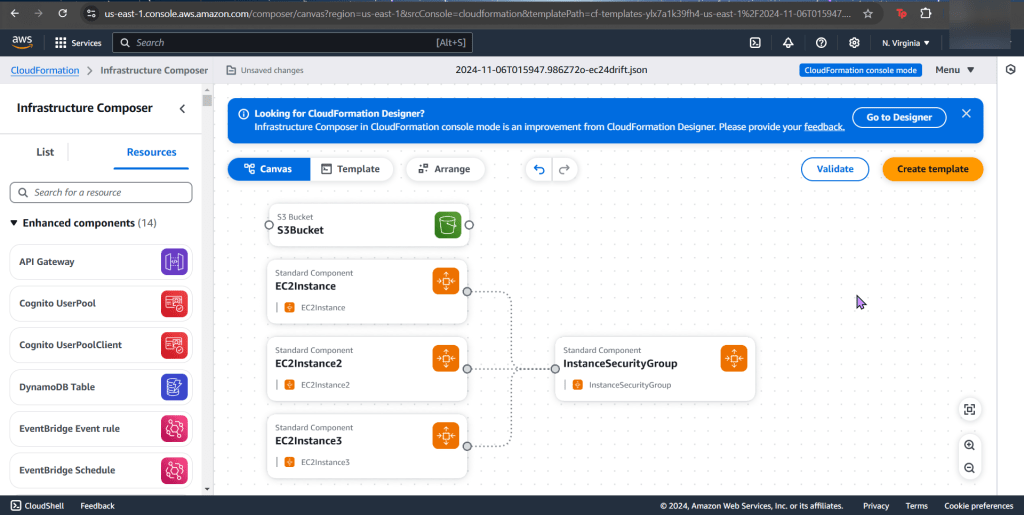
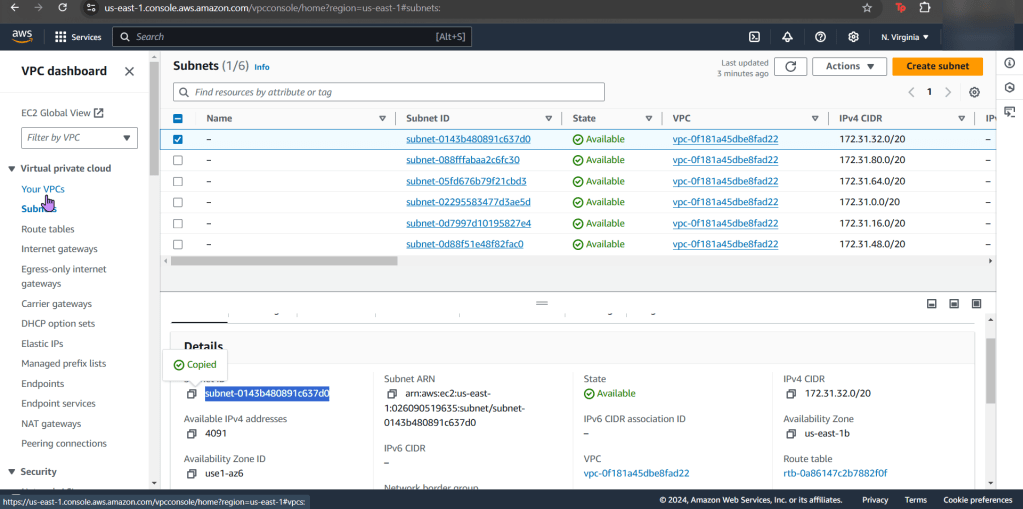
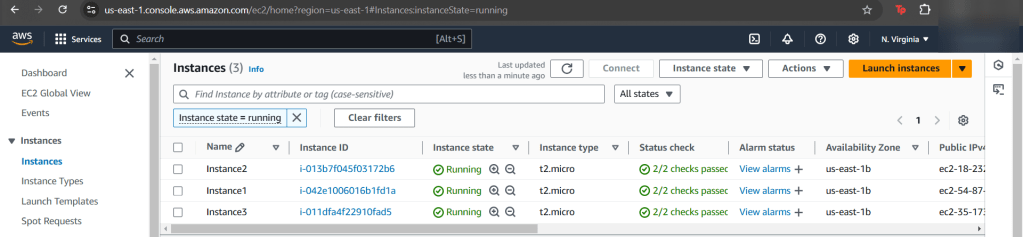
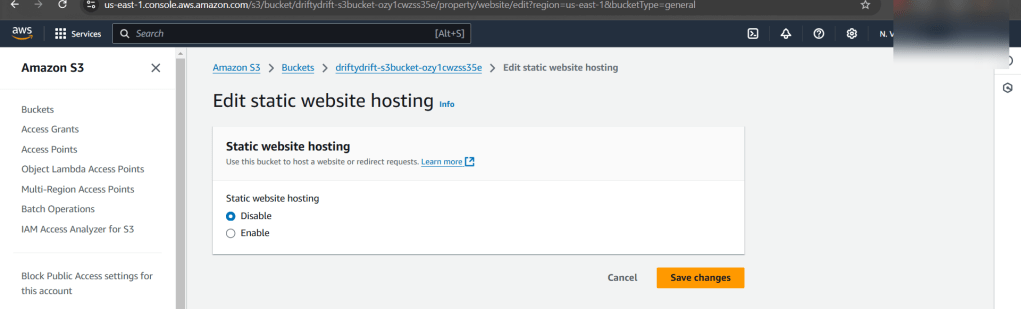
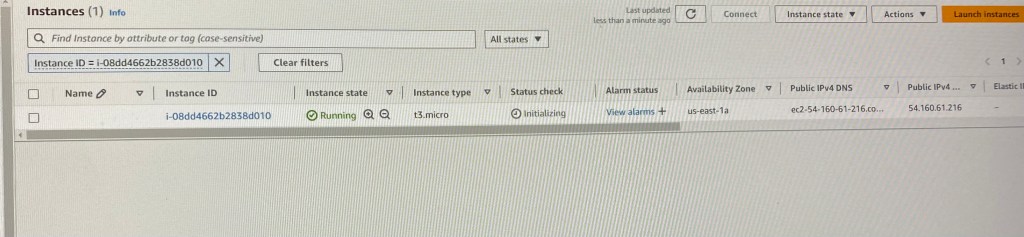
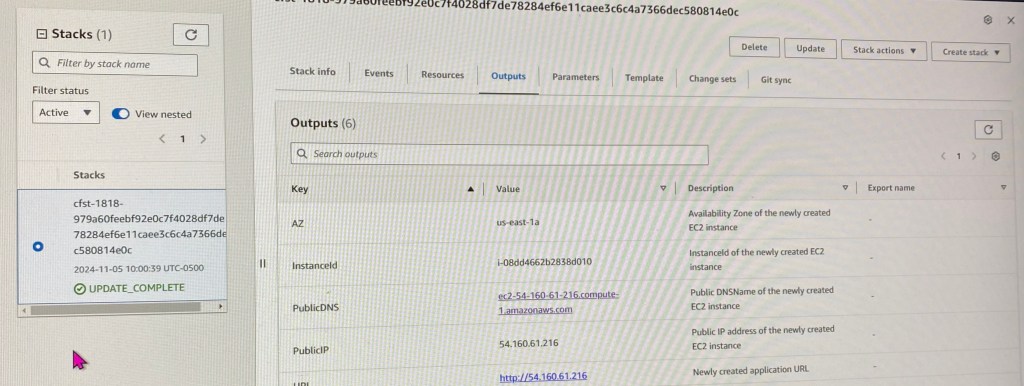
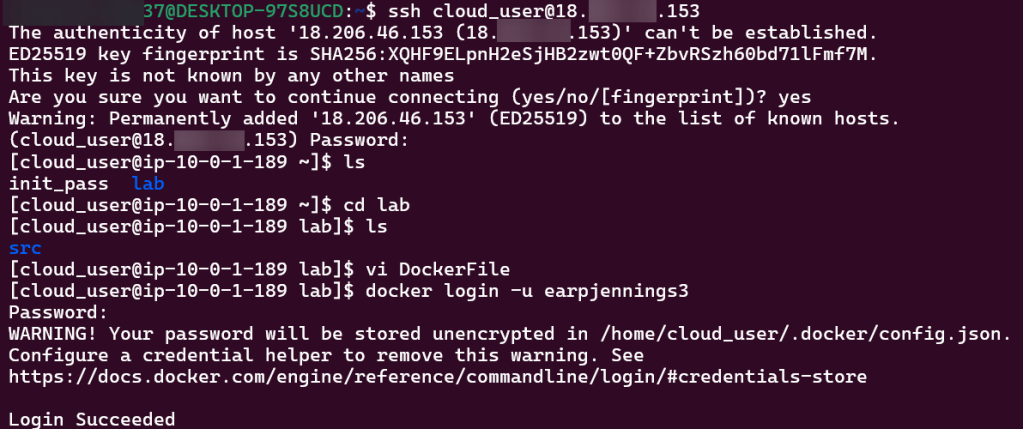
  • Create 2 S3 buckets & EC2, after that utilize IP address for SSH login
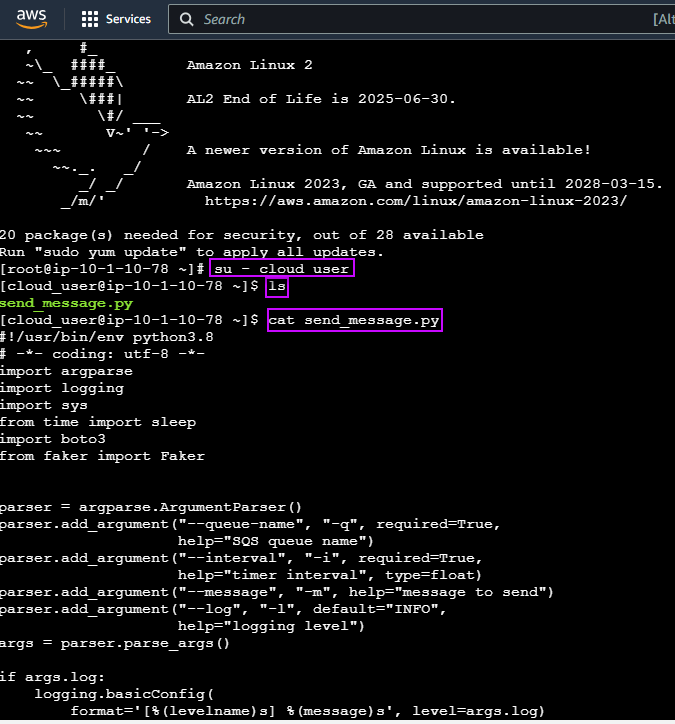
  • To ensure AWS is installed properly, conduct the following commands
    • aws help
    • aws lambda help

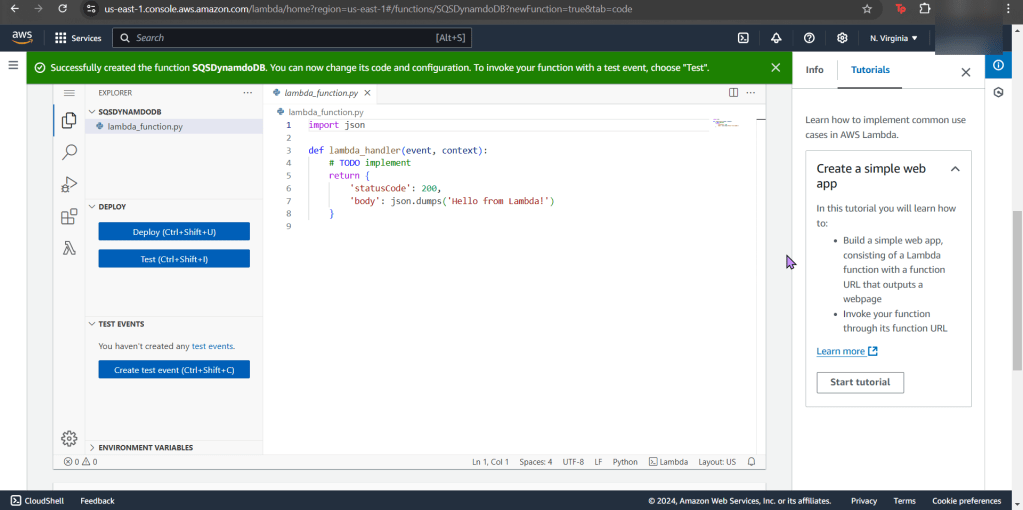
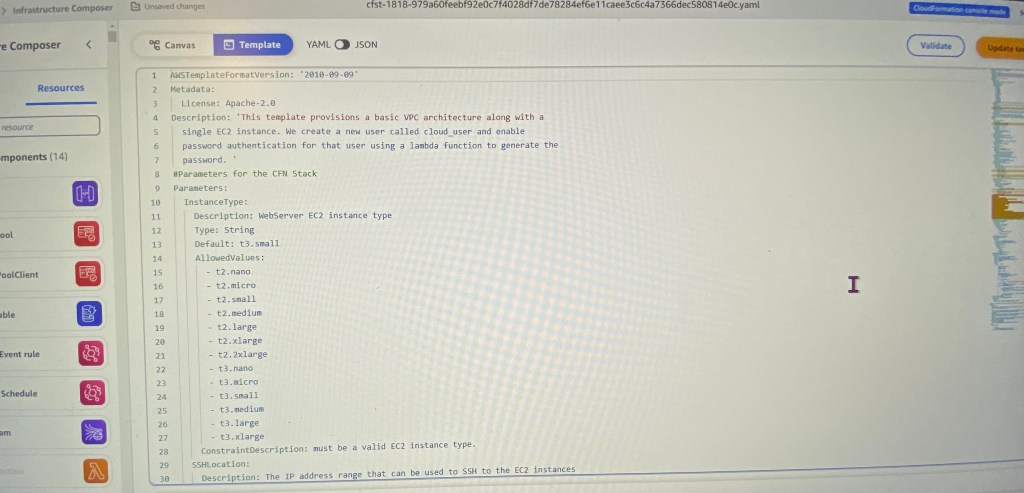
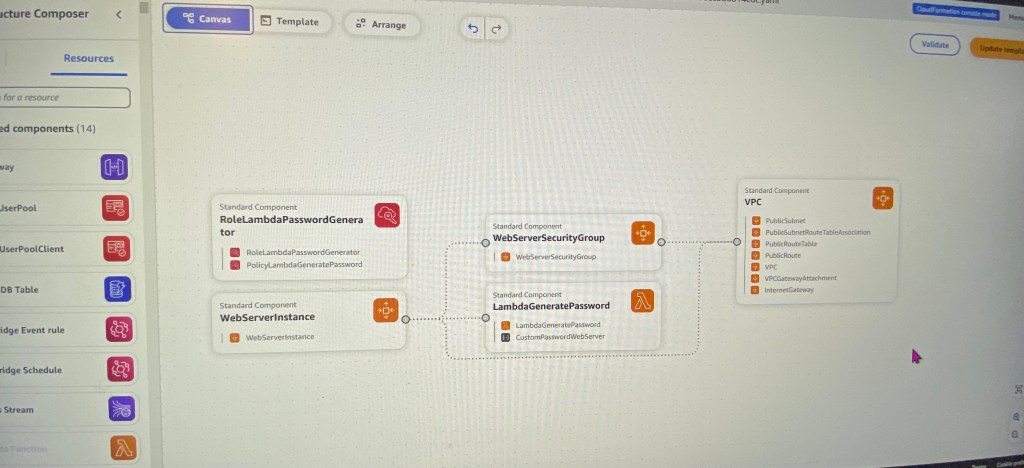
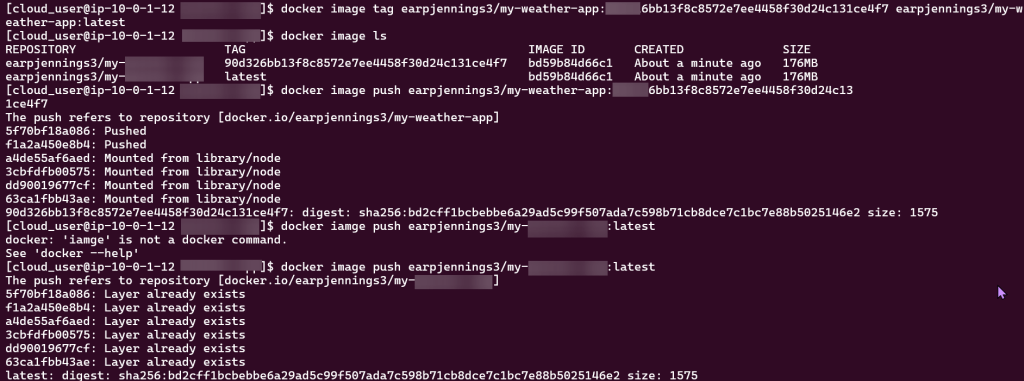
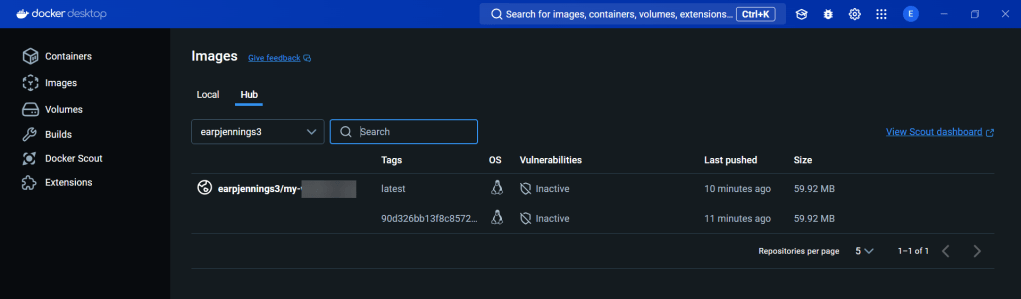
Create & Invoke Function using AWS CLI:

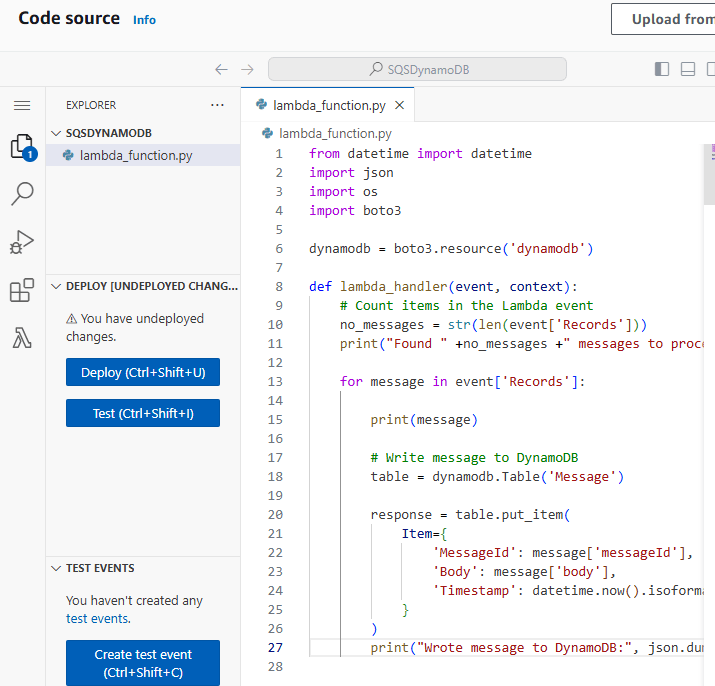
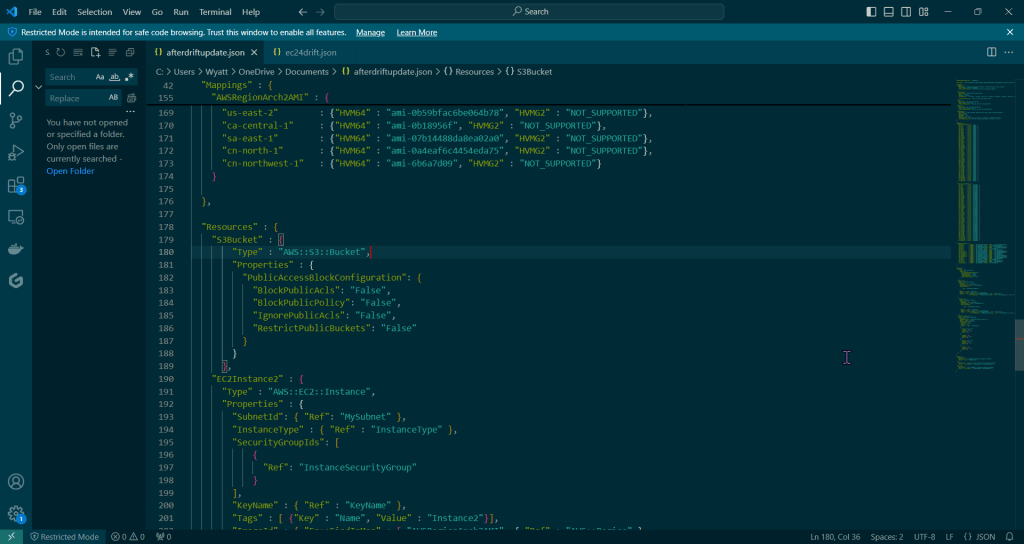
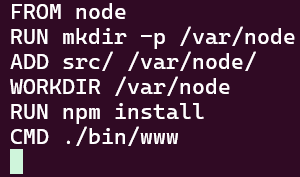
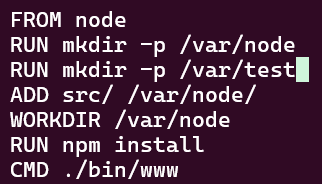
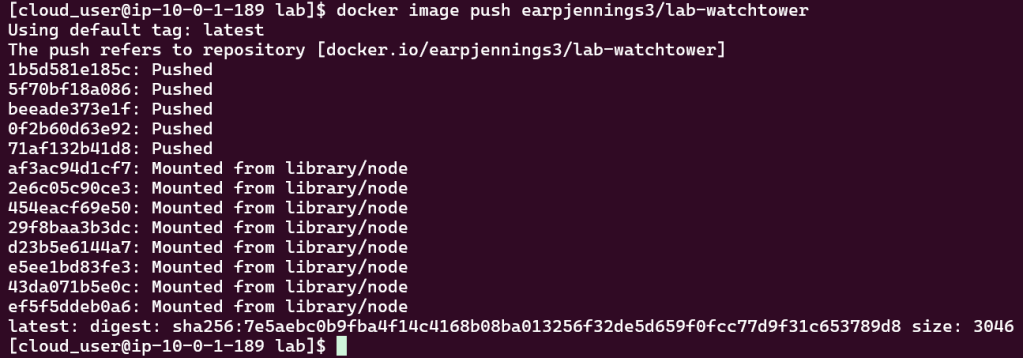
  • After ensuring you lambda can be located in the S3 bucket region you located it, vim the file, next zip it.
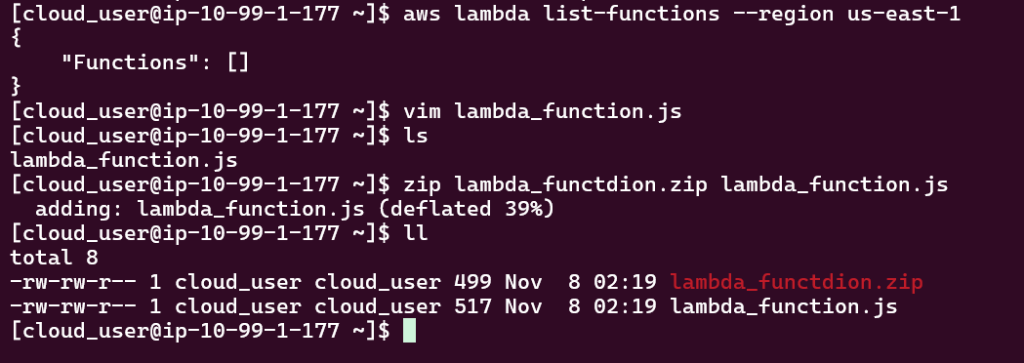
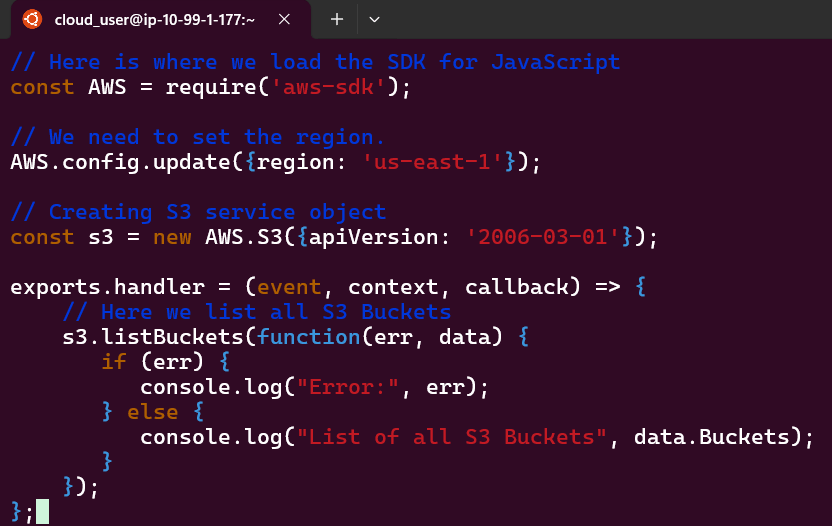
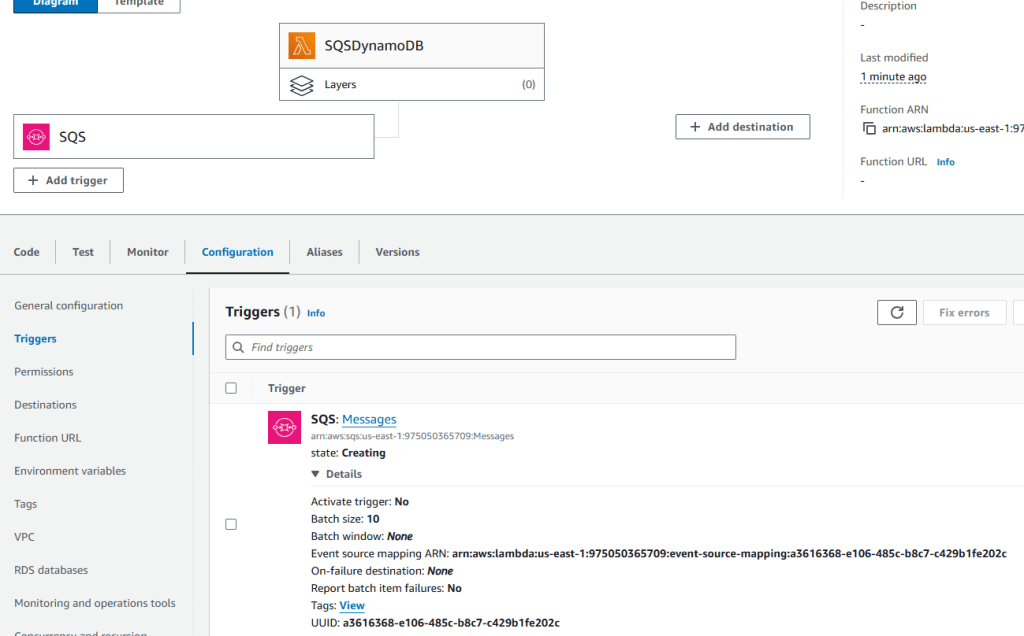
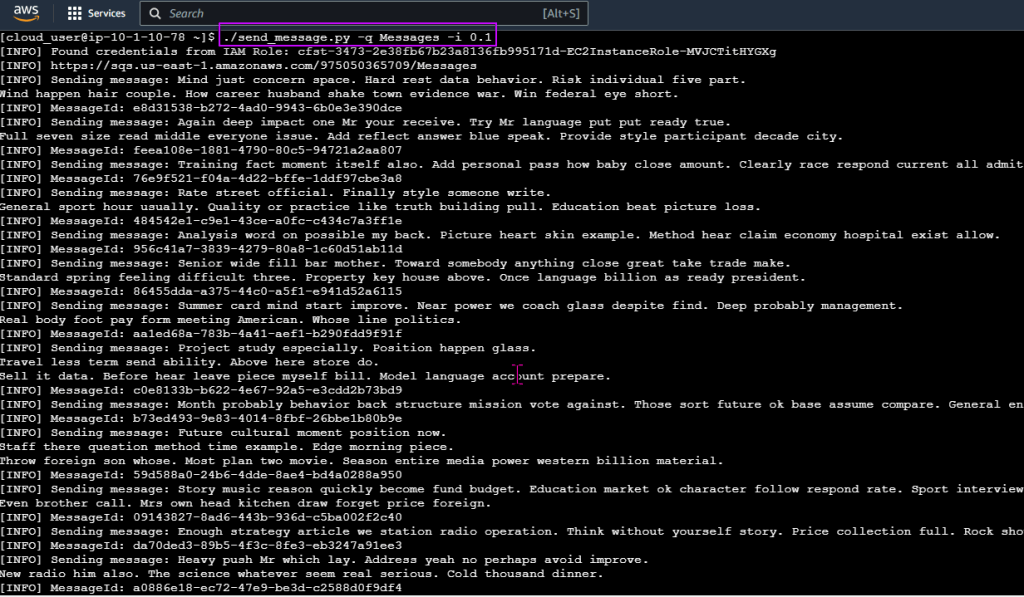
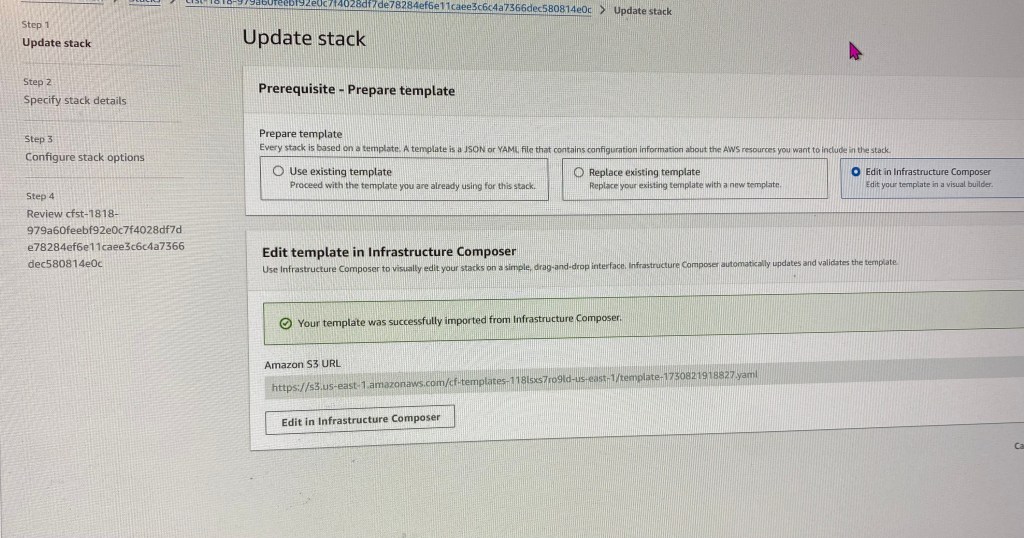
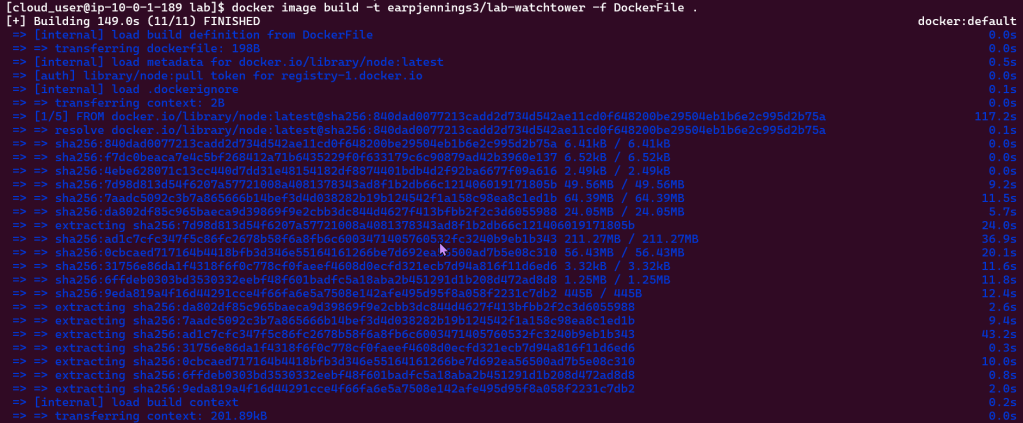
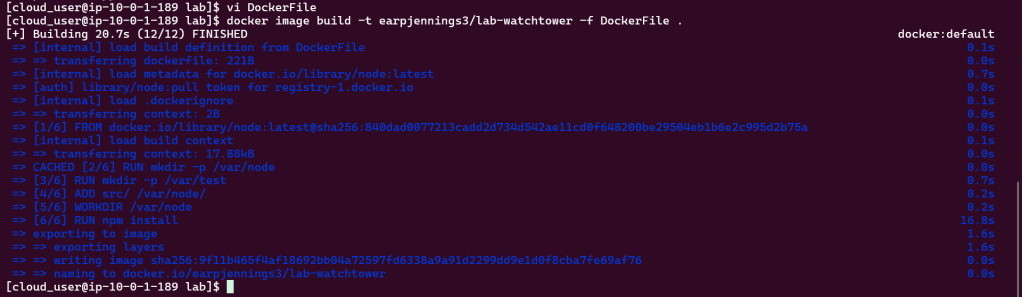
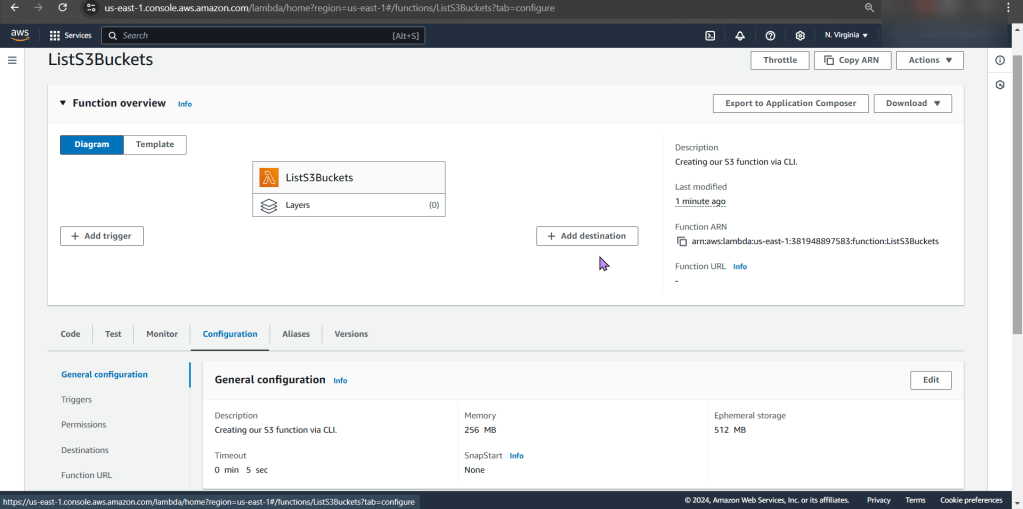
  • Create & Update your function
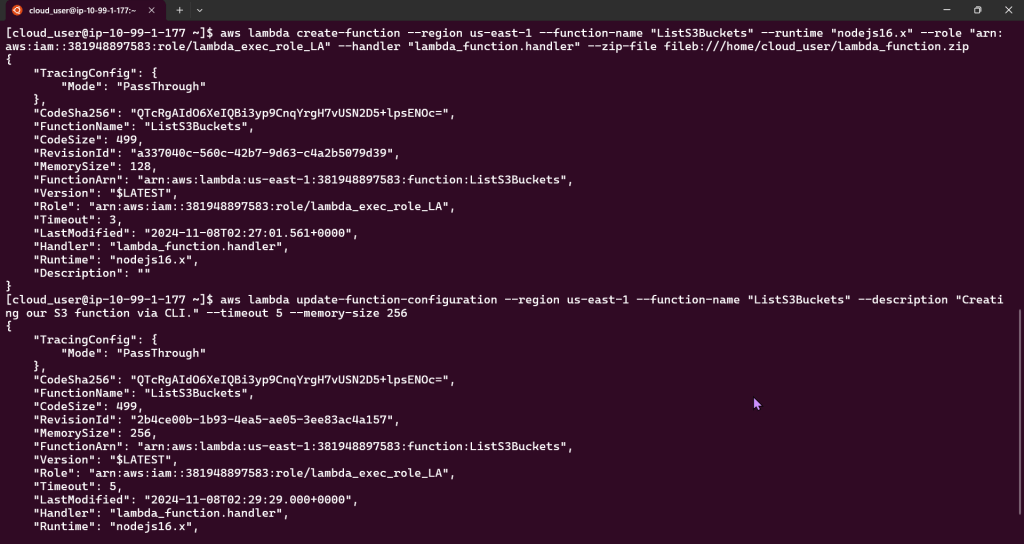
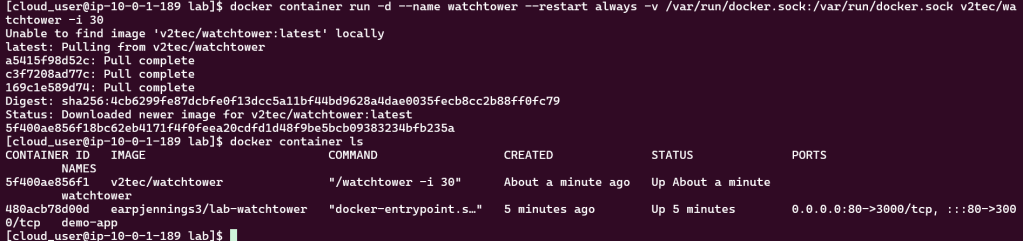
  • Invoke your function

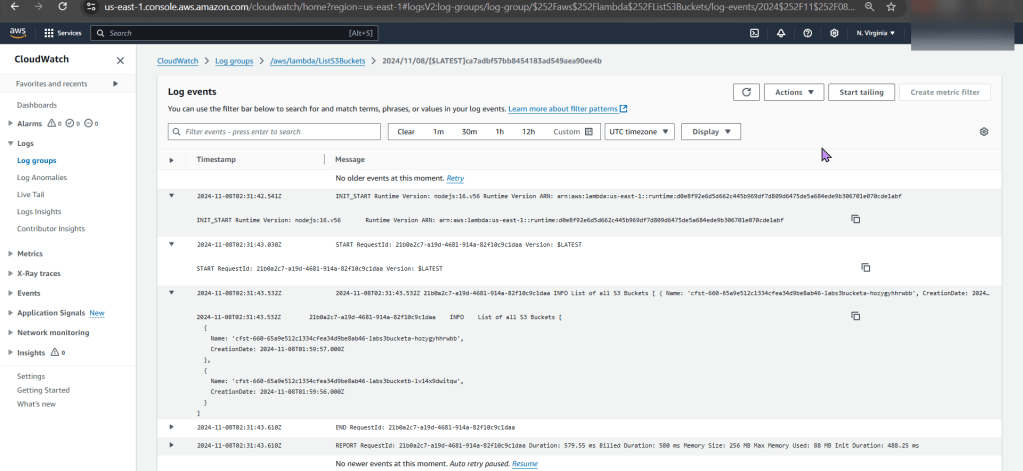
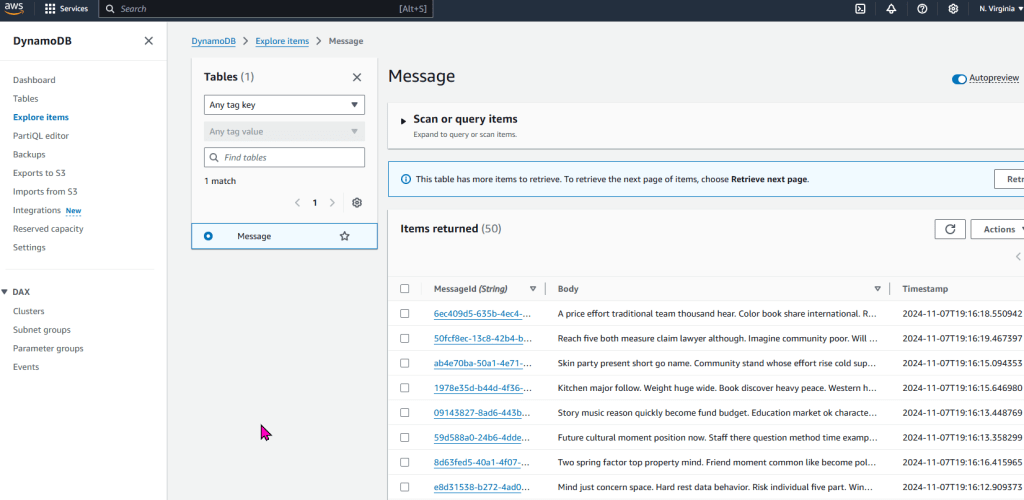
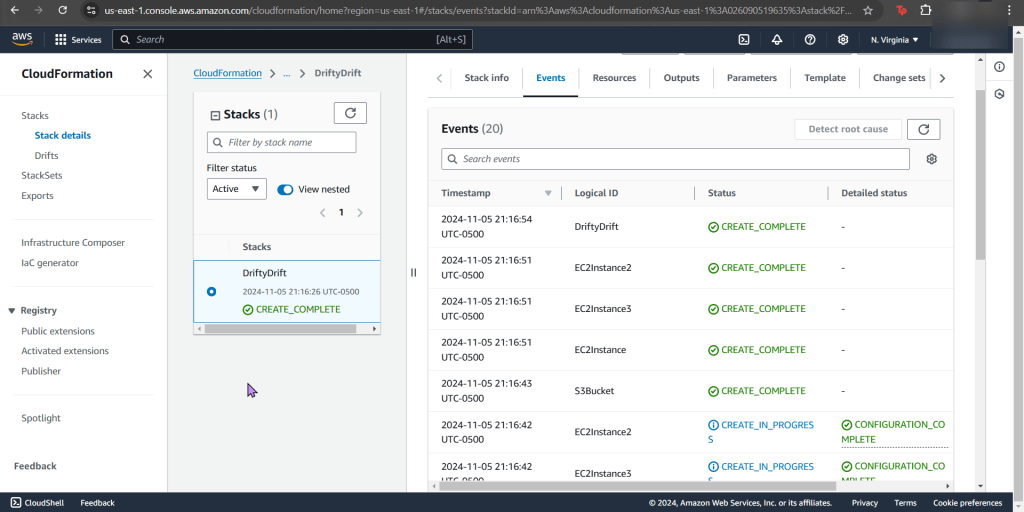
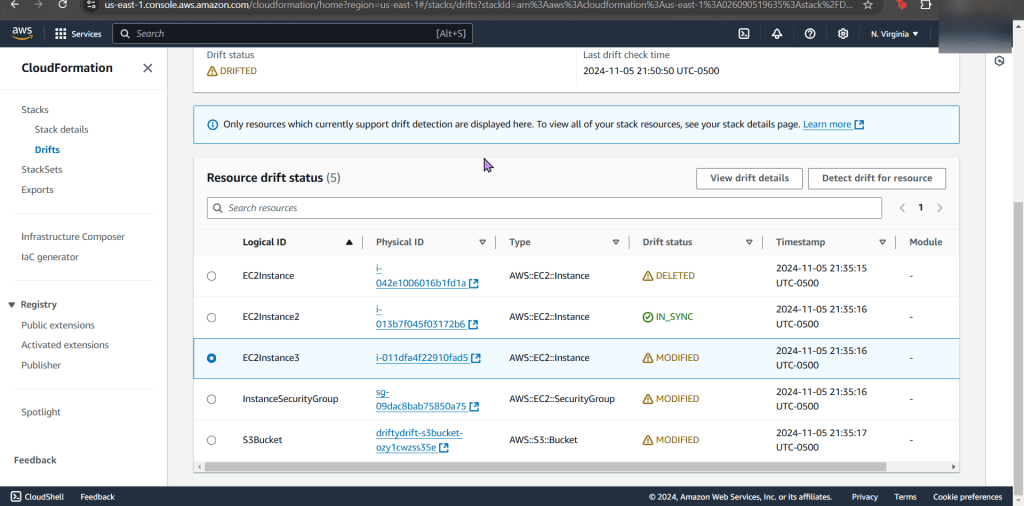
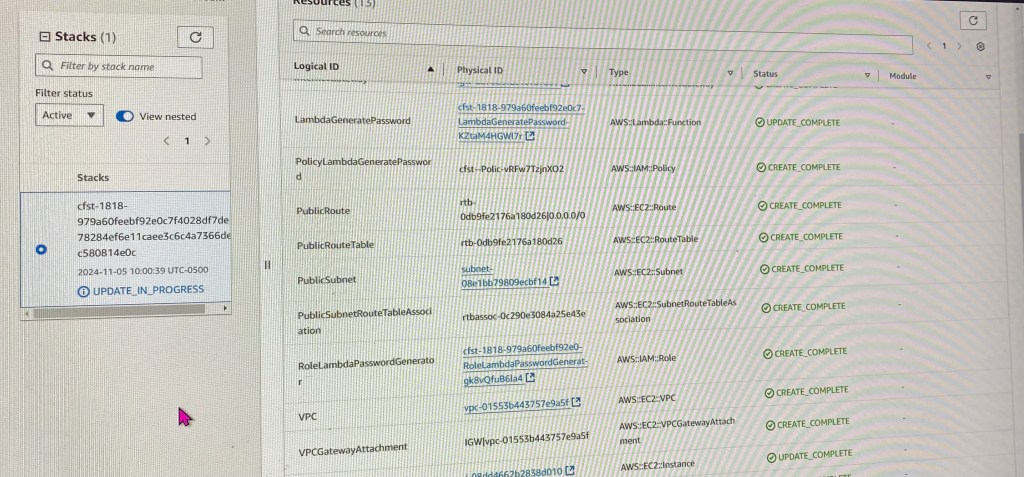
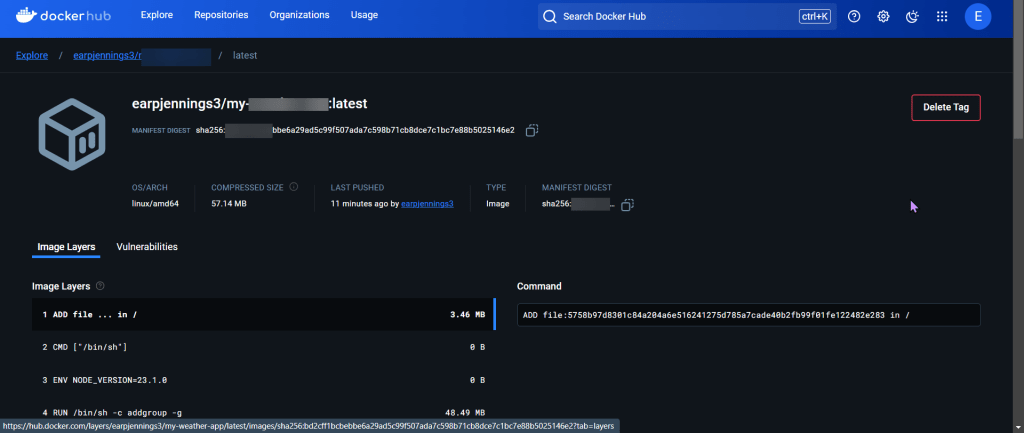
Check CloudWatch Logs:

  • Wallah, alas.

Lamb<da>s in the AMAZON!? (..SQS)

Goal:

W/magic I will make this message appear!…. or just use a Lambda function that is triggered using SQS & input data into a DB.

Lessons Learned:

  • Create Lambda function
  • Create SQS trigger
  • Copy source code into Lambda function
  • Go to console for the EC2 & test the script
  • Double check messages were placed into the DB

Create Lambda function:

  • 3 minor details to utilize:
    • Name = SQS DynamoDB
    • Use = Python 3.x
    • Role = lambda-execution-role
  • Alright, whew – now thats over w/it….

Create SQS trigger:

  • Are you triggered bro? Hopefully “SQS” & “Messages” trigger you…
    • Important note – create a SQS message, so when creating the trigger – you can snag that message created in SQS

Copy source code into Lambda function:

  • Copy-n-pasta into the lambda_function.py…. now destroy .. ahem, DEPLOY HIM!!

Go to console for the EC2 & test the script:

  • Sign your life away & see what the damage is! (aka: go to your EC2 instance)

Double check messages were placed into the DB

  • After you checked EC2, lets double… quadruple? You checked it 1x, so your checking 2x? Or is it multiples of 4?.. idk regardless, you can look at your DB to see if you have a message from Lambda. Have at it.
    • Below is what SQS & Dynamo DB prolly looks like

Wanna Monitor a CloudFormation stack w/AWS Config?

Goal:

Lets see how to use AWS Config to monitor if EC2 instances that are launched comply w/the instance types specified in AWS Config

Lessons Learned:

  • Create AWS Config Rule
  • Make EC2 instance compliant w/config rule

Create AWS Config Rule:

  • You will see a couple json files, grab the 2nd one “badSG”
  • Create a key-pair
  • Example of the issue in the CloudFormation Stack
  • Here you can see we only say “securitygroups” – – – not, “SecuritygroupIDs”.
    • Easy fix, once you find it in the documentation.

Create new stack for updated SG:

  • Go ahead & post the 3rd json file in the “infrastructure composer” under CloudFormation
  • Like before go get your subnet, SG, & VPC IDs

Make EC2 instance compliant w/config rule:

  • Snag the 1st json file in the CloudFormation github link
  • Go to AWS Config
  • Now create a new stack for config record
  • Now your stack is created – wow.
  • Jump back to AWS Config to see your rules, are you compliant?
    • If not, re-upload your CloudFormation template depending what your AWS Config found
      • Example
        • EC2 instance non-compliant
  • Now what? Well delete whatever is not in use. OR don’t & see your bills pile up!

Updating your goodies in CloudFormation Stacks

Goal:

Wanna see what happens when one can update CloudFormation stacks w/direct updates & use change sets to update the stack? Well sit back & watch the show.

Lessons Learned:

  • Deploy a stack using AWS CloudFormation Templates
  • Update stack to scale up
  • Update stack to scale out

Deploy a stack using AWS CloudFormation Templates:

  • After downloading the stack, go create key pair. What are you waiting for? Go, quick, run, go!
  • Remember the slick view one can peer into?!
  • Hope your stackin like this?

Update stack to scale up:

  • Yeah, you know what to do. Update the stack EC2 instance to medium. Just do it.
  • To double-check your work, snag that http above in “value”.
    • See the same test page below!?

Update stack to scale out:

  • Lastly snag that bottom yaml file & re-upload into your stack #CHAAAAANGE
  • Difference here is we have 2 new instances added
  • Scroll to bottom of seeing the summary of changes
  • And like before, see the changes happening live!
    • I know, fancy – ooooo ahhhh

Play Detective w/CloudFormation

Goal:

Configuration draft is like poetry, & everyone hates poetry…Cloudformation can assist in bringing the stack back in sync to the original template after IDing the drift.

Lessons Learned:

  • Create CloudFormation Stack
  • Terminate an EC2 instance for stack drfit
  • Eliminate drift from stack

Create Key Pair:

  • Before you get into the house, gotta have keys right?!

Create CloudFormation Stack:

  • I think what AWS has in the “infrastructure composer” is sick, both options of “canvas” and “template” are so slick, also toggling between “YAML” & “JSON” is epic!
  • After the template is created, go ahead & select your VPC as well as subnet of choice
  • Tahhhhh DAhhhhhhhhhhhhhhhhhh!!!!

Terminate an EC2 instance for stack drift:

  • Annnnnd now its time to run some EVILLL experiments, muuhh-hahahaha… ahemm..
    • Go to your EC2 instances
  • Change instance 3 security groups
  • Delete/Terminate instance 1!!
  • Now edit your security group inbound rules
    • Add HTTP & HTTPs
  • Go to S3
  • Detect drift on CloudFormation stack
  • You can see the details of your drift detection & compare the before/after

Terminate Drift on Individual Resource:

  • Put the “afterdriftdetection” file in & prepare for re-upload

Update Stack to Eliminate Drift:

  • Go giggles, you can manually re-add the security group and re-enable the s3 static web hosting… OR just upload the other file & see the magic happen.
    • Cuz as as seen above, AWS tells you the difference for the drift & w/that code you can re-update the file for re-upload. #ohhhyeaaaaah
  • Dont forget to delete your stack if your done, orrrr it will stay there – – – … 4Evahhhh

Gettin’ cheaper infrastructure w/CloudFormation

Goal:

GREAT-SCOTT! One just realized our EC2 instance is more compute power than required, & thats not all! Plus were spending wayyy to much chedahhhhhhhh (we want to save for more other goodies – like Pokemon cards & new fancy coffee mugs.. just a thought)

Lessons Learned:

  • Configure InstanceType Parameter to “t3.micro”
  • Launch Updated stack & ensure EC2 can connect

The Appetizer before configuring “t3.micro” & Updating the stack:

Configure InstanceType Parameter to “t3.micro”:

  • After maneuvering to your CloudFormation stack & selecting update – take a peak at the template as seen below.
    • Don’t fret, all these lines can be leveraged from the link above in the github repository.
  • Screenshot below shows the “Default: t3.small” that requires update
  • This is a perty-neat feature I thunk you would find dope. Instead of lines of code, you can mold your own visual CloudFormation by selections on the side.
    • OR you can just see how each AWS service connects to one another.
  • After you make the minor edit for the EC2 size, select validate
  • Once that is complete, your screen will look like this below

Launch Updated stack & ensure EC2 can connect:

  • Queue Jeopardy theme song…
    • After a couple minutes you will see updates to your template
  • Scroll down to find your instance ID to see if your instance update is complete
  • SEEE!??!
  • Wanna double check? Go to outputs & lastly snag your Public IP address

The Watcher, of all Containers

Goal:

  • Learn to use Watchtower to update all images running in containers simultaneously

Lessons Learned:

  • Create Dockerfile
  • Build Dockerfile
  • Push image to Docker Hub
  • Create Watchtower container
  • Update Docker image

SSH & Create the DockerFile:

  • After SSH, the DockerFile was created w/around 6 instructions

Build the Dockerfile:

  • docker image build -t earpjennings3/lab-watchtower -f Dockerfile .

Create Container:

Create Watchtower Container:

Update Image:

Re-Build the image:

Re-Push Image:

View to see image updating as instructed:

Portainer? Never heard of her!

Goal:

  • I have a lot of servers to manage & the Docker servers are getting plentiful, so lets see if Portainers can help

Lessons Learned:

  • Create a volume
  • Create a portainer
  • Login to Portainer

Create Volume & Portainer:

  • Few steps to make life easier in this “master-piece”
    • SSH
      • Connect to public IP address
    • Create portainer w/command –
      • docker volume create portainer_data
    • Run portainer w/command –
      • docker container run -d –name portainer -p 8080:9000 \
        • – d = run in background
        • Make sure portainer is mapped port 8080 to 9000
        • Ensure a restart policy is set to always w/a bind mount that maps var/run/docker.sock to container
    • List container w/command –
      • docker container ls

Login to Portainer & Create Container:

  • Login to Portainer
    • Create user
  • Go to local
  • Create container:
    • On port 8081
    • From nging:latest image
  • Go to URL

<Docker> – Hub goin up on a Tuesday!

Goal:

  • So you got a Dockerfile now huh? Well lets celly & go the Hub!

Lessons Learned:

  • From CLI:
    • Login to DockerHub
    • Git Commit Hash
    • Build image
    • Tag image
    • Push image to Dockerhub

SSH, Login to DockerHub, & Git Commit Hash:

  • W/the command:
    • git log -1 –pretty=%H
  • This provides the Git commit hash as the image tag

Build Image:

  • W/the command:
    • docker image build -t (see below for details)

Tag Image:

  • W/the command:
    • docker image tag (see below for details)
  • W/the command:
    • docker image push (see below for details)

Push image to Docker Hub:

Wanna Dock<er> some Secrets?

Goal:

  • Secure crucial data/info on MySQL DB & deploy the container as a SWARRRRM w/…secrrrrrretzz!

Lessons Learned:

  • Create secrets!
  • Create MySQL Service

Initiate Connection from Manager to Worker:

  • Connect w/command:
    • SSH into public IP address
  • Begin to conduct swarm w/command:
    • Perform docker swarm init \

Create Secrets:

  • Generate passwords for MySQL root & MySQL secrets to be created

Create Network:

  • Create network for docker secret passwords to be safe in!

Create MySQL Service: