
Goal:
Humans aren’t constant, but Helm versions are! So this is an efficient way to release & clarify your versions of charts in Helm. Then for gigs we will rollback to the original state, cuz – why not?
Lessons Learned:
- Update index & version #
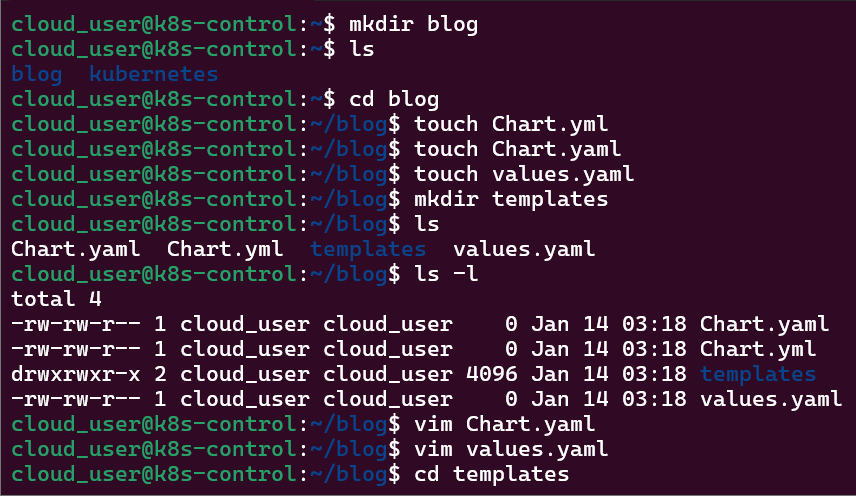
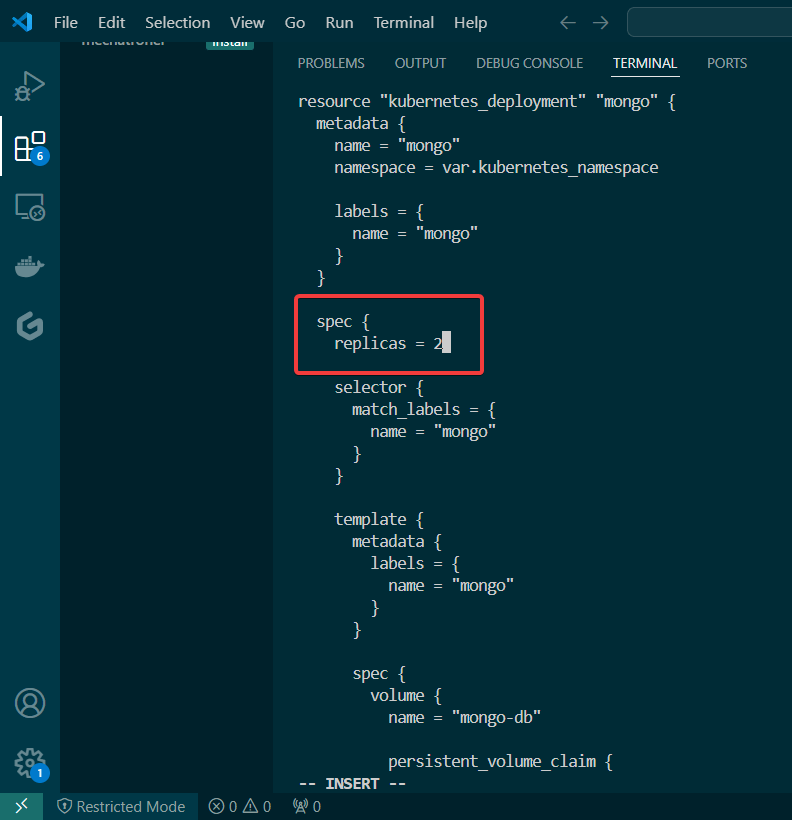
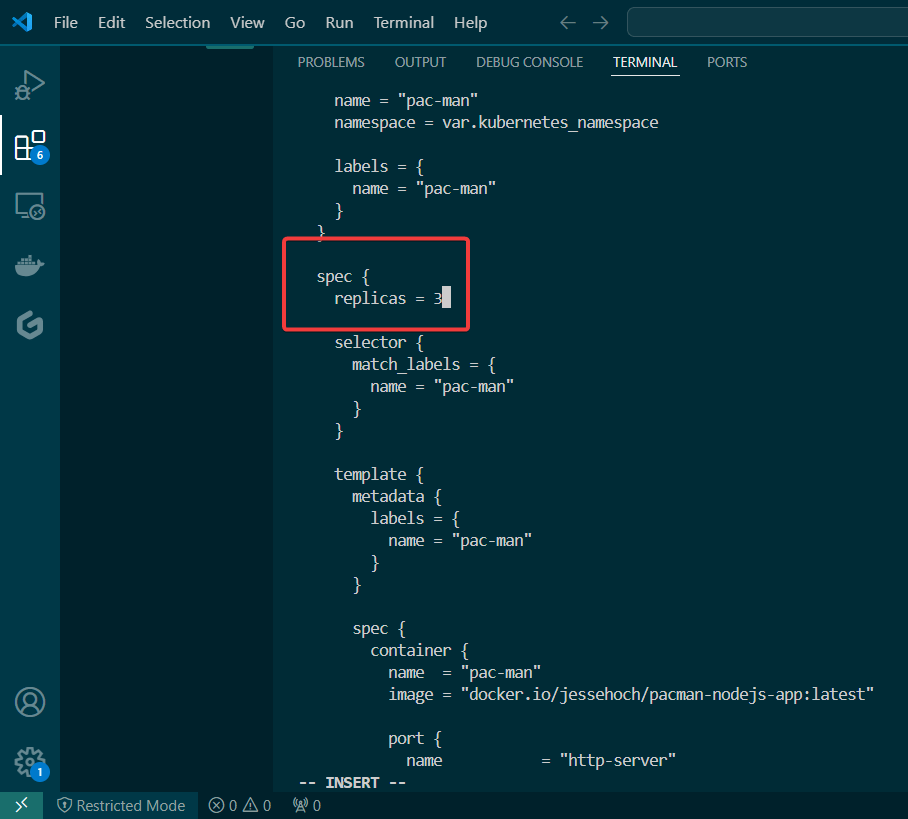
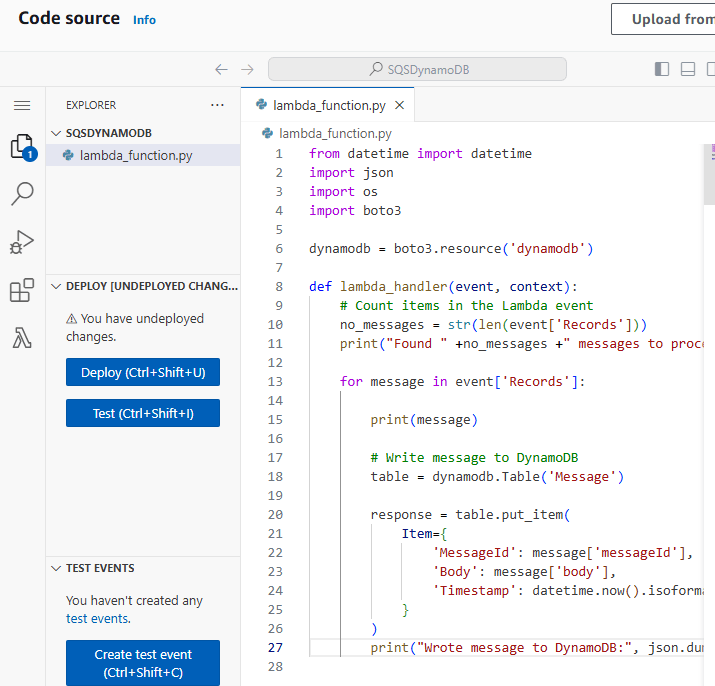
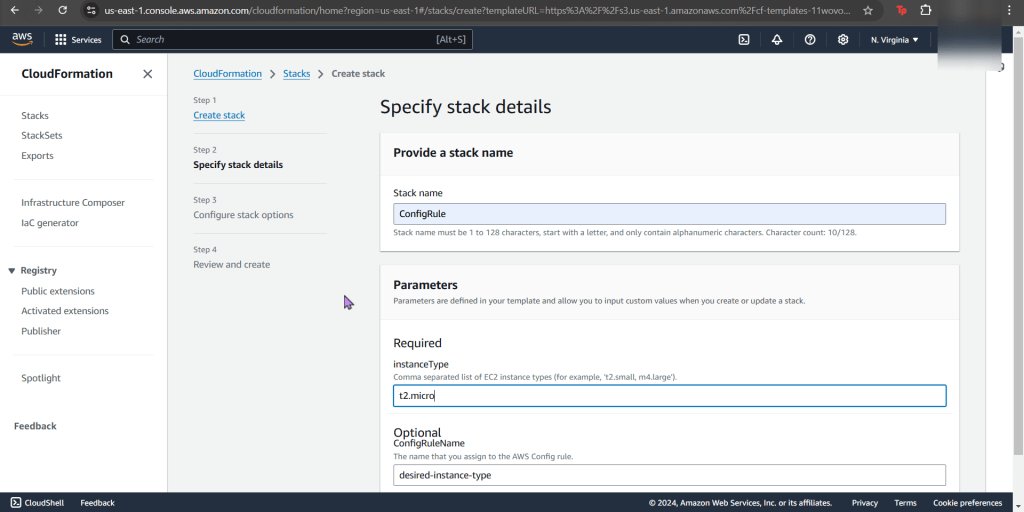
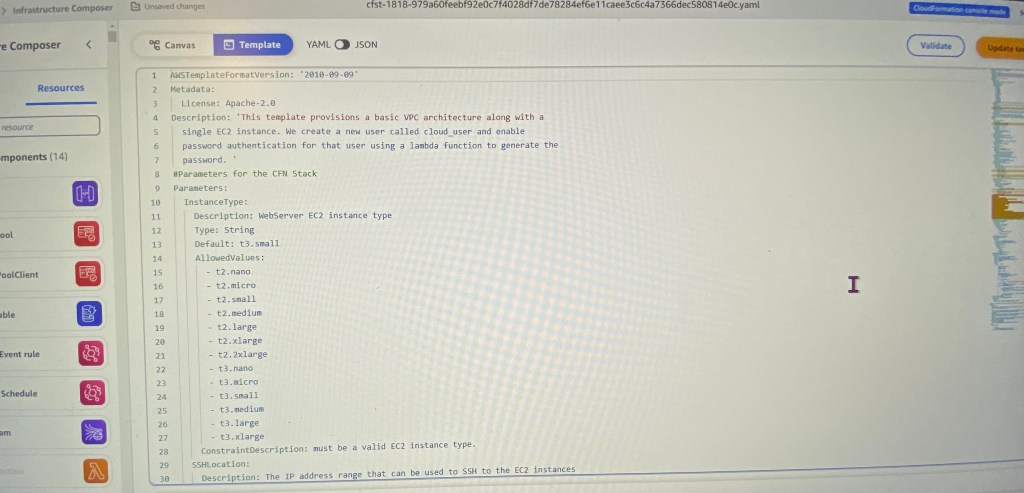
- Update values.yaml
- Update chart.yaml
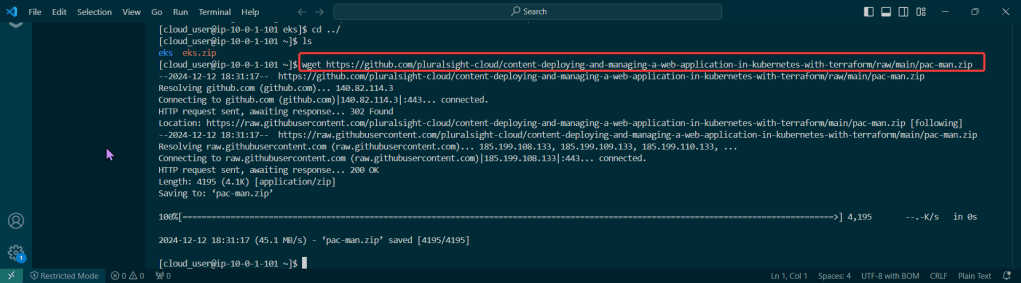
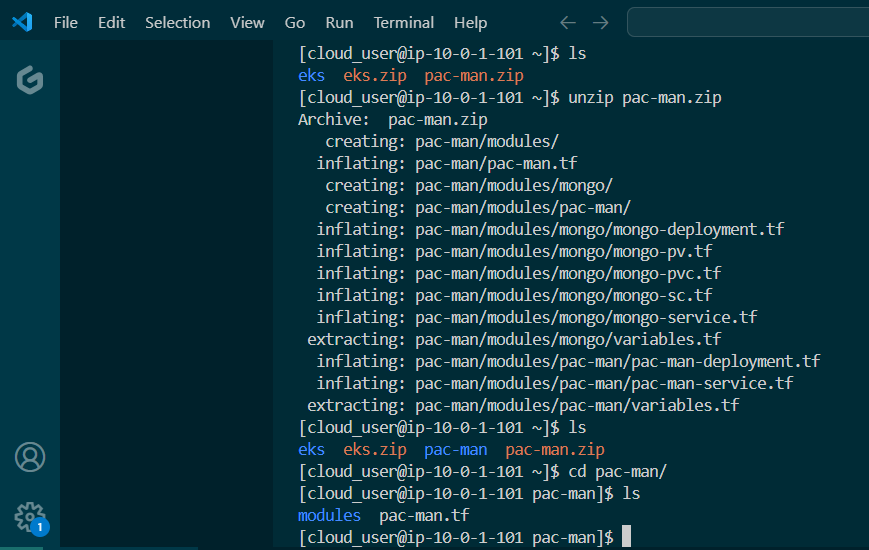
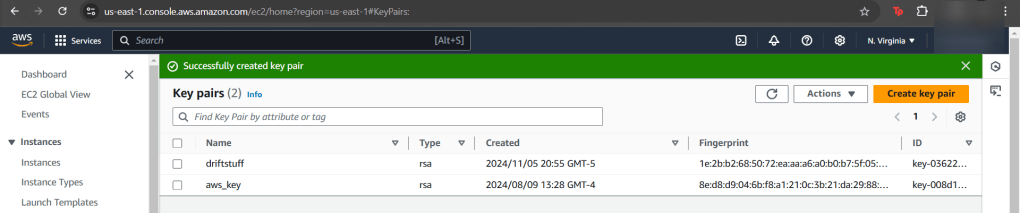
- Initialize
- Helm install
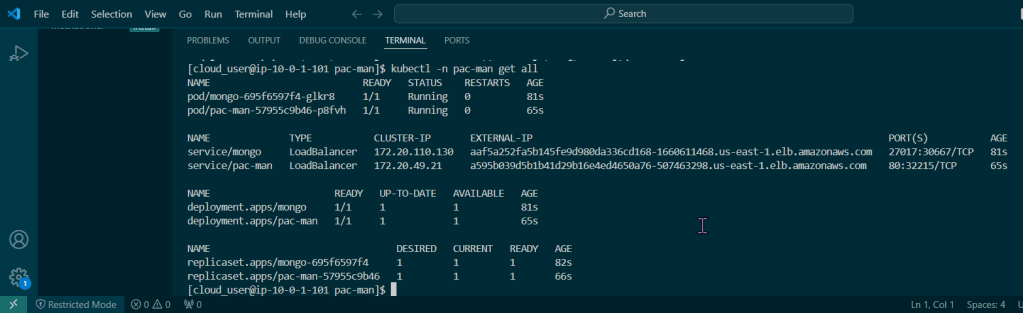
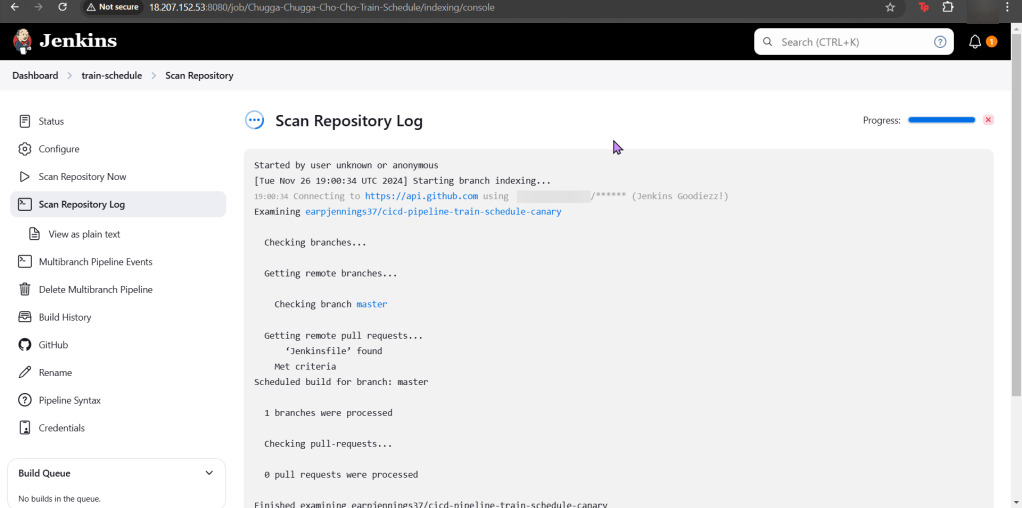
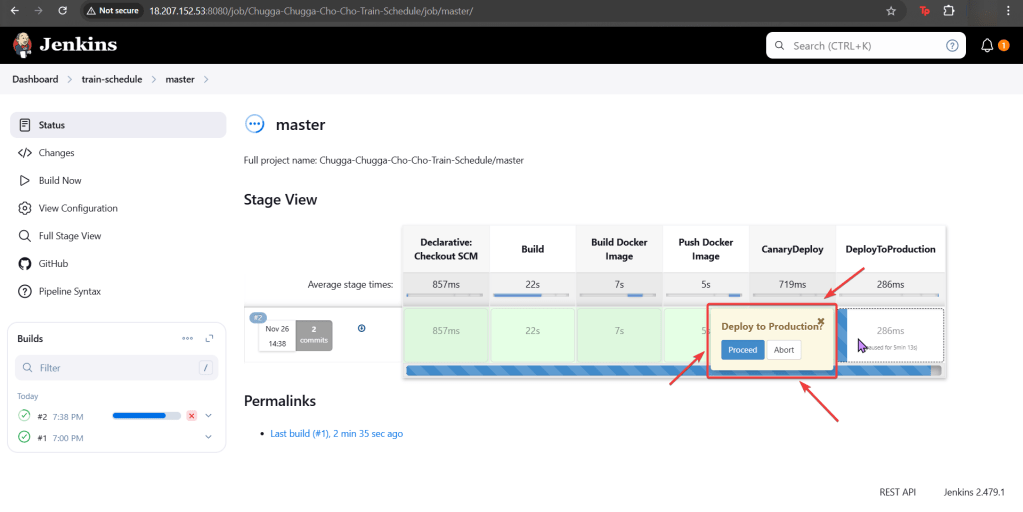
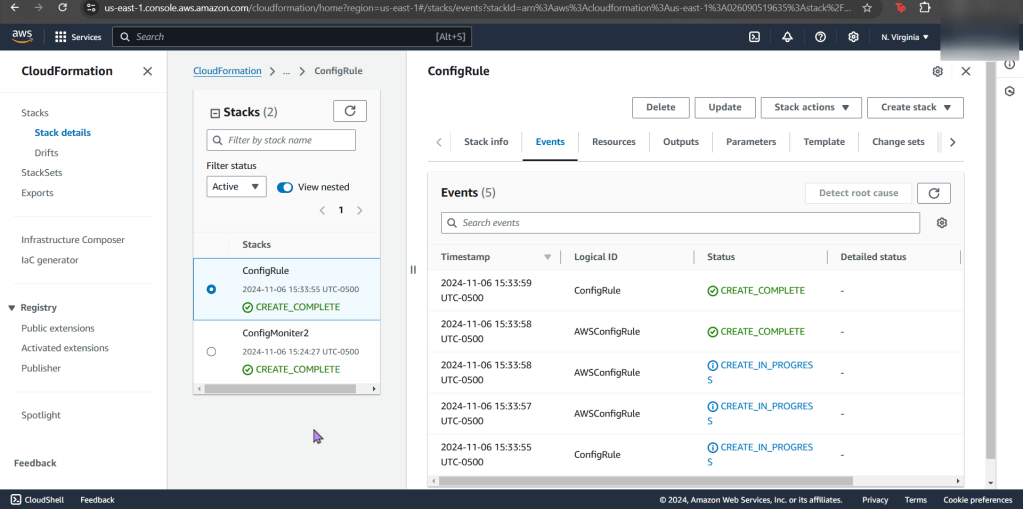
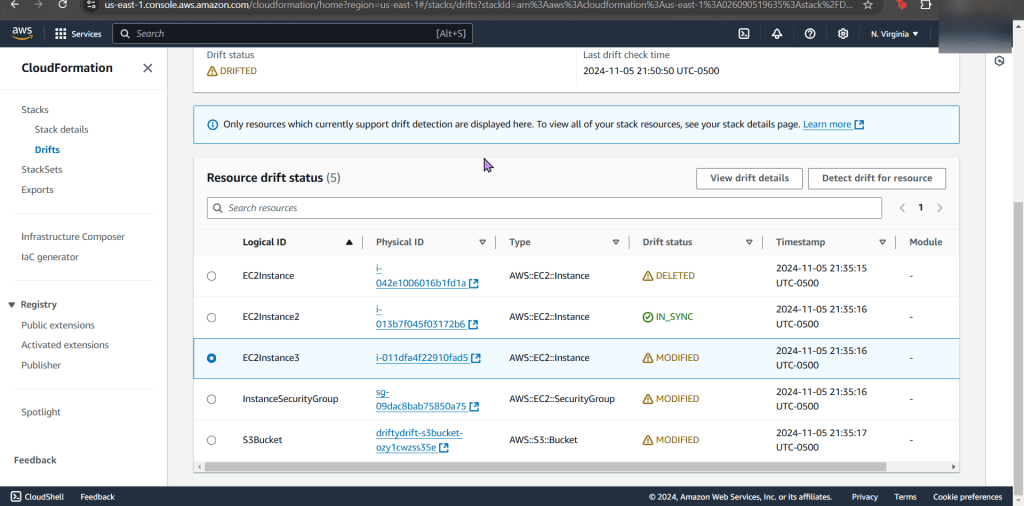
- Release the chart & confirm version #
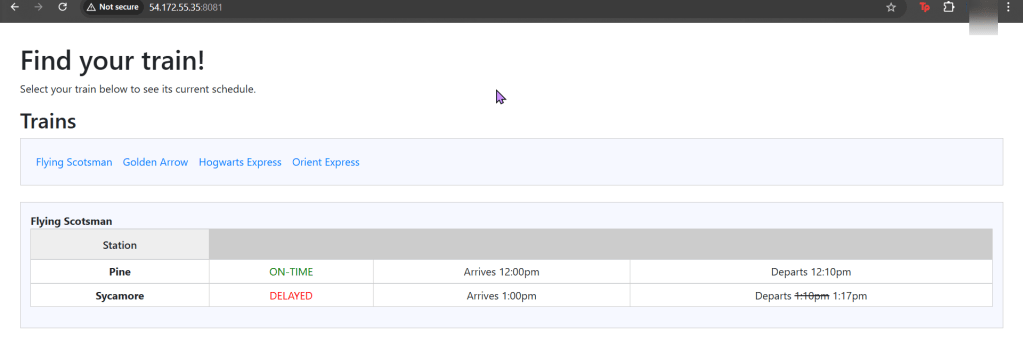
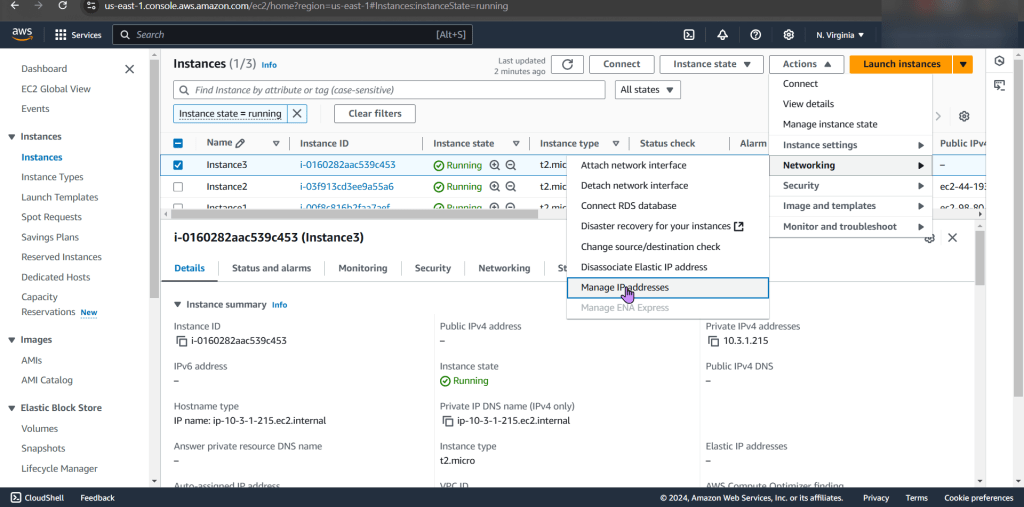
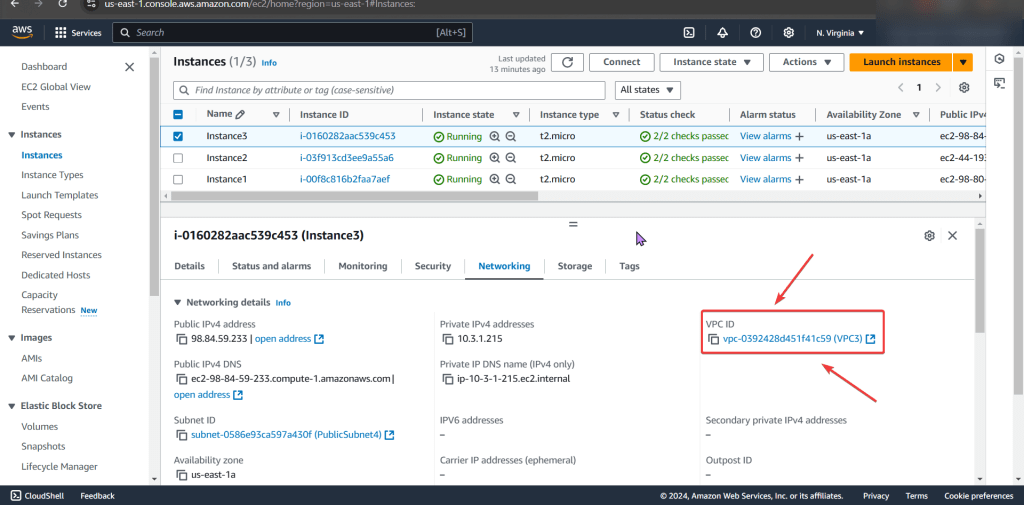
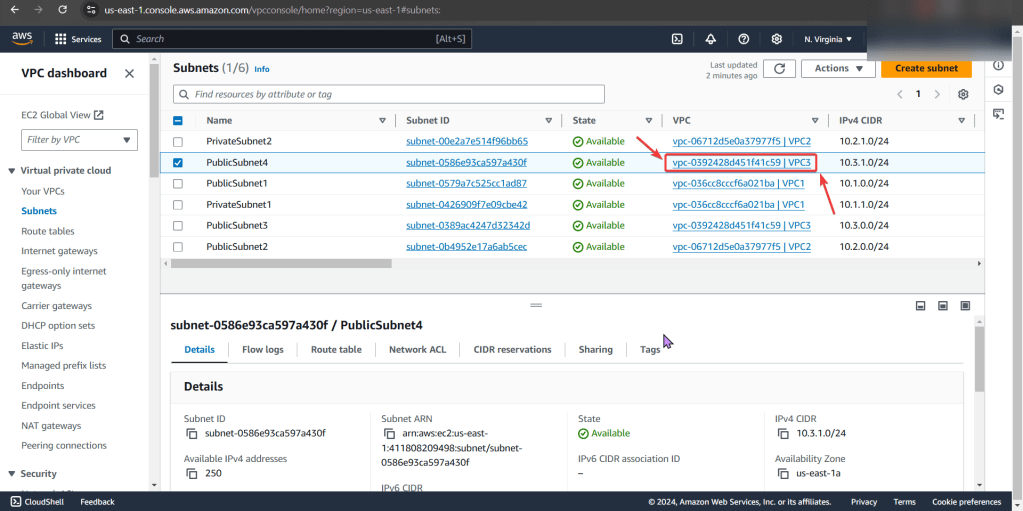
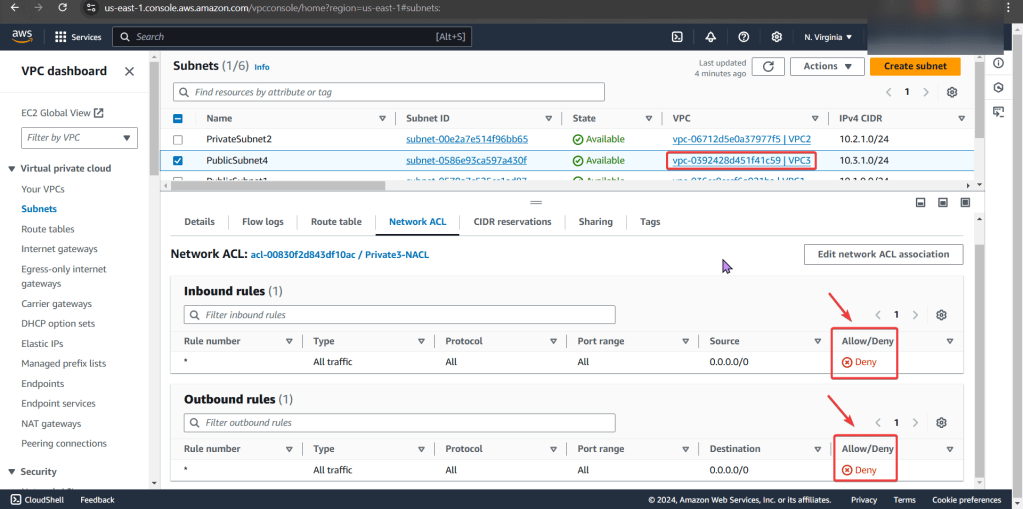
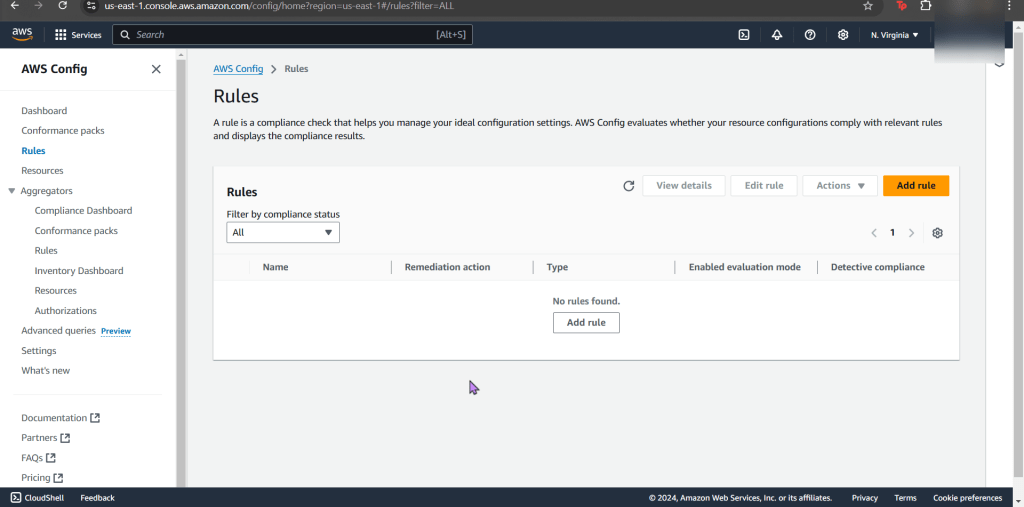
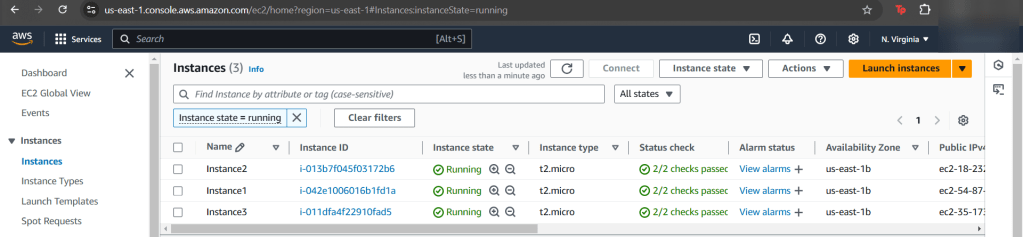
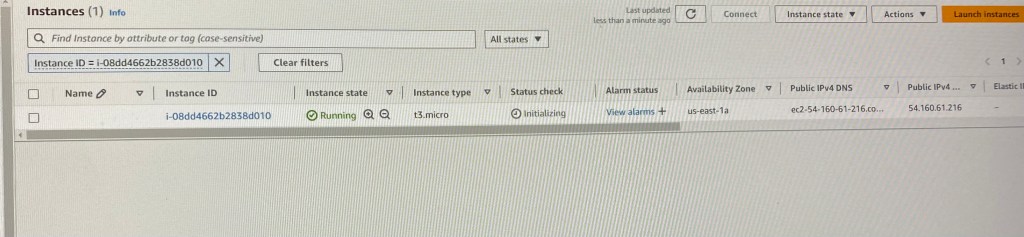
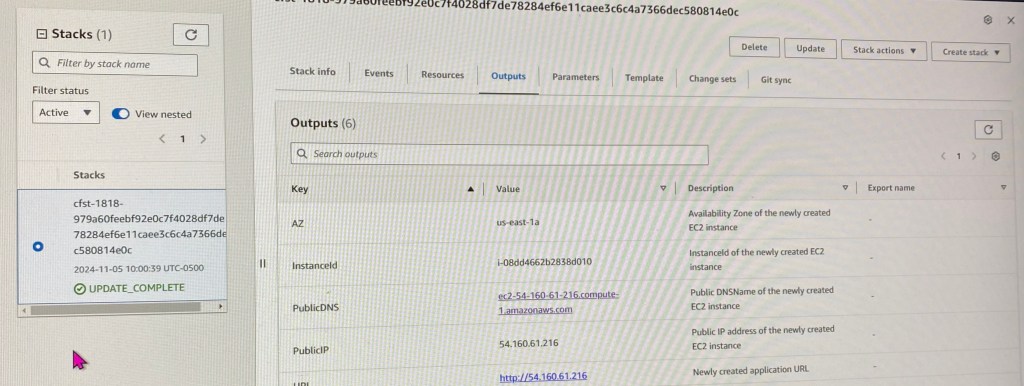
- Check the node port & see it launched!
- Update index data & version #
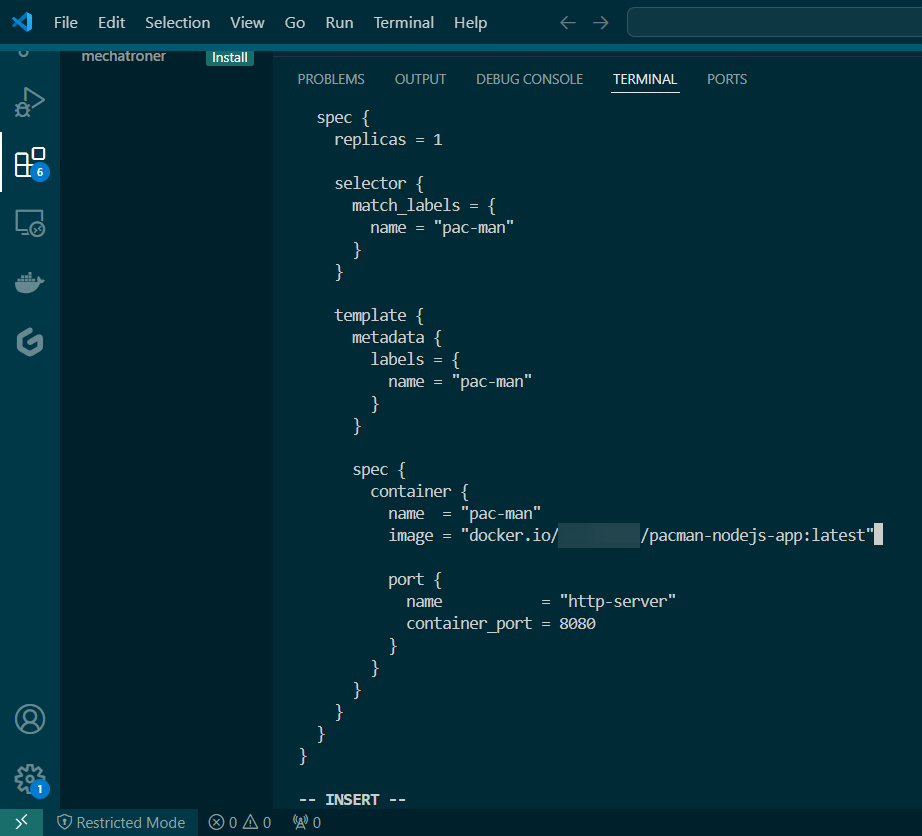
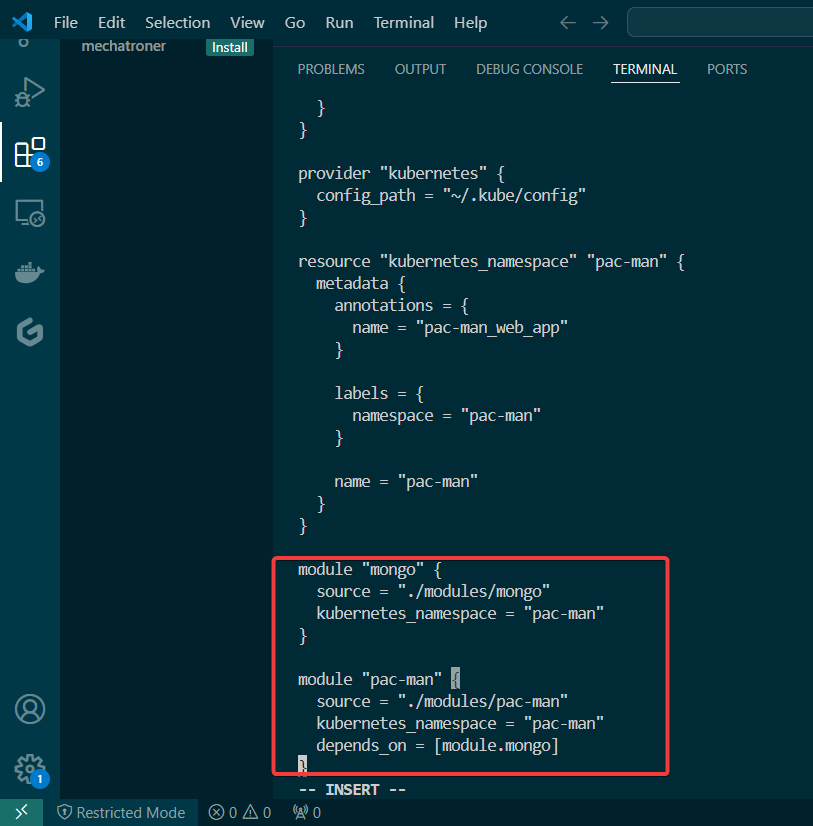
- Update the files again
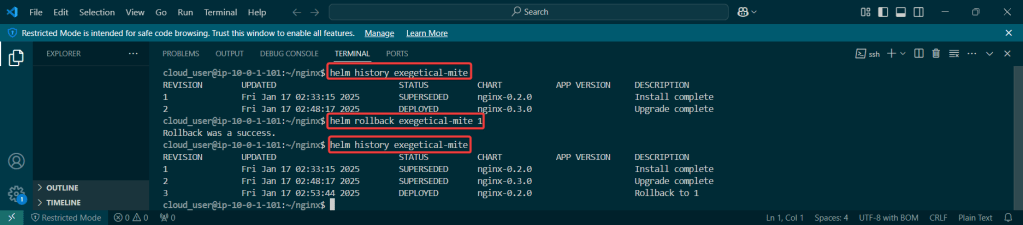
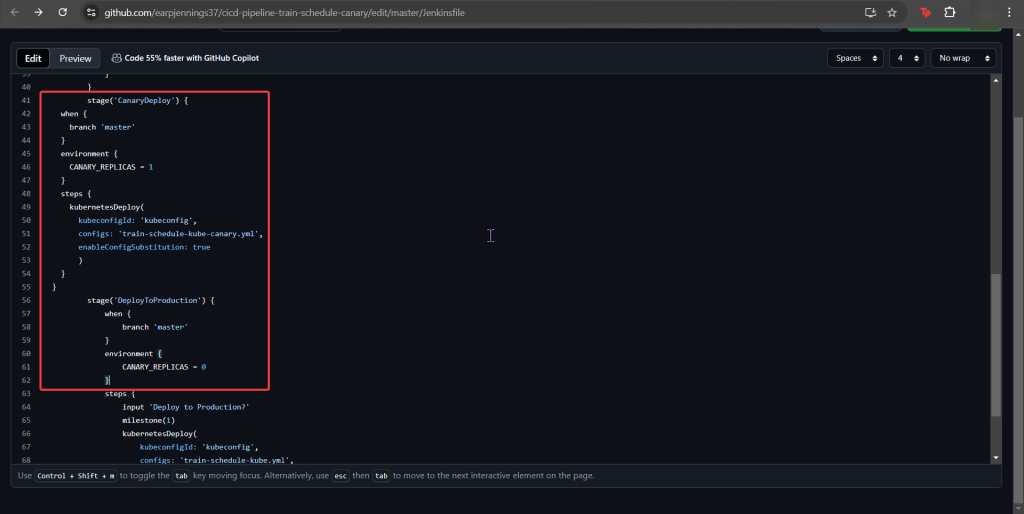
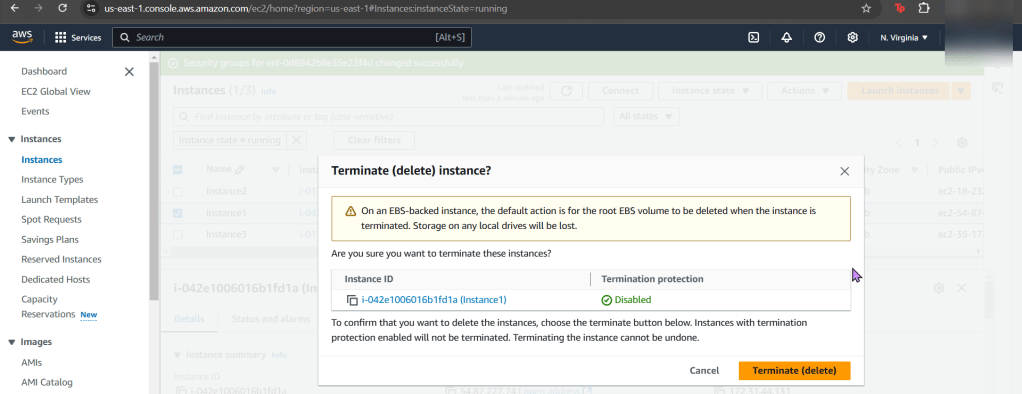
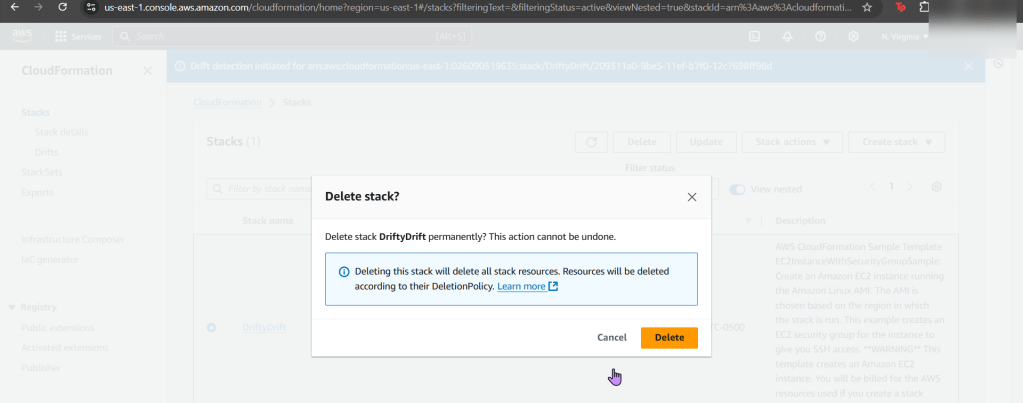
- Rollback it on back now! – – – to Previous Version #:
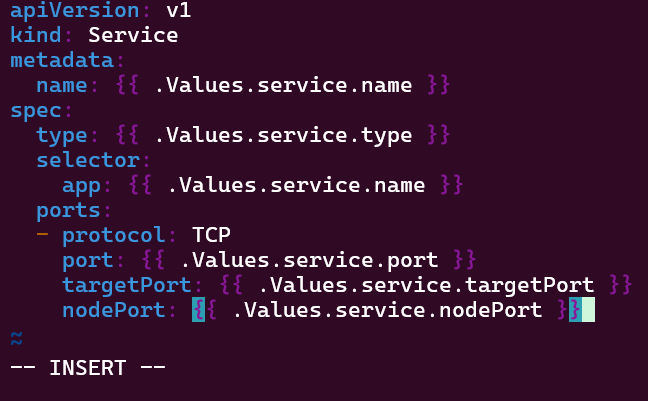
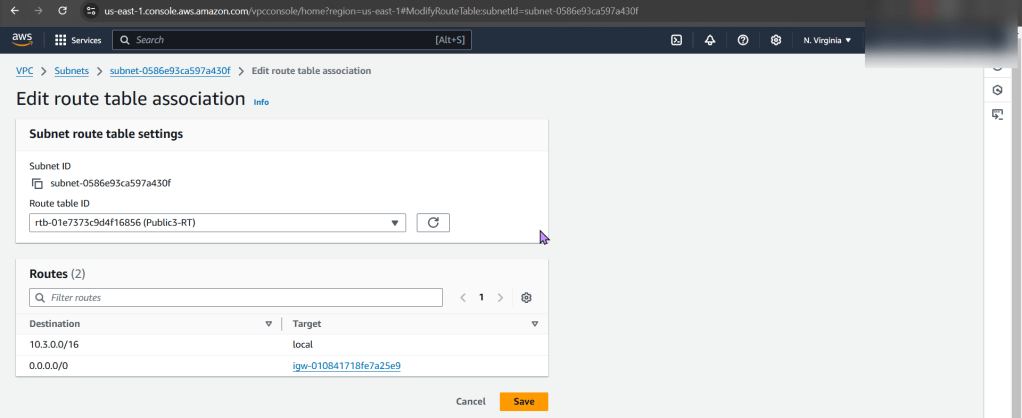
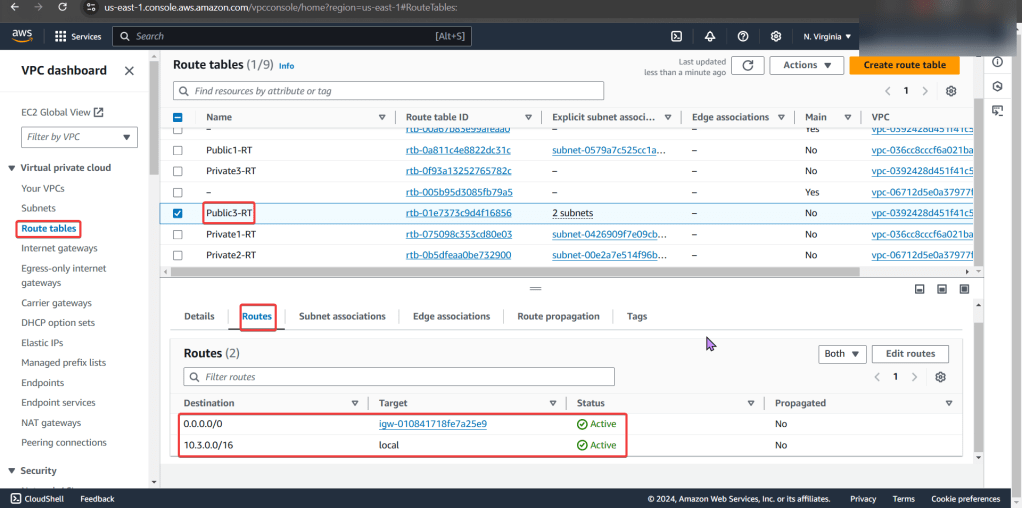
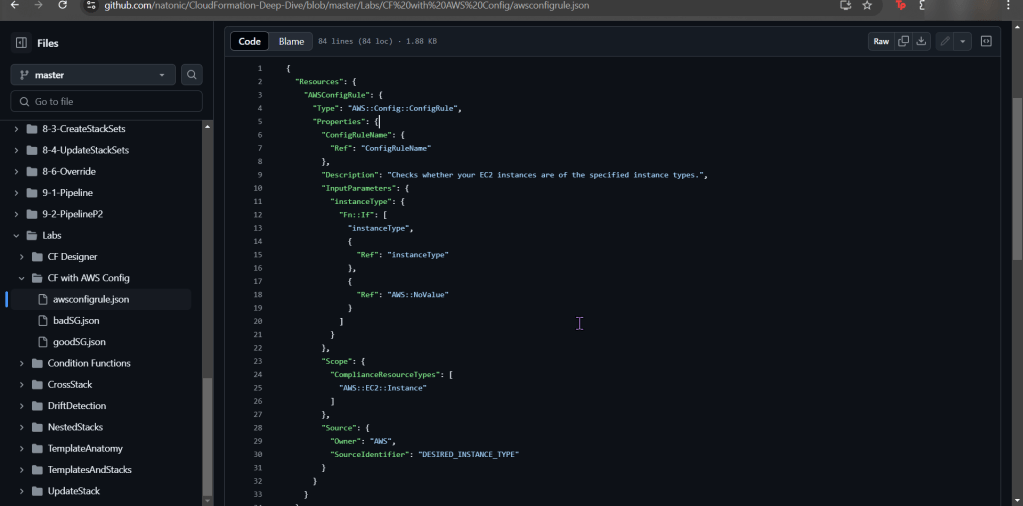
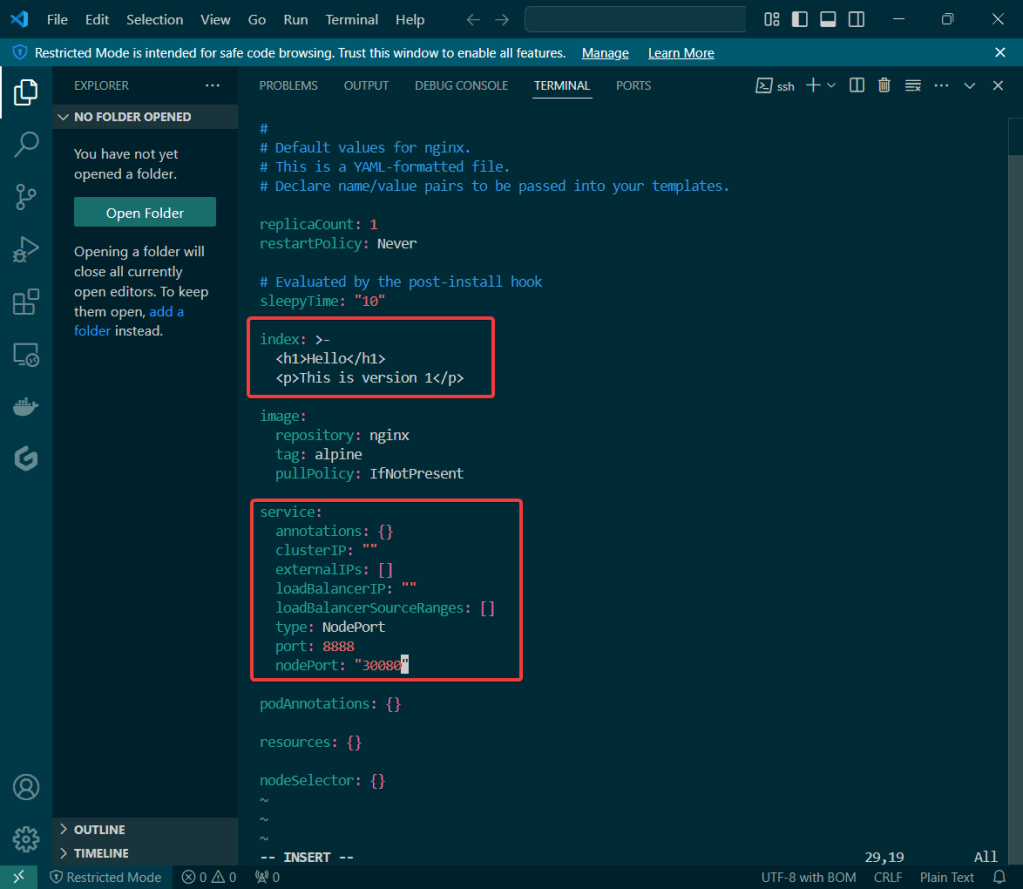
Update index & version #:
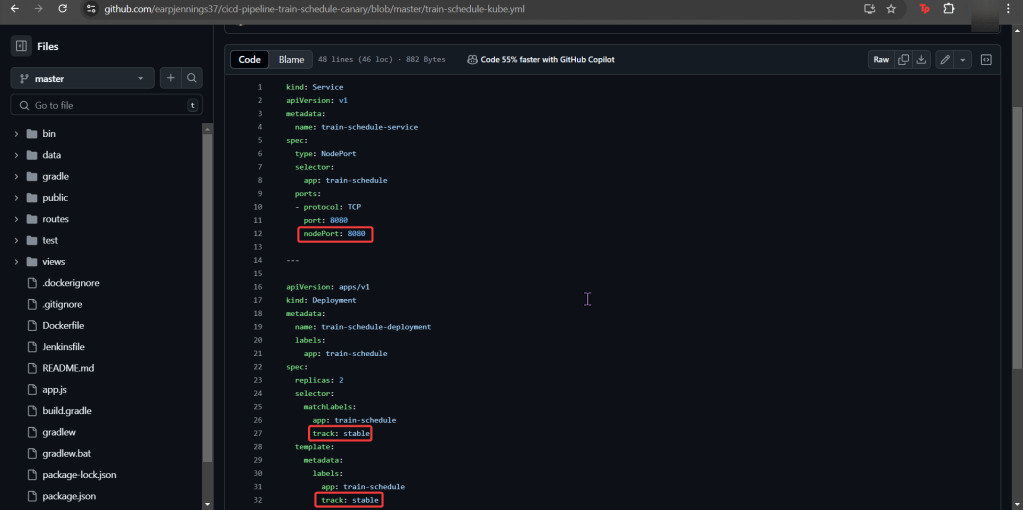
- Updated index & type of service as well as nodeport #
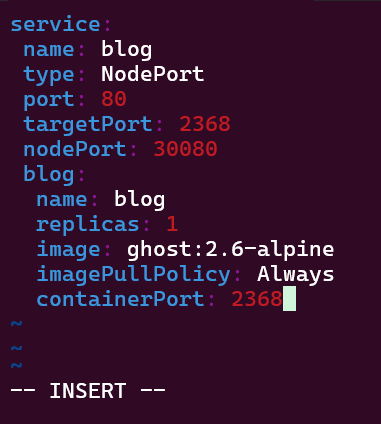
Update values.yaml:
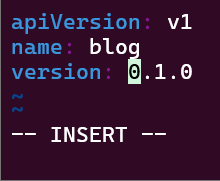
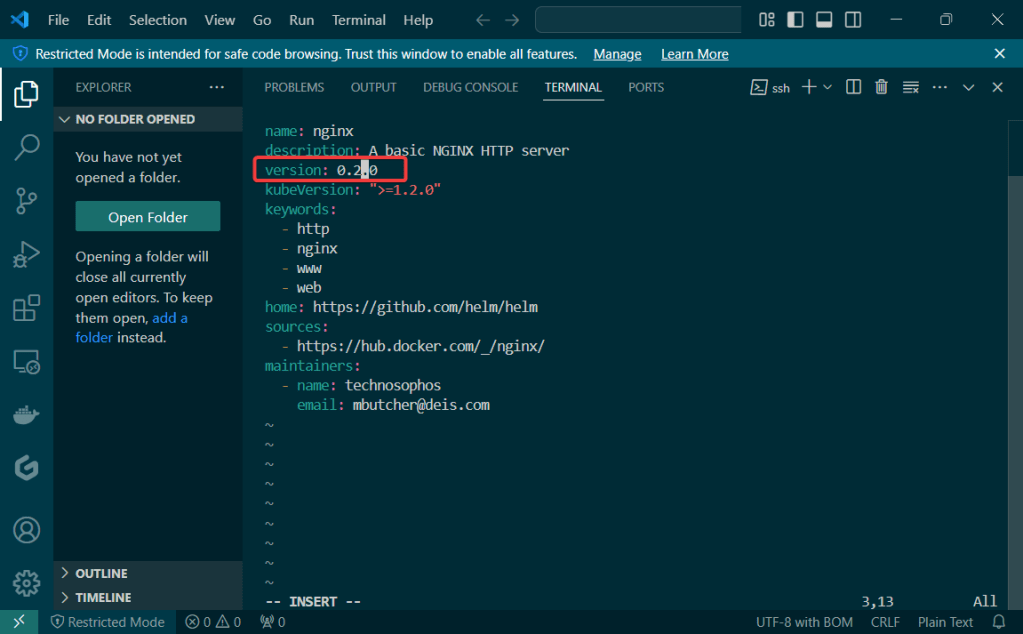
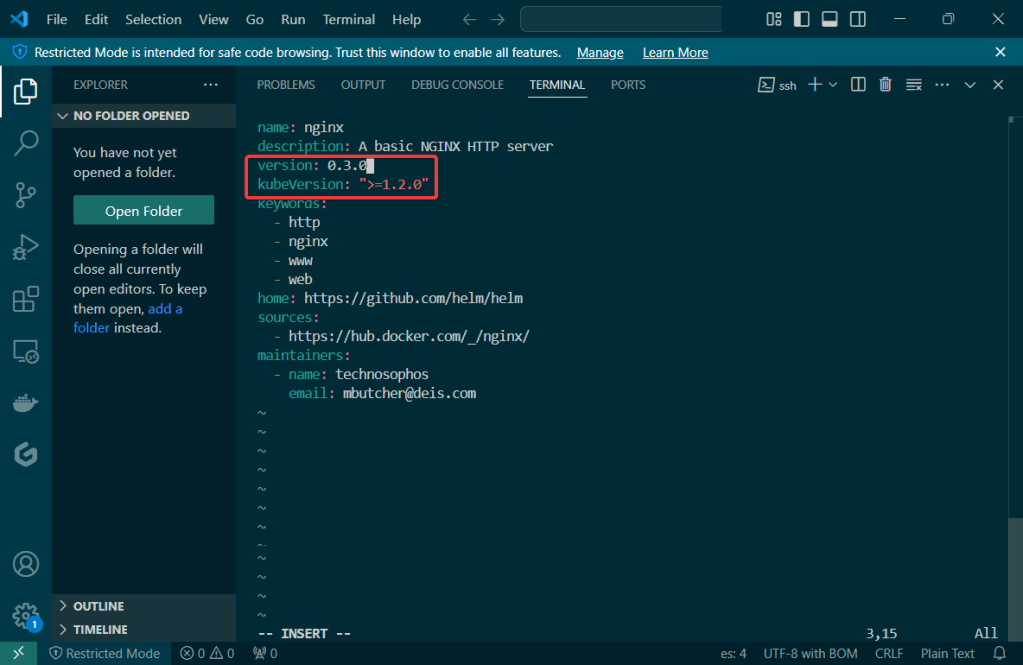
Update Chart.yaml:
- Update version #
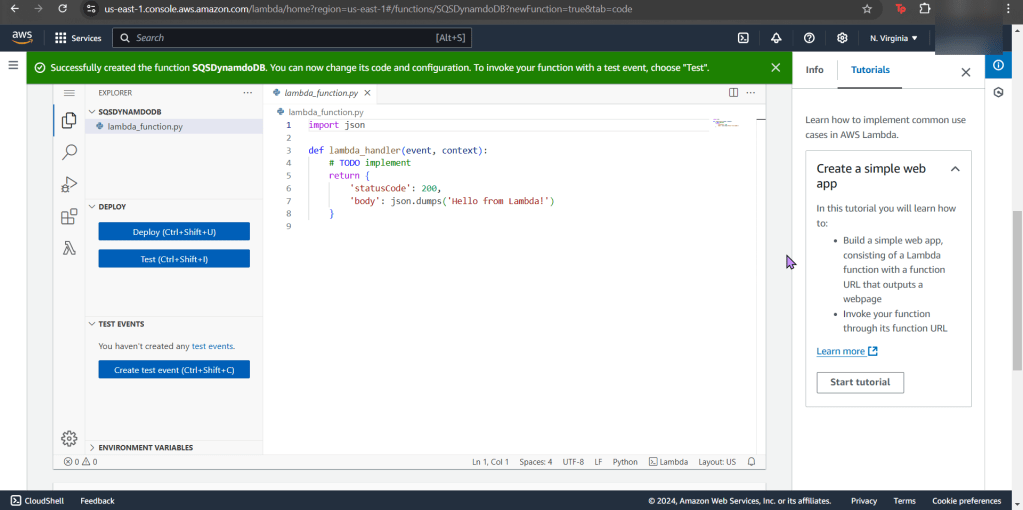
Initialize & Patch Helm:
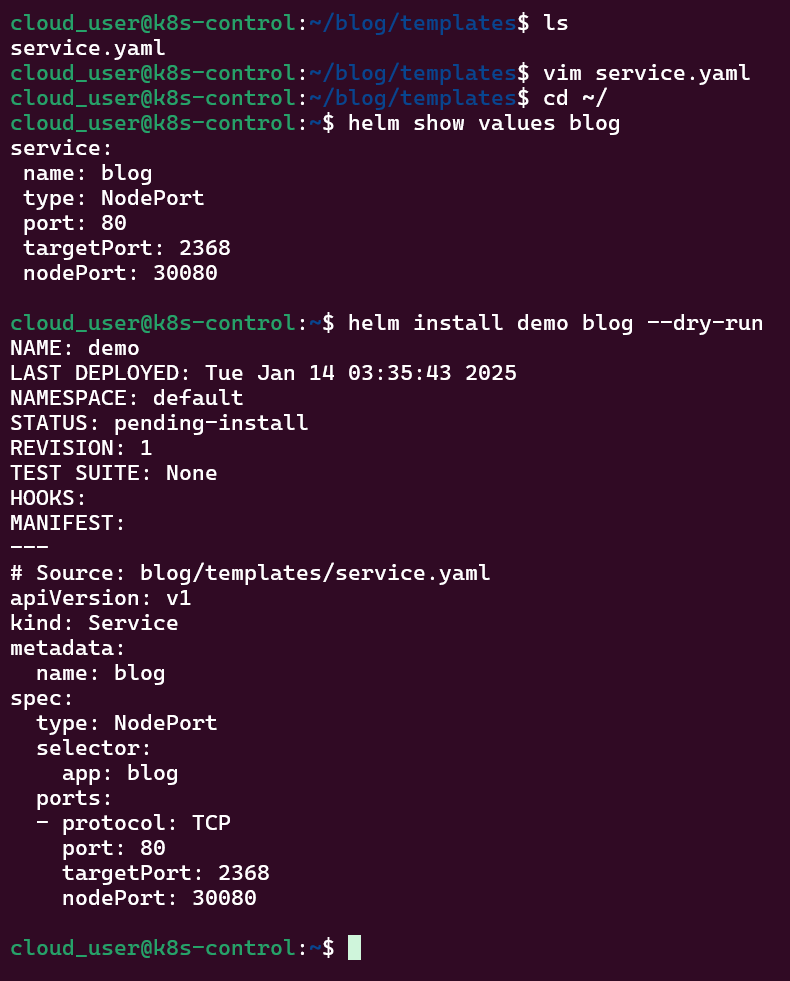
Helm install:

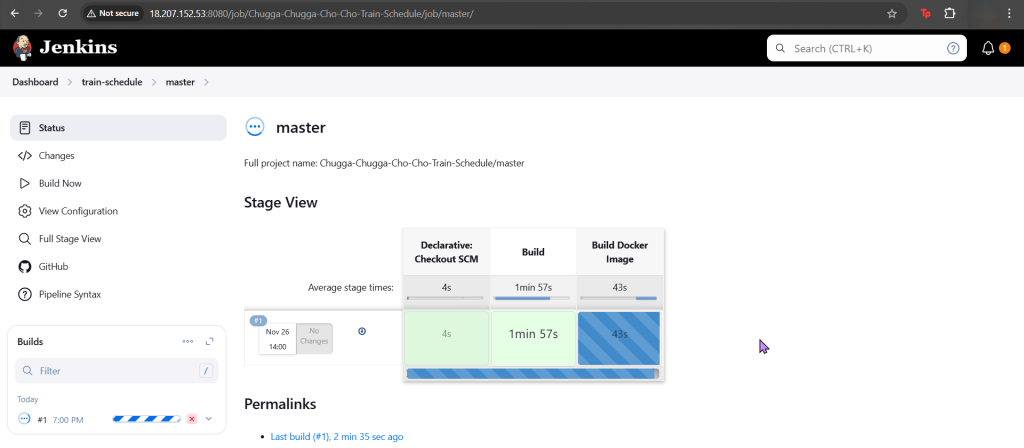
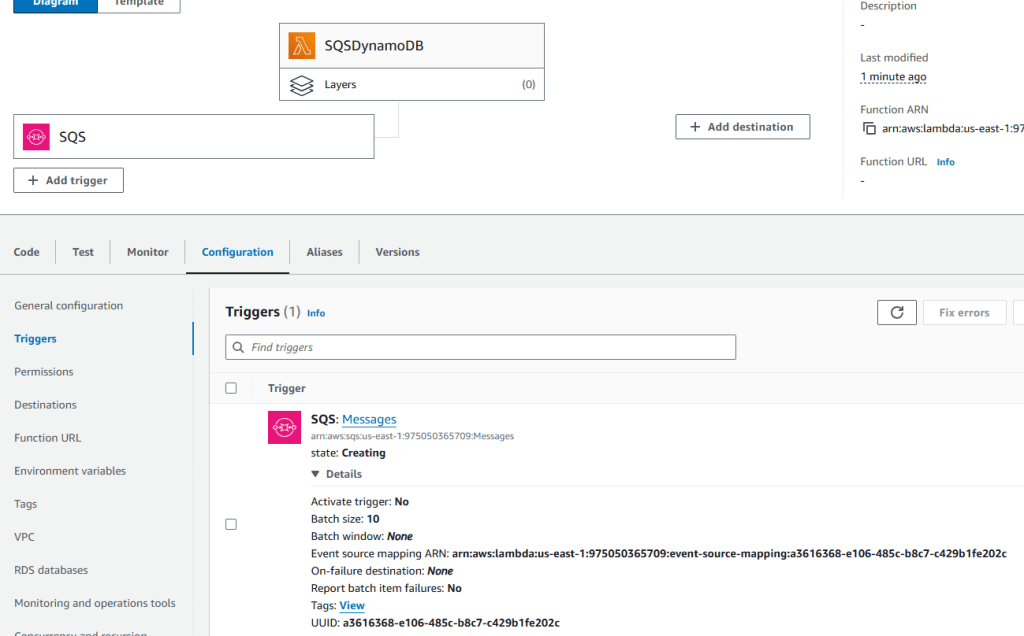
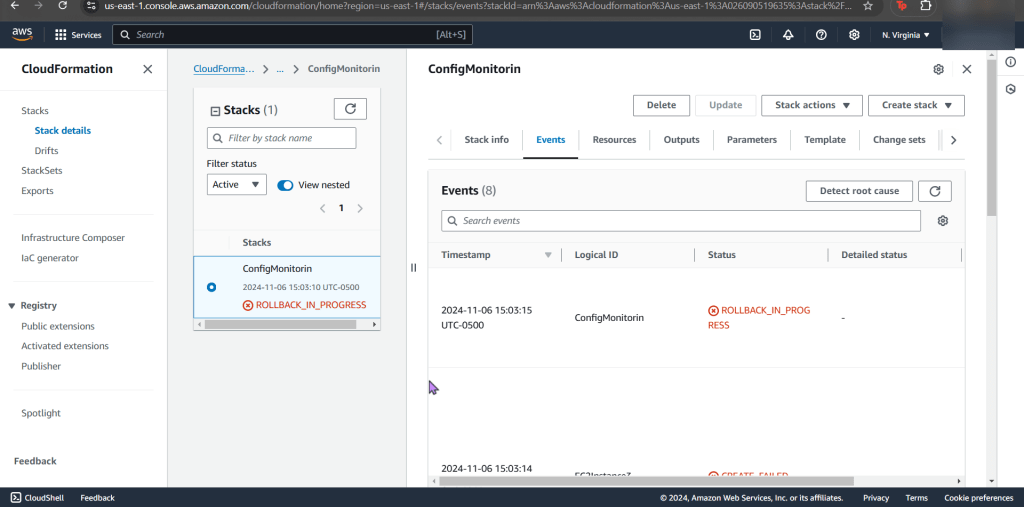
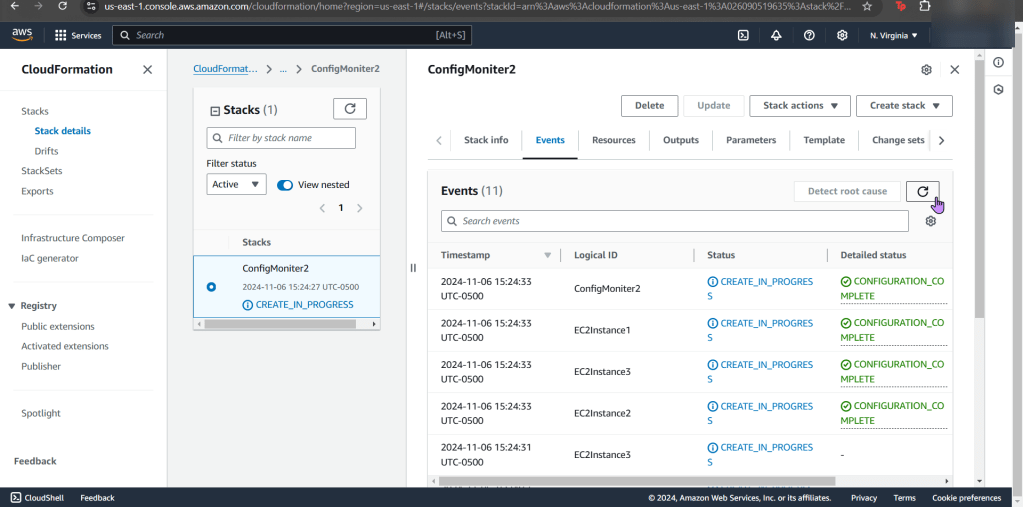
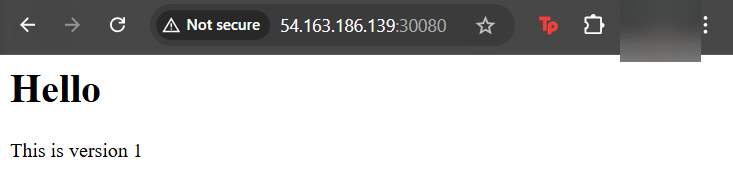
Release the chart & confirm version #:
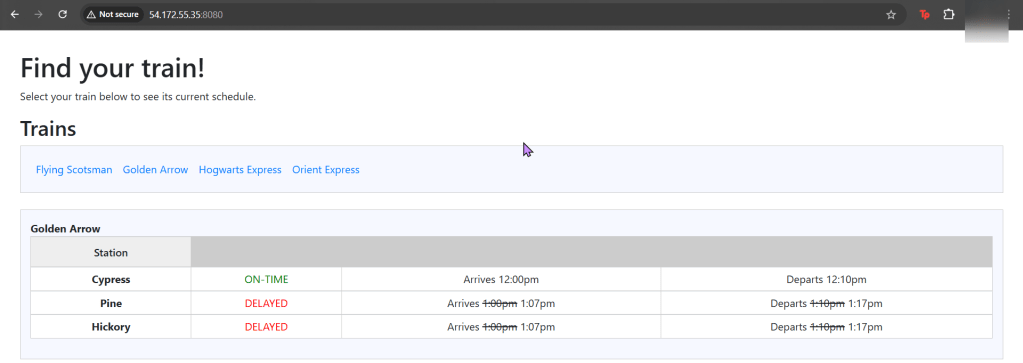
Check the node port & see it launched!

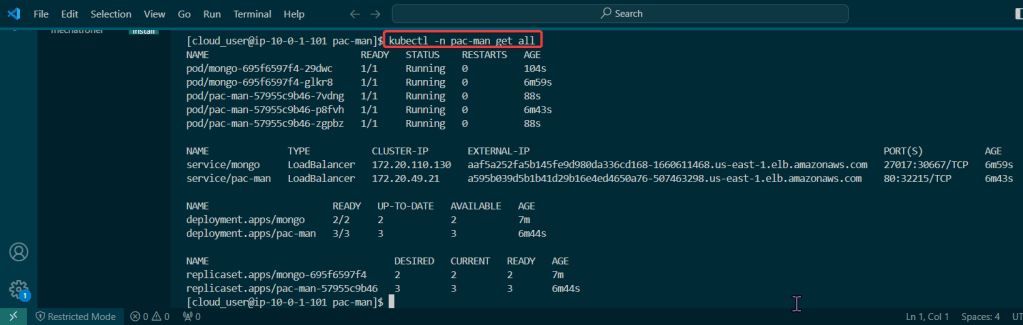
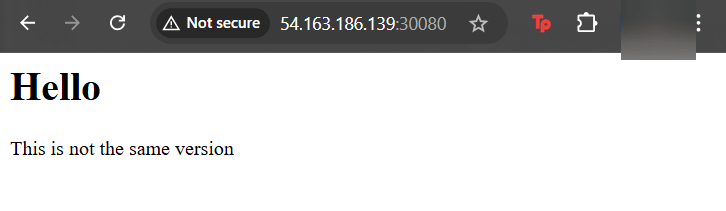
Update Index Data & Version #:
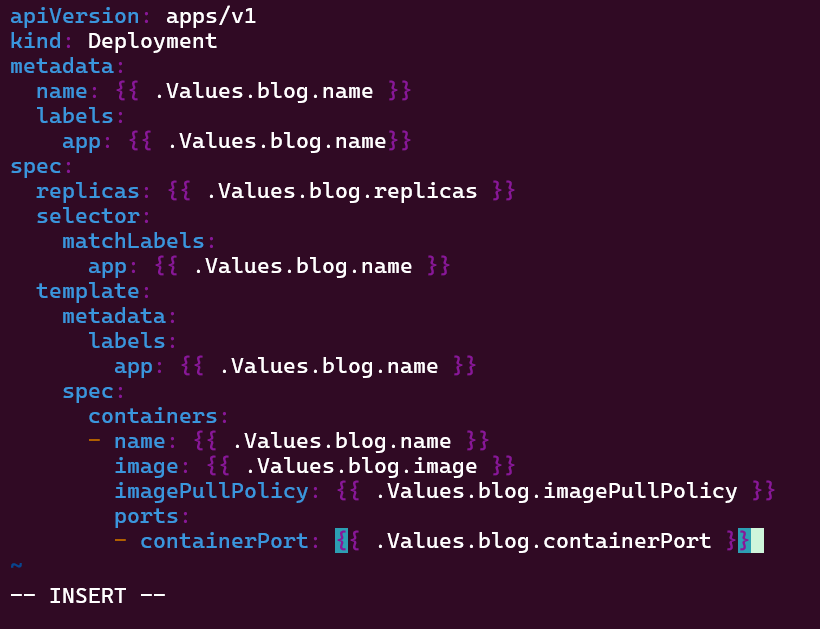
Update the files again:

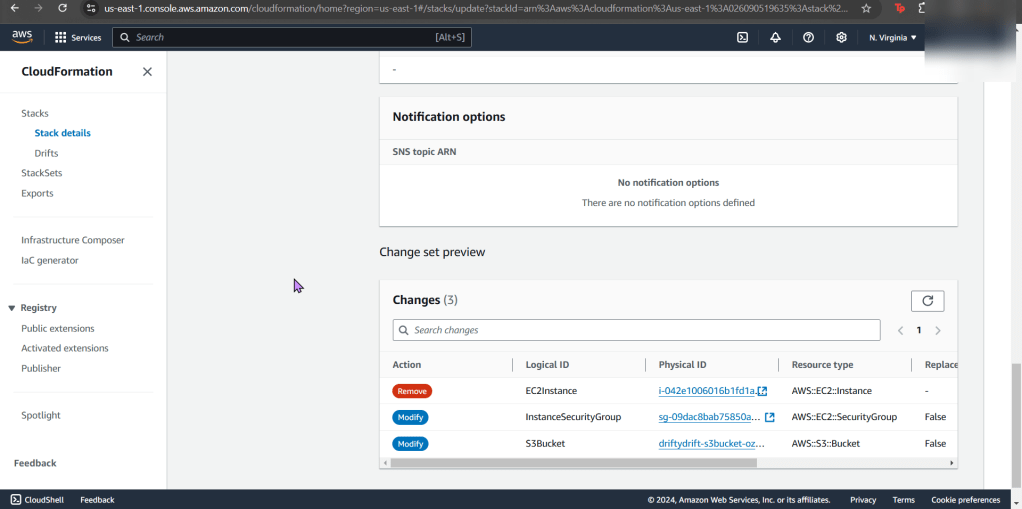
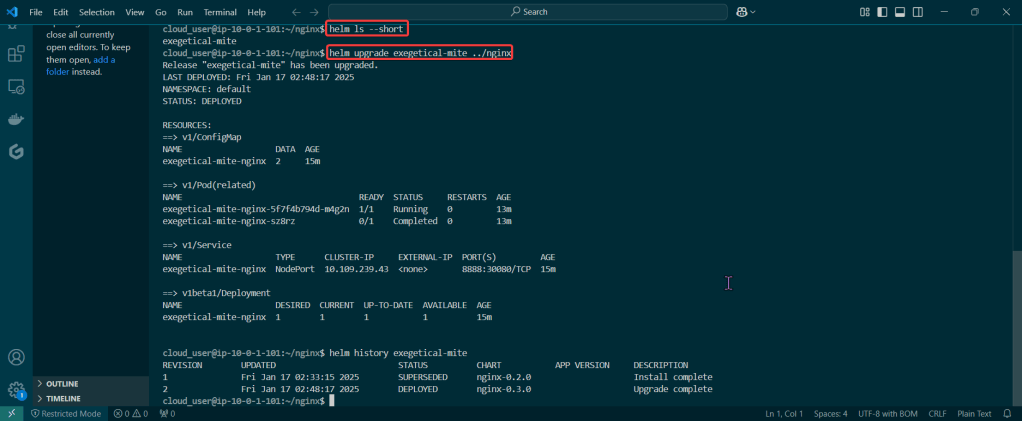
Helm ls –short & upgrade the release
- Just go to the values & Chart yaml files – – just update something!
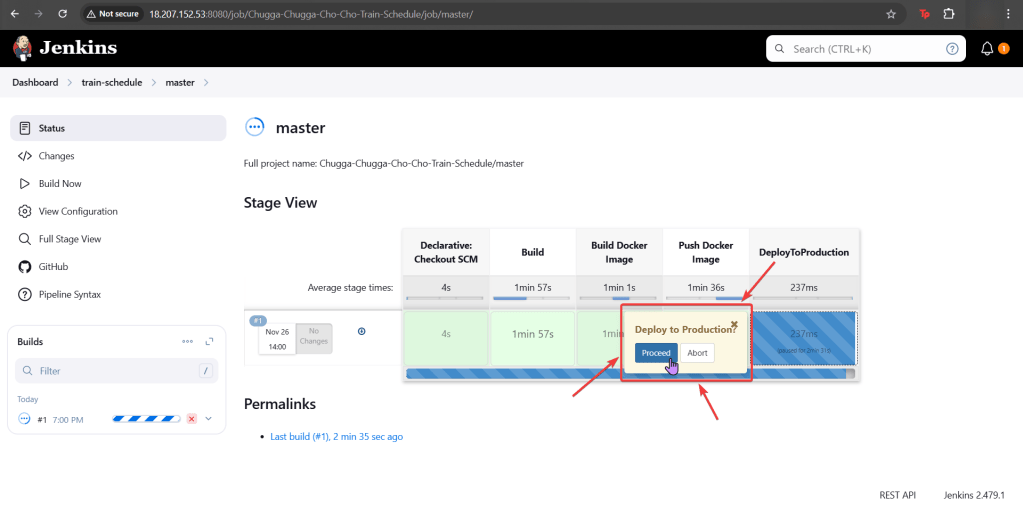
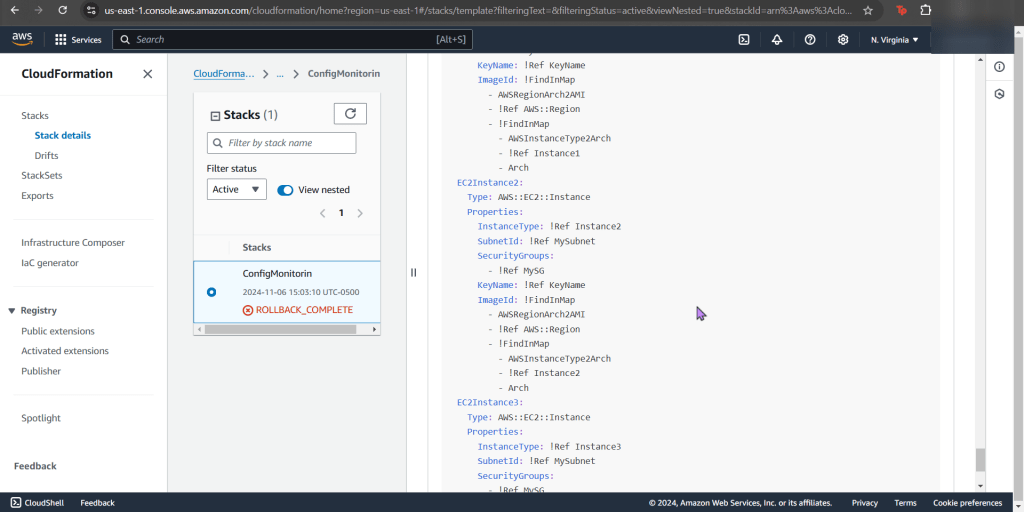
Rollback it on back now! – – – to Previous Version #: