Goal:
Shells are da bomb right? Just like in Mario Kart! Cloud Shell can be dope too in creating a Kubernetes cluster using EKS, lets party Mario.

Lessons Learned:
- Create an EKS cluster in a Region
- Deploy a Application to Mimic the Application
- Use DNS name of Load Balancer to Test the Cluster
AWS Stuff:
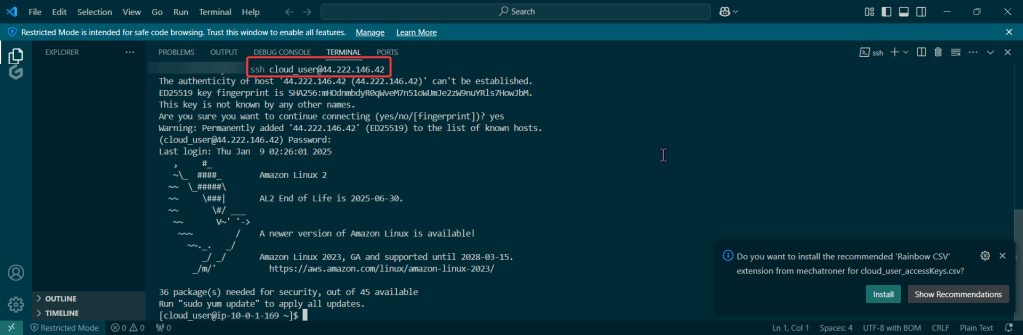
Create user w/admin access for CLI, & download access keys:

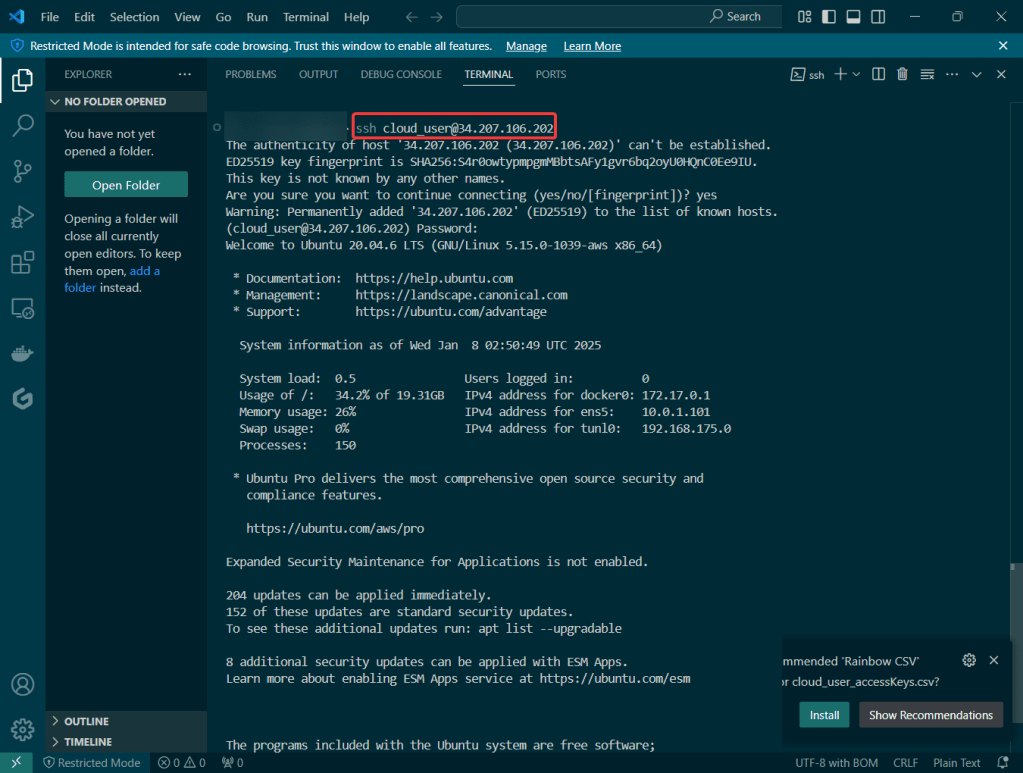
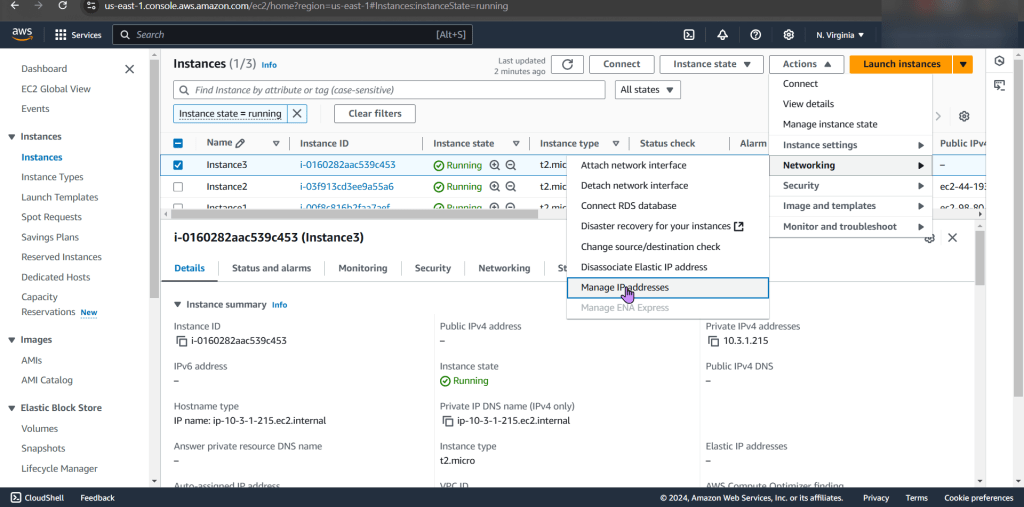
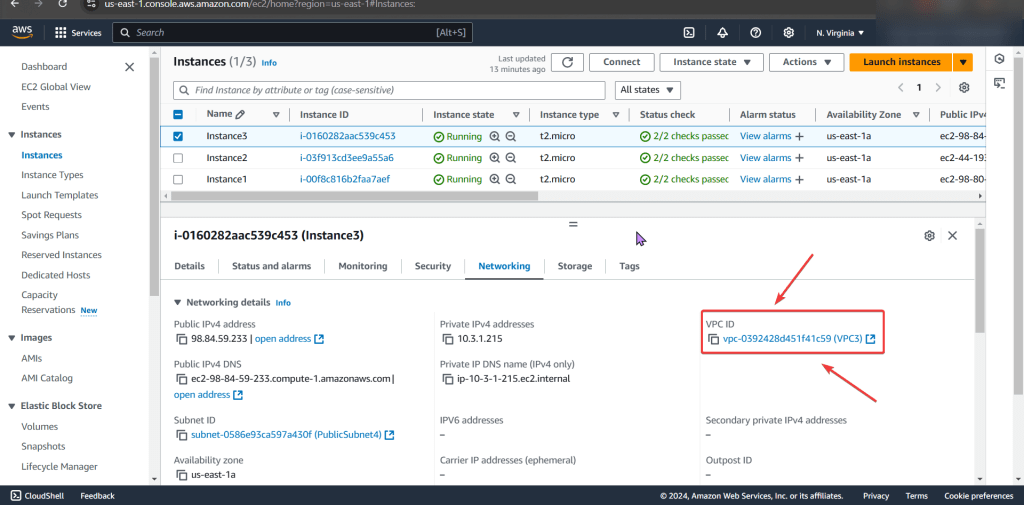
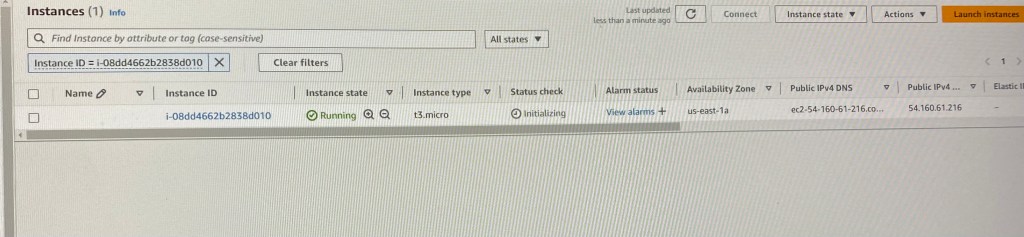
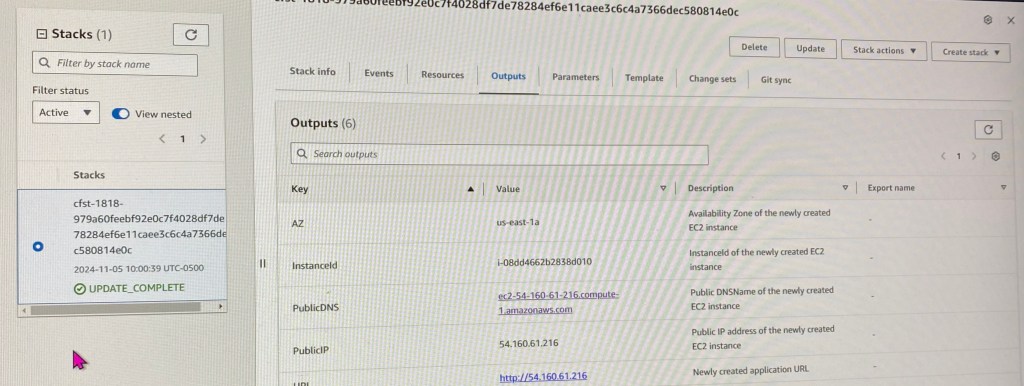
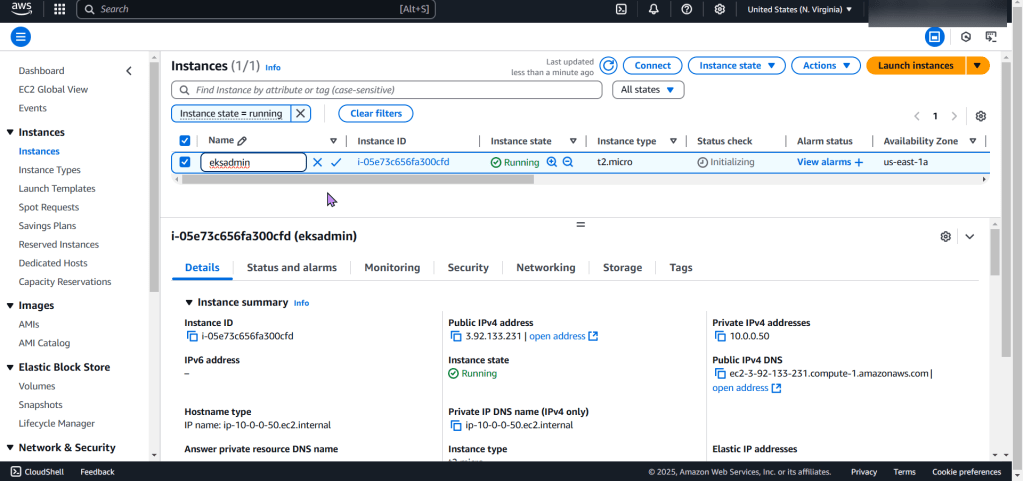
Create EC2:
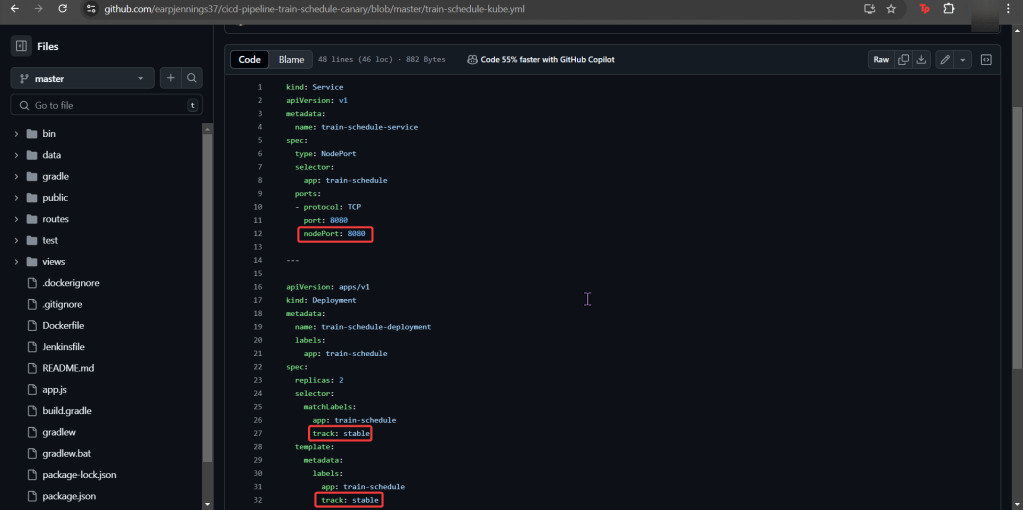
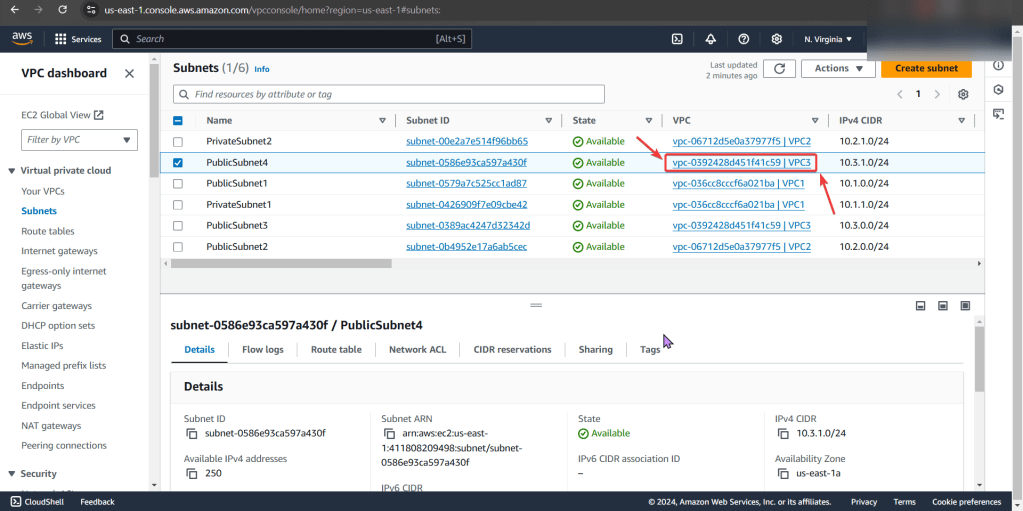
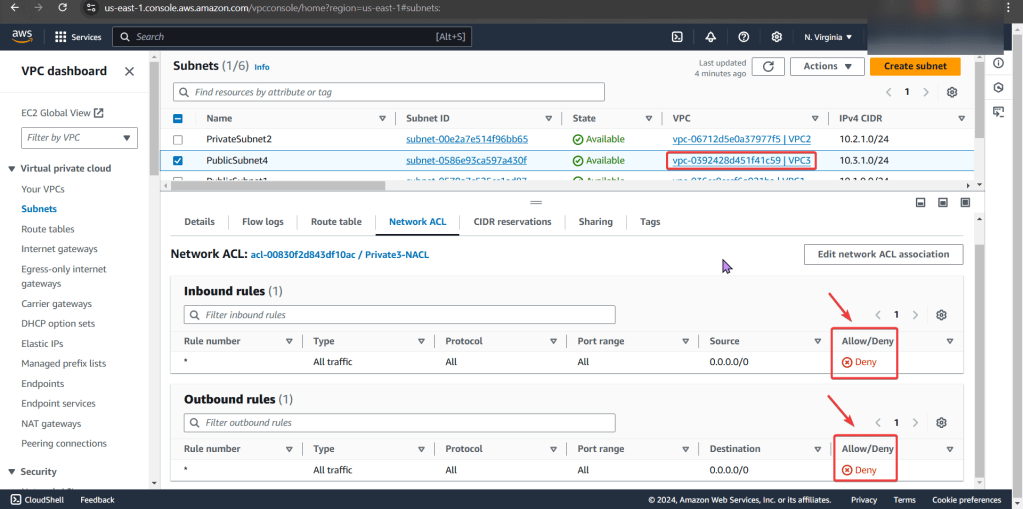
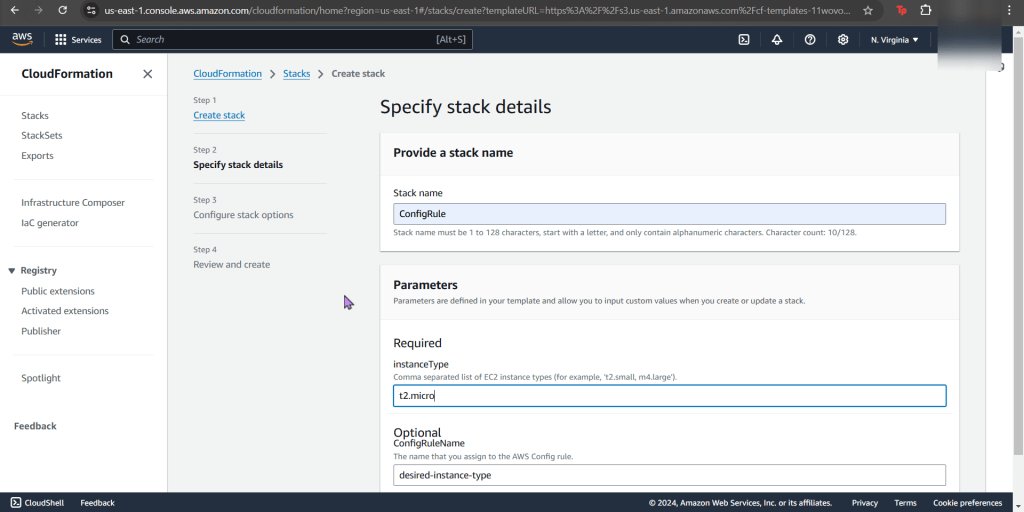
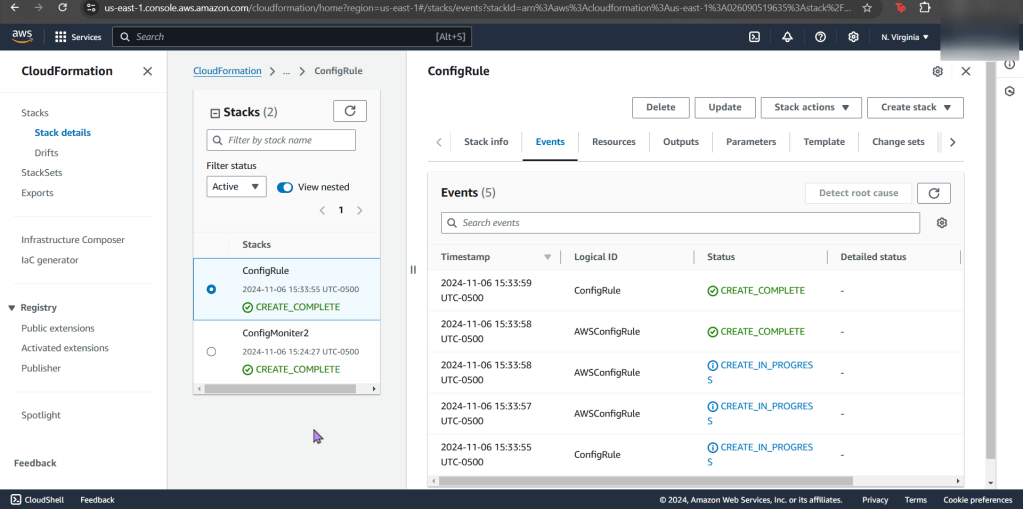
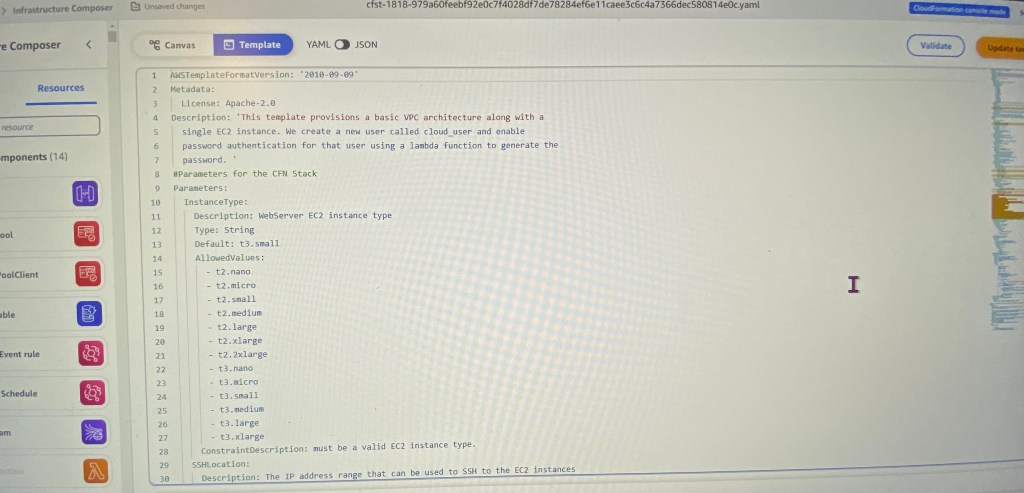
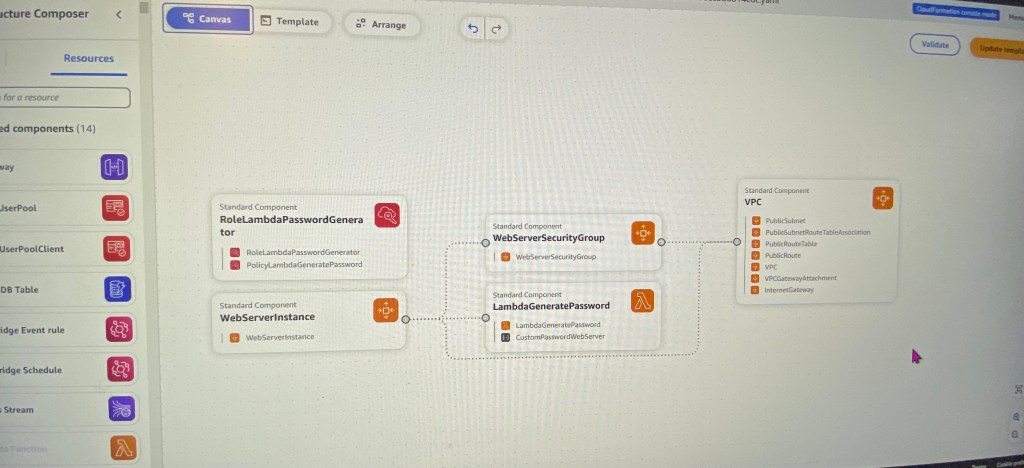
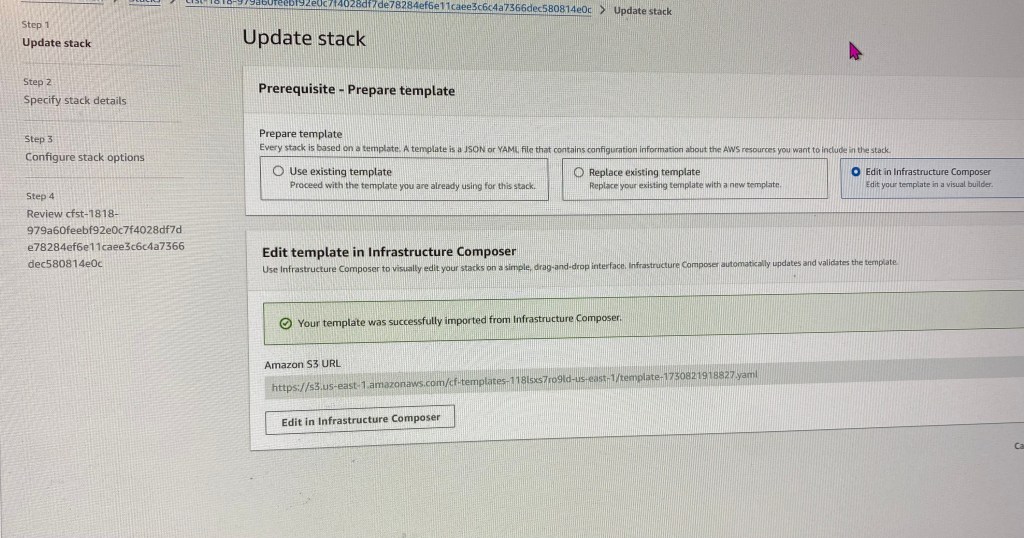
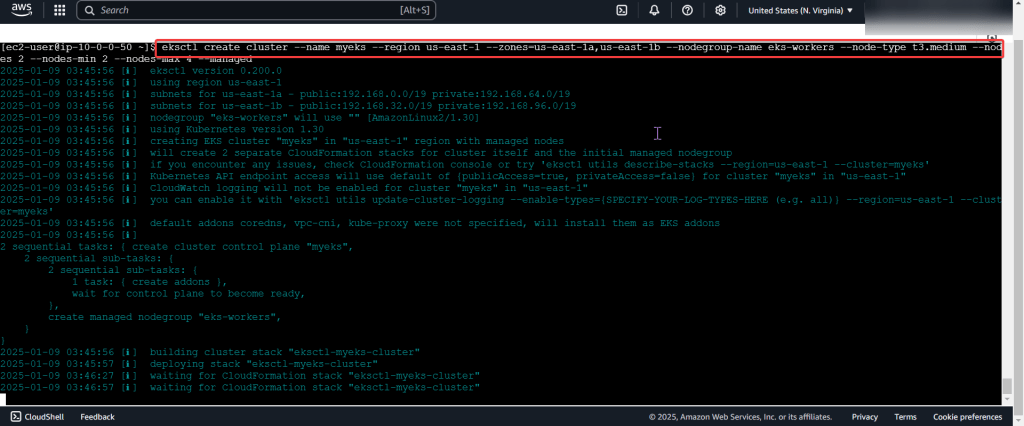
Create an EKS cluster in a Region:
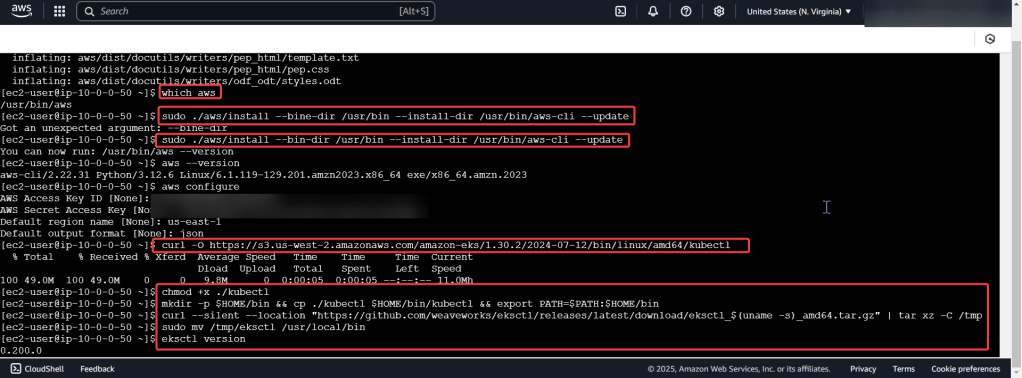
Download AWS CLI v2, kubectl, ekcctl, & move directory files:
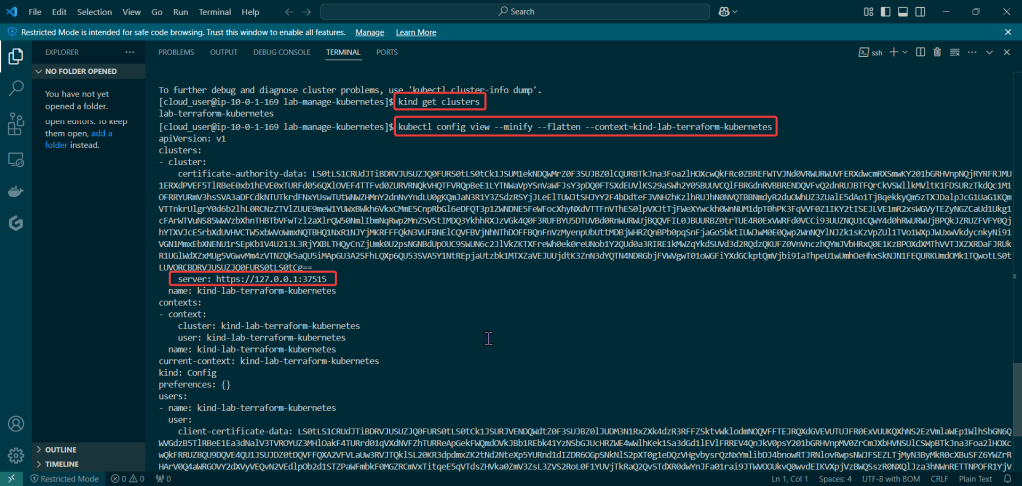
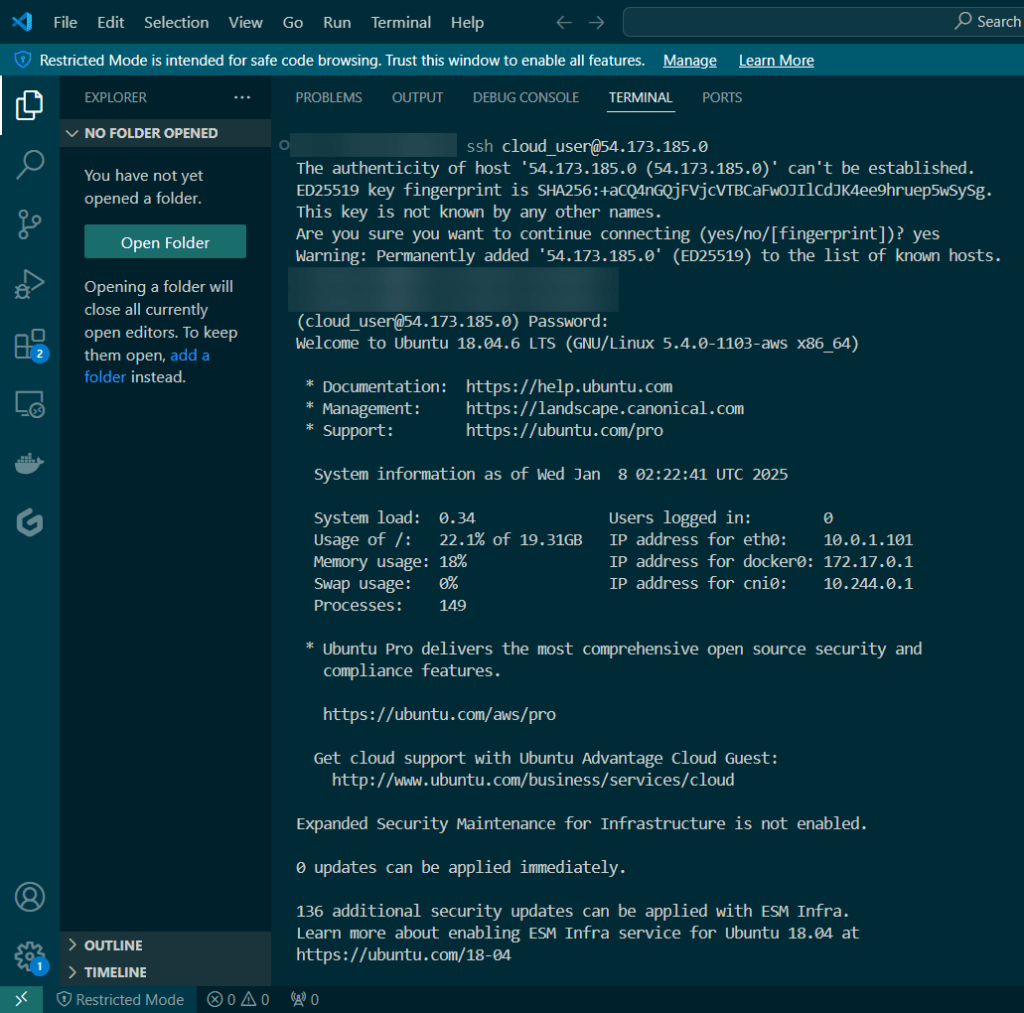
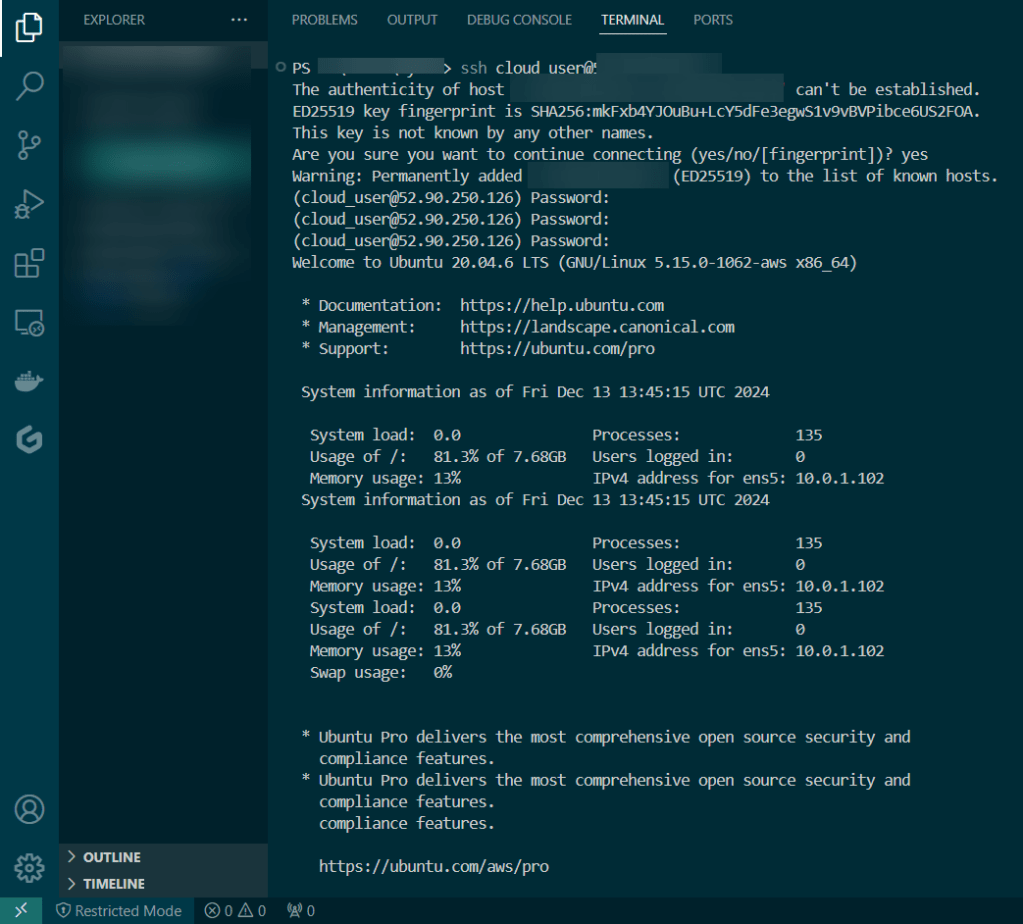
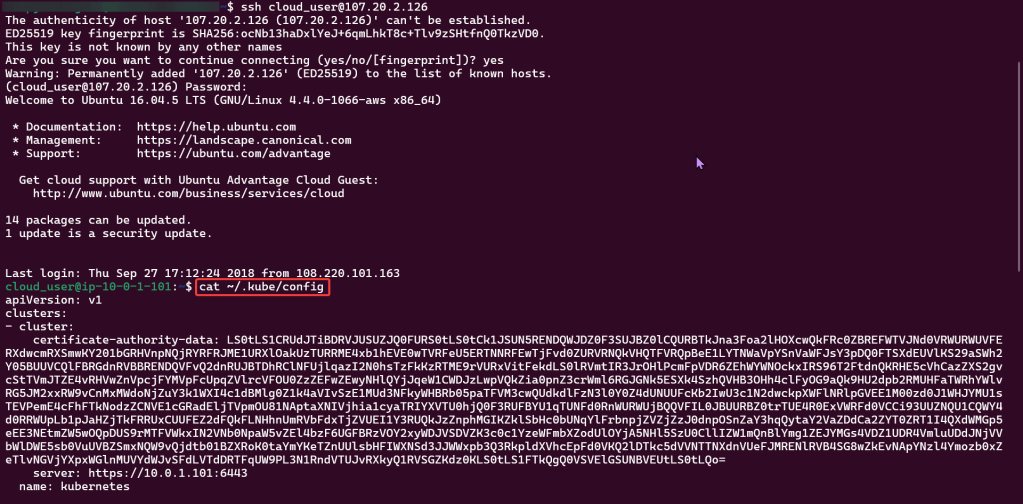
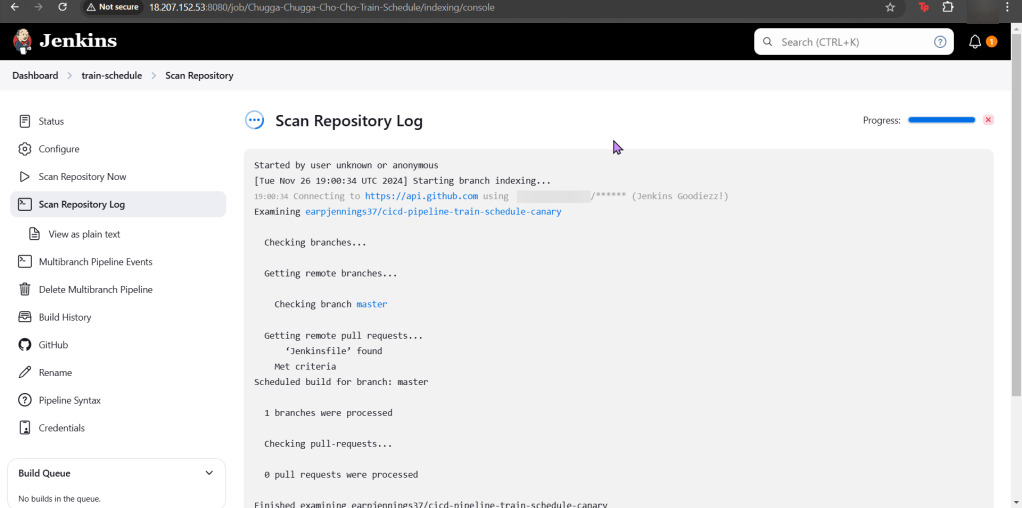
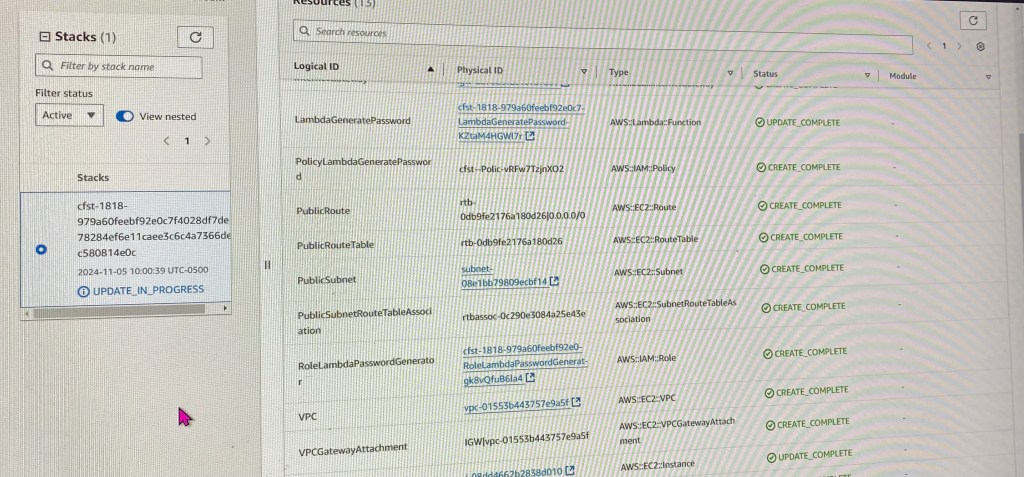
Create the cluster, connect, & verify running eksctl:

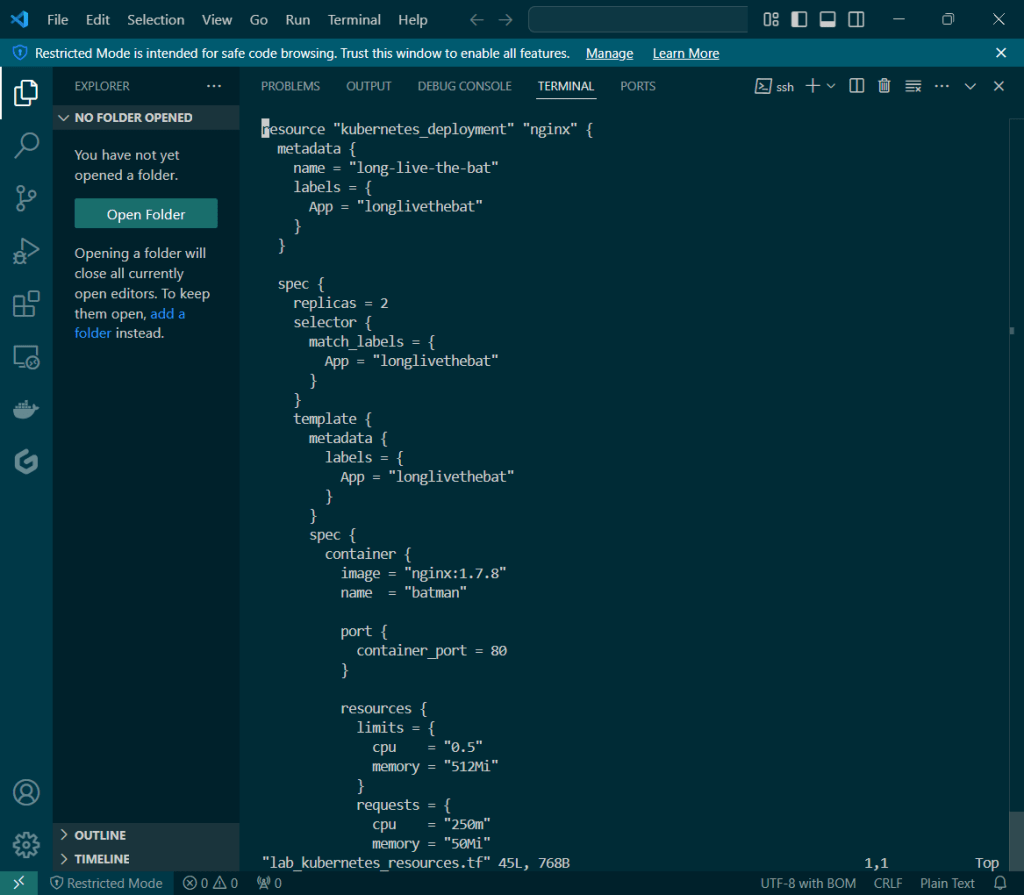
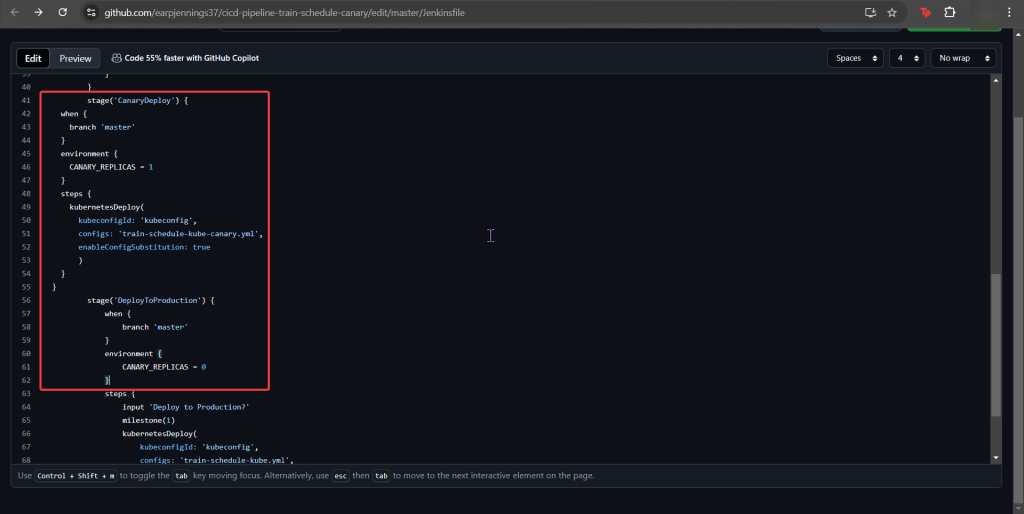
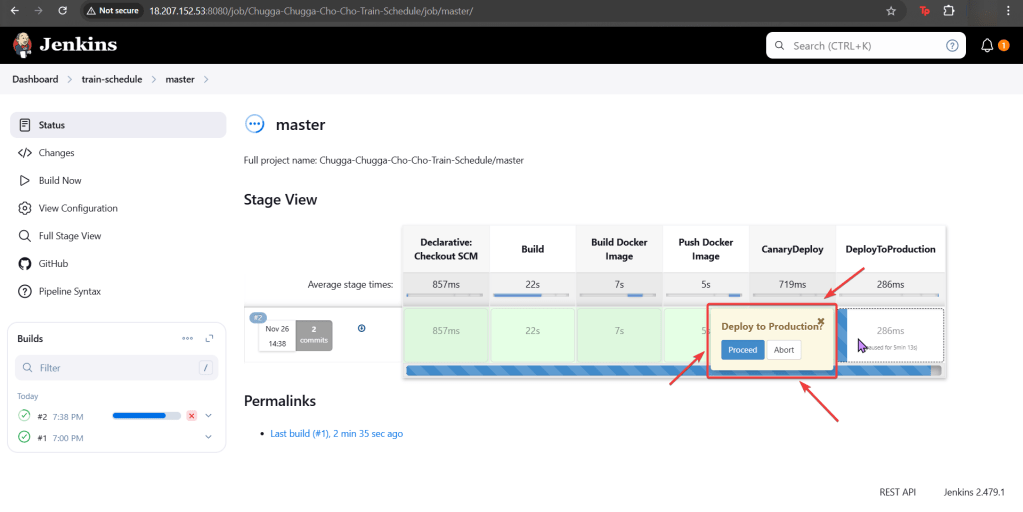
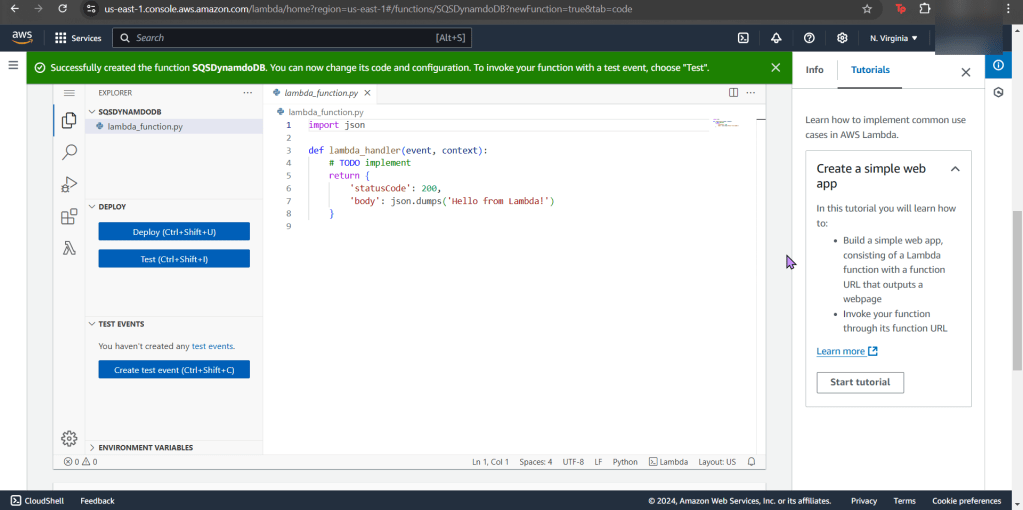
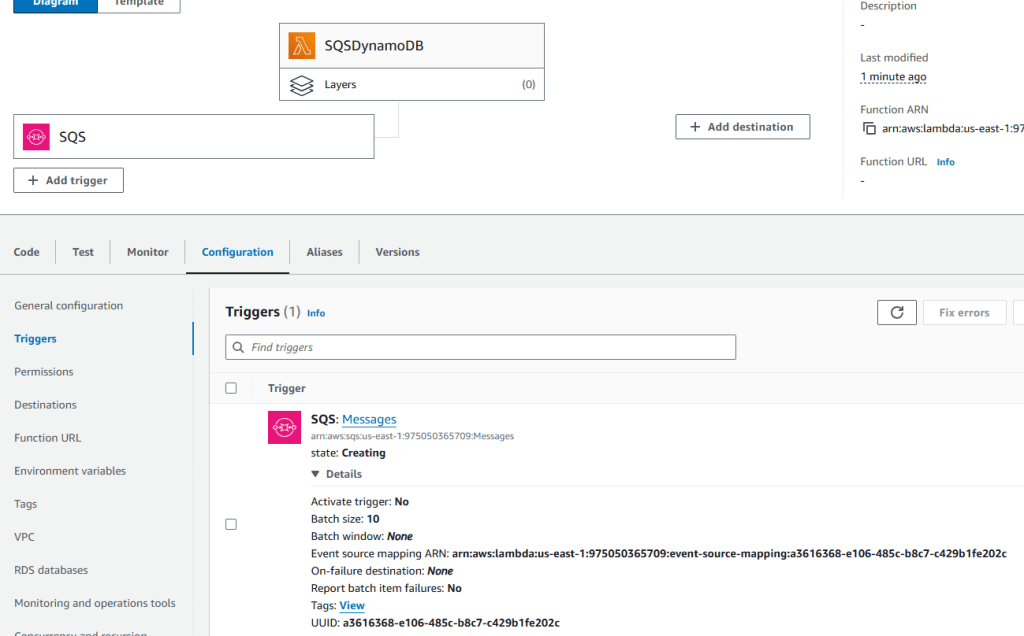
Deploy a Application to Mimic the Application

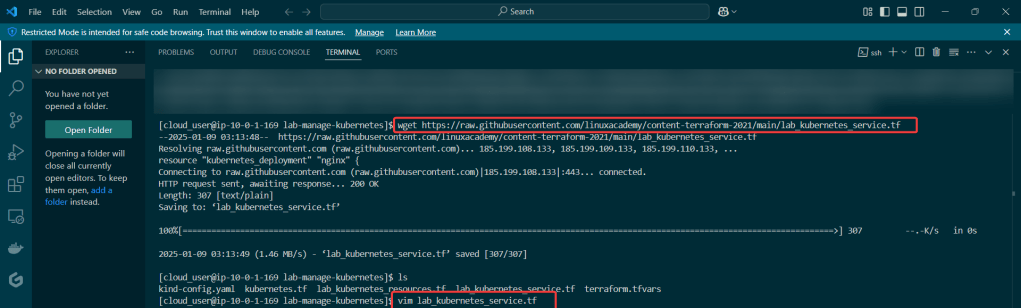
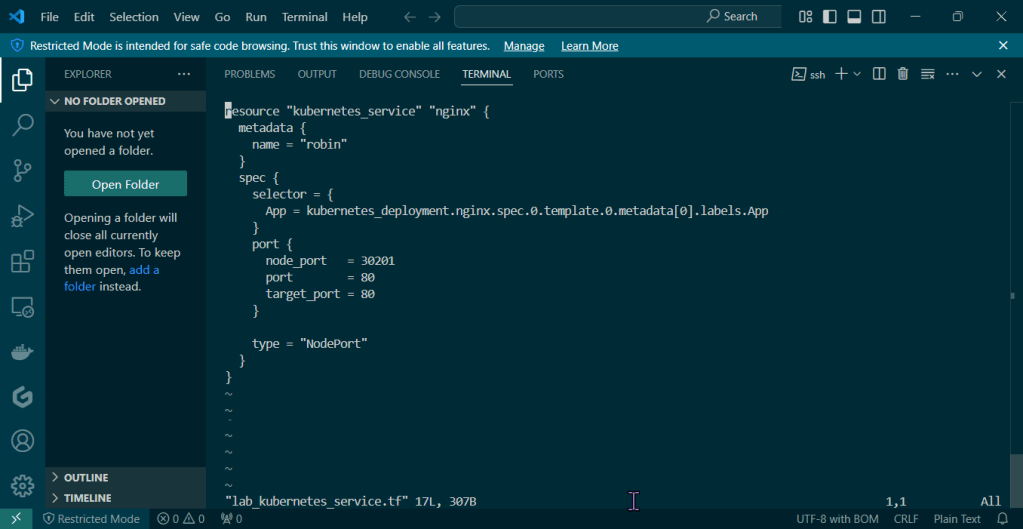
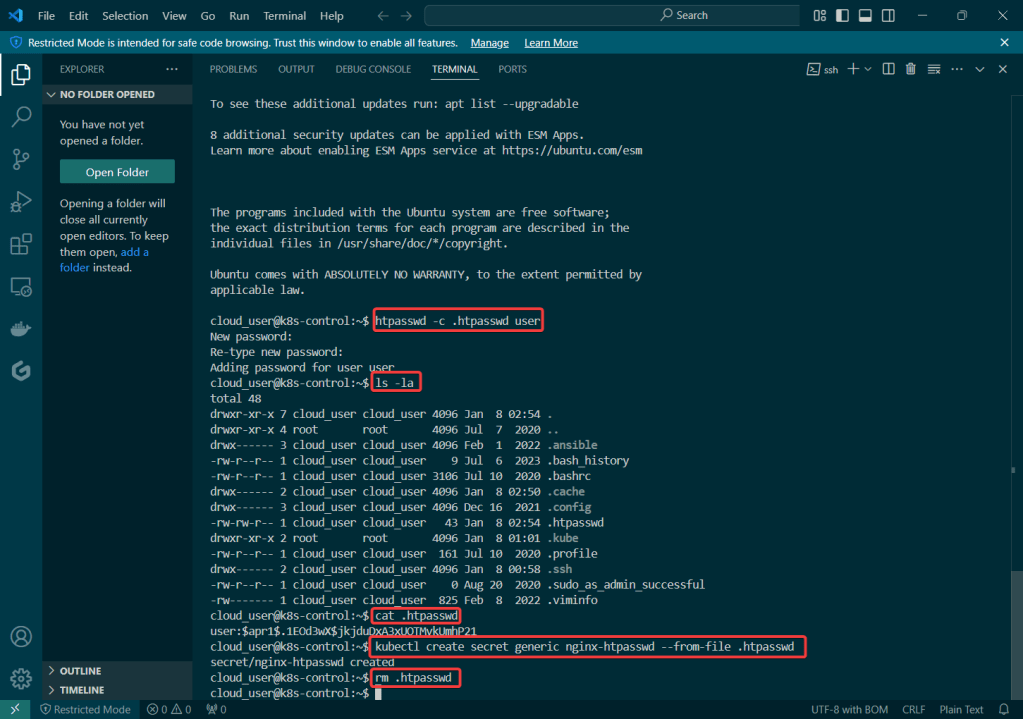
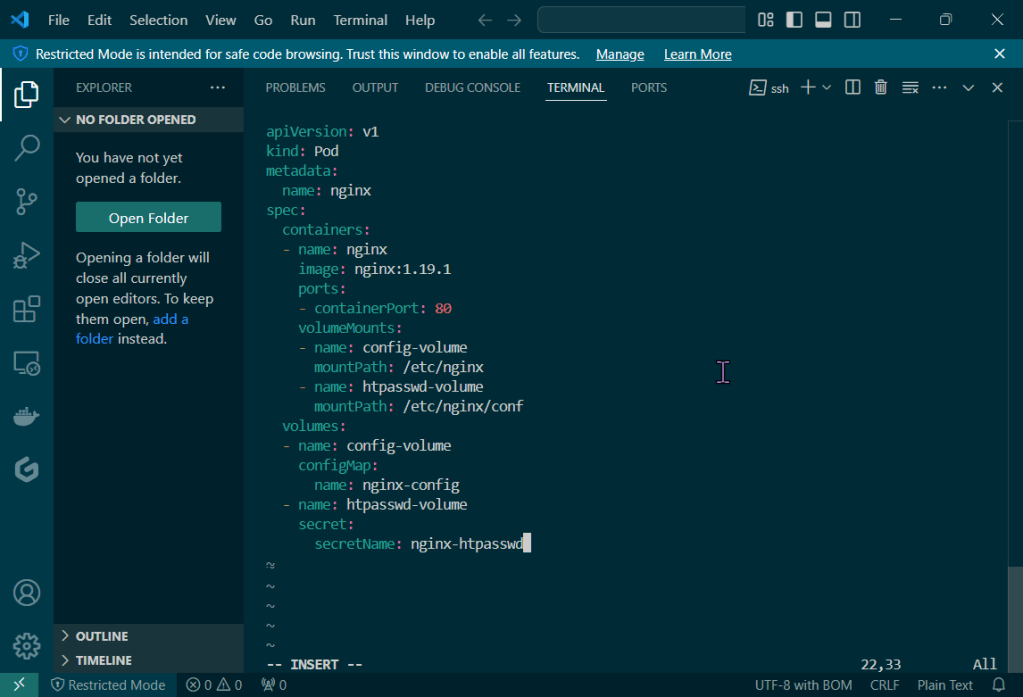
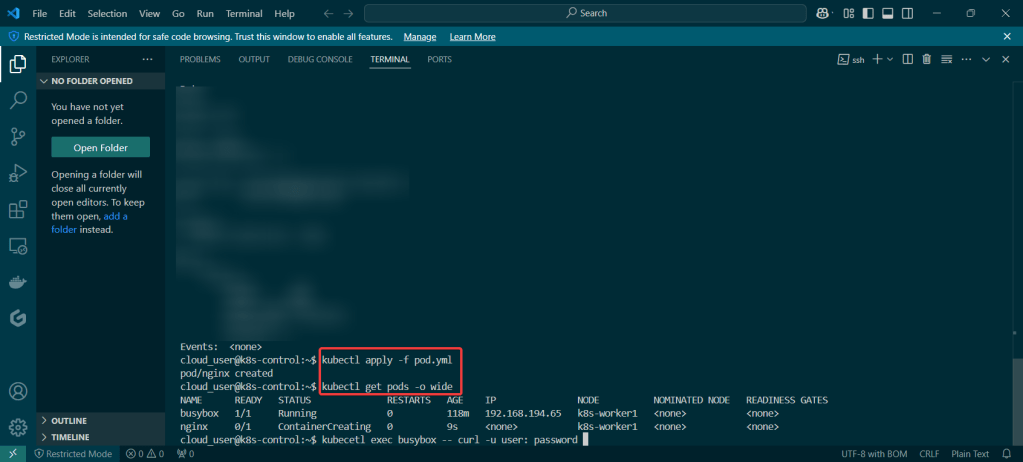
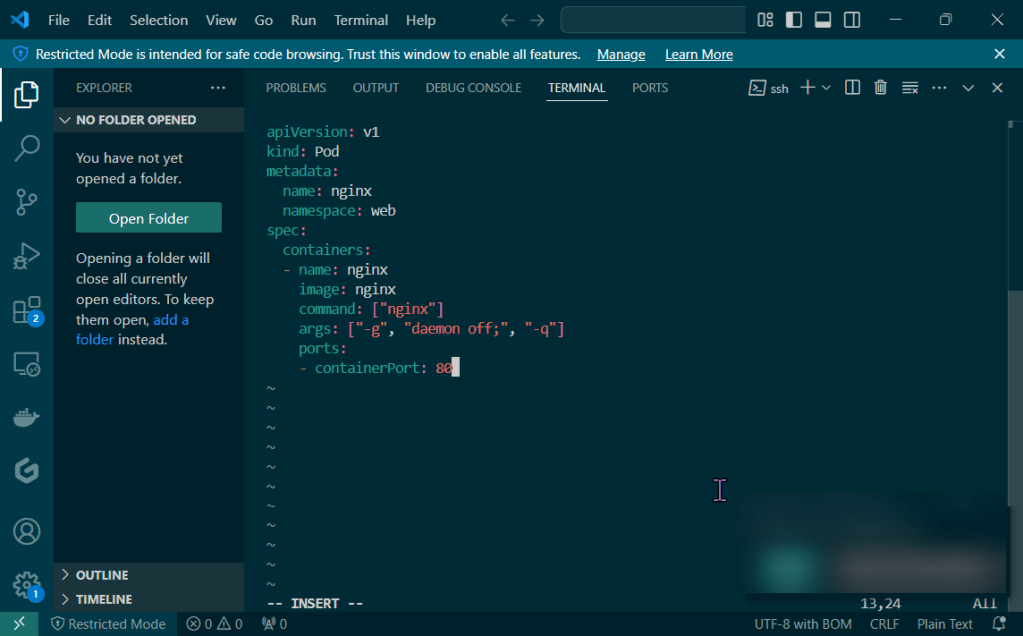
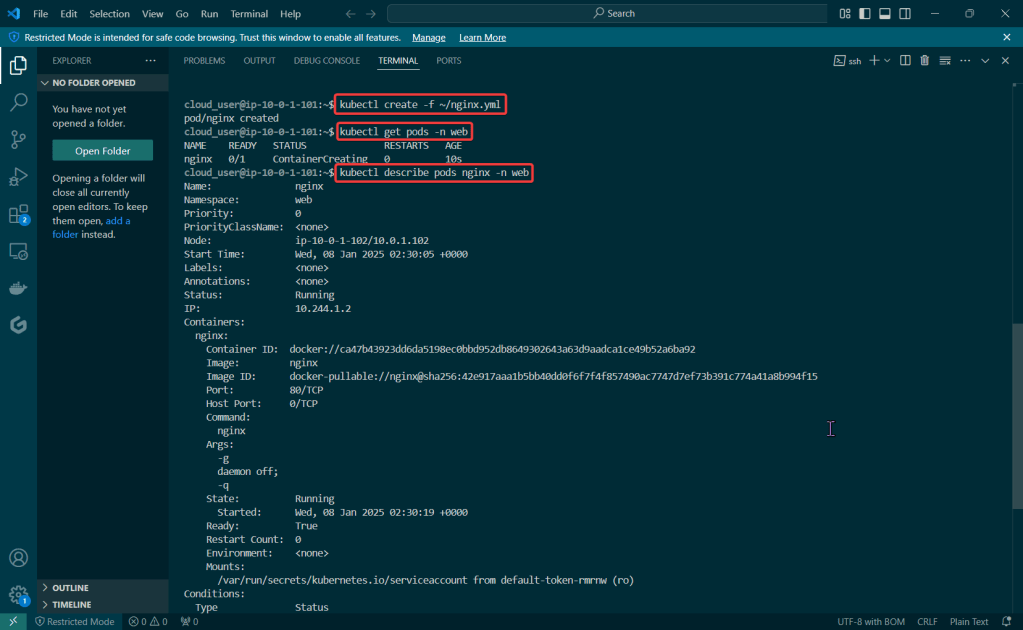
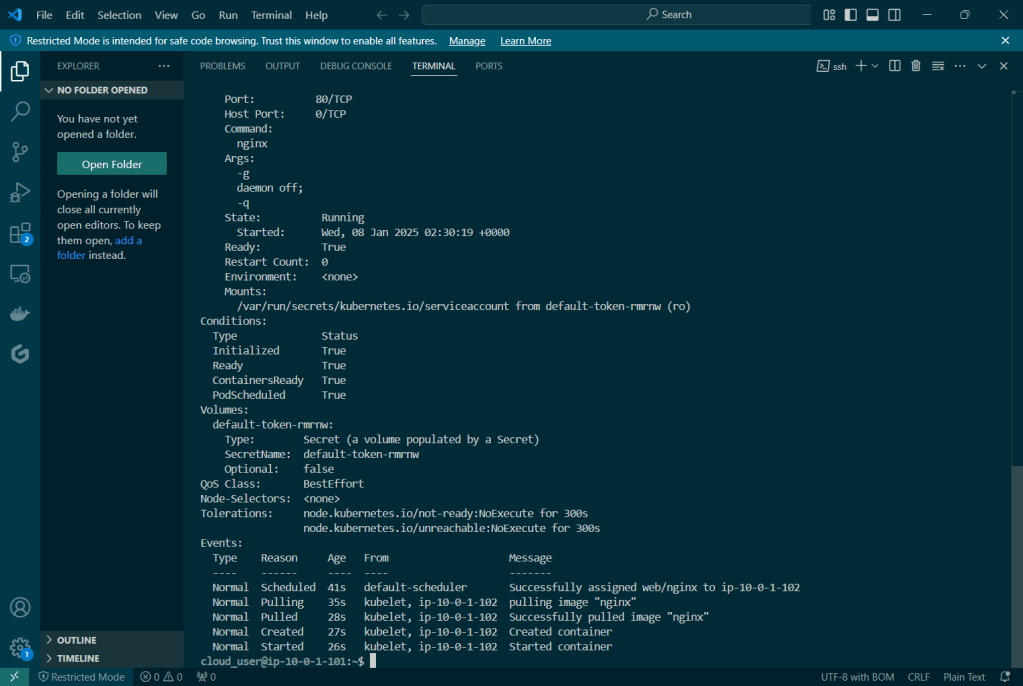
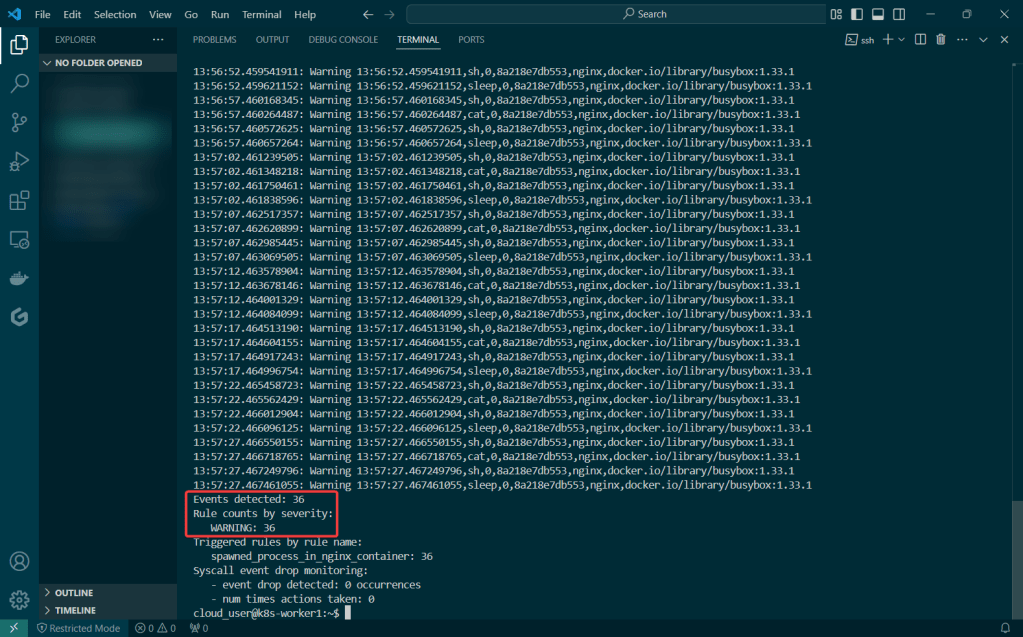
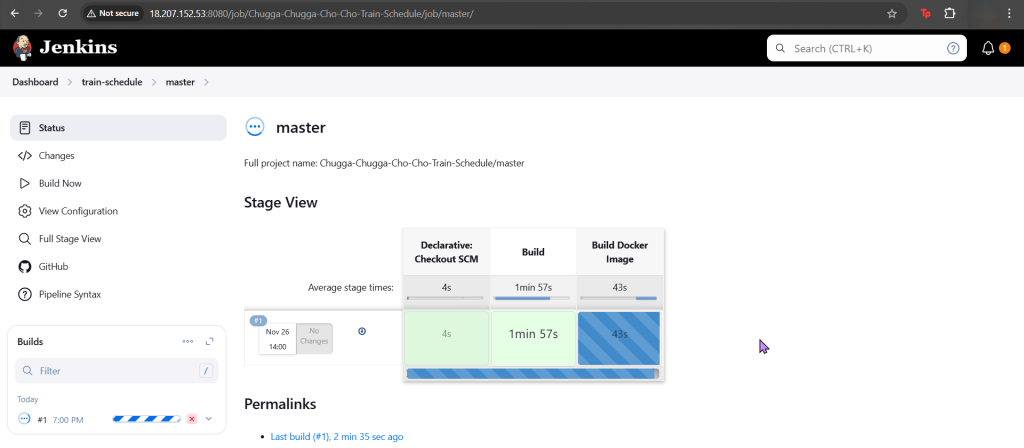
Run thru some kubectl applys to yaml files & test to see those pods running:
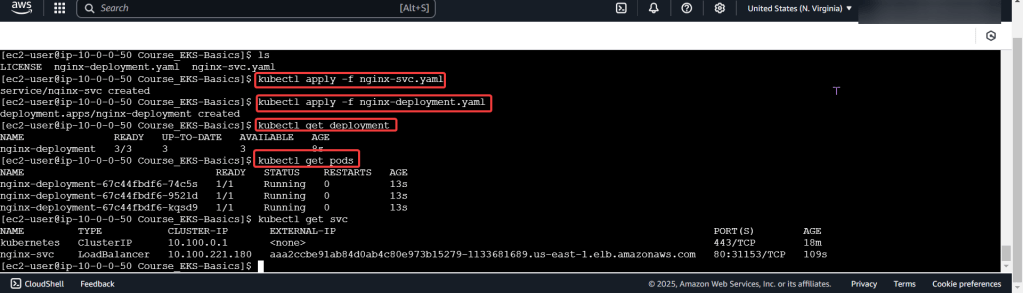
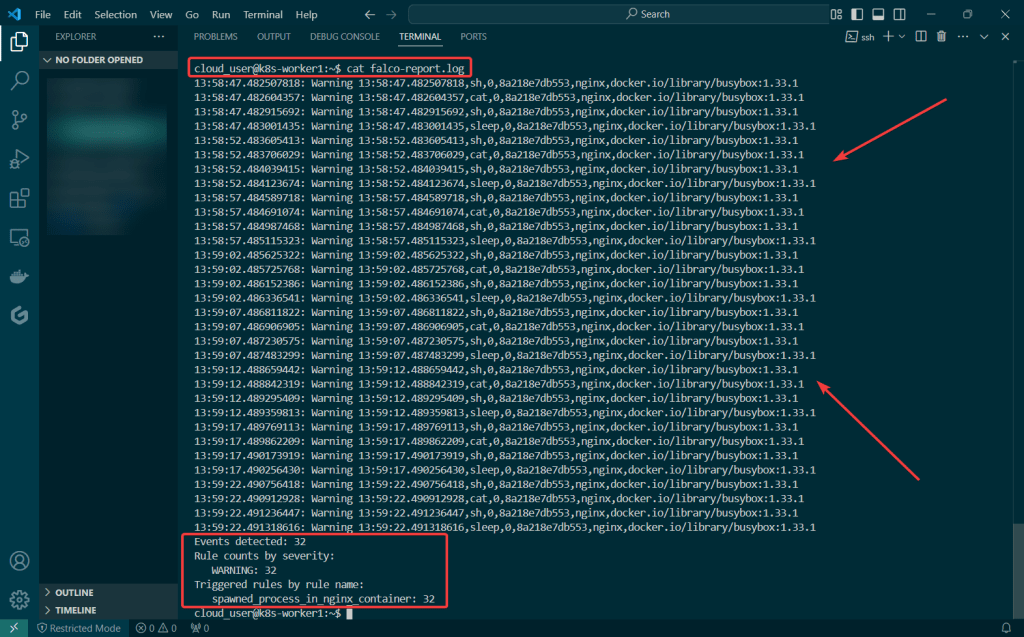
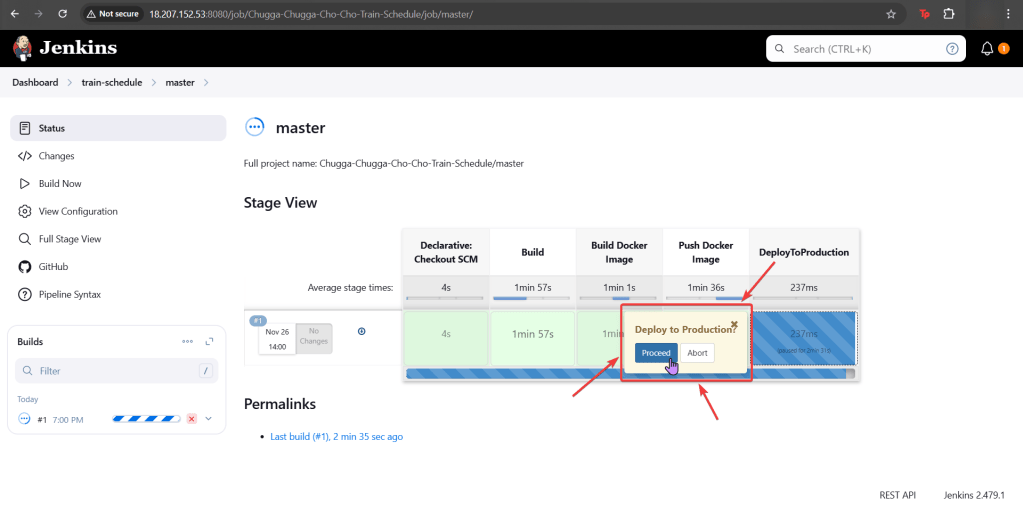
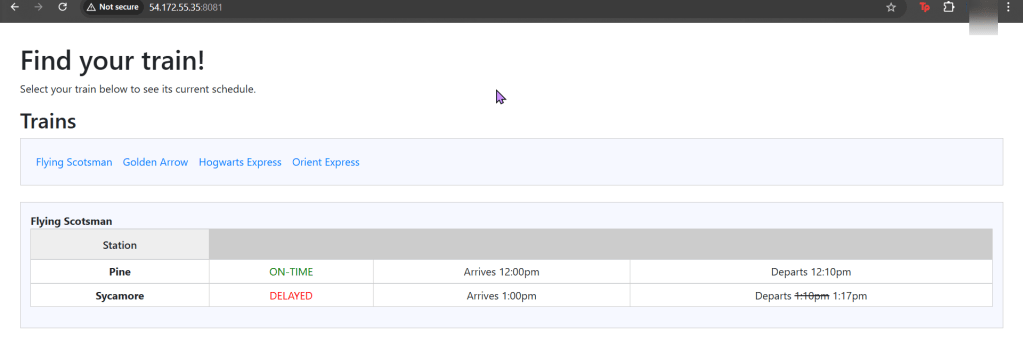
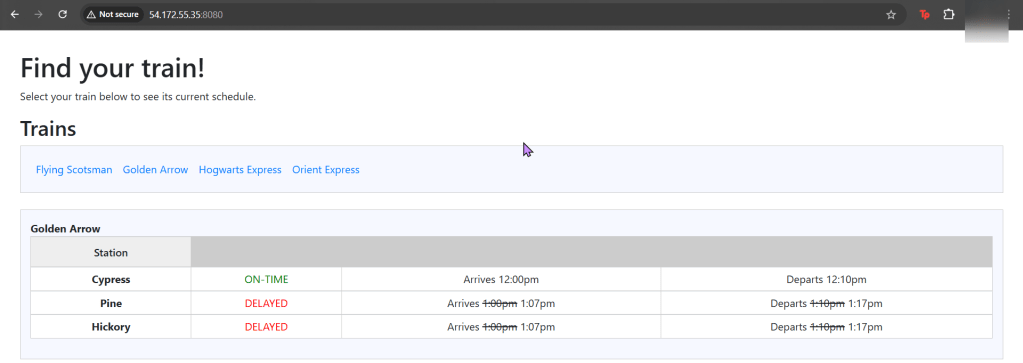
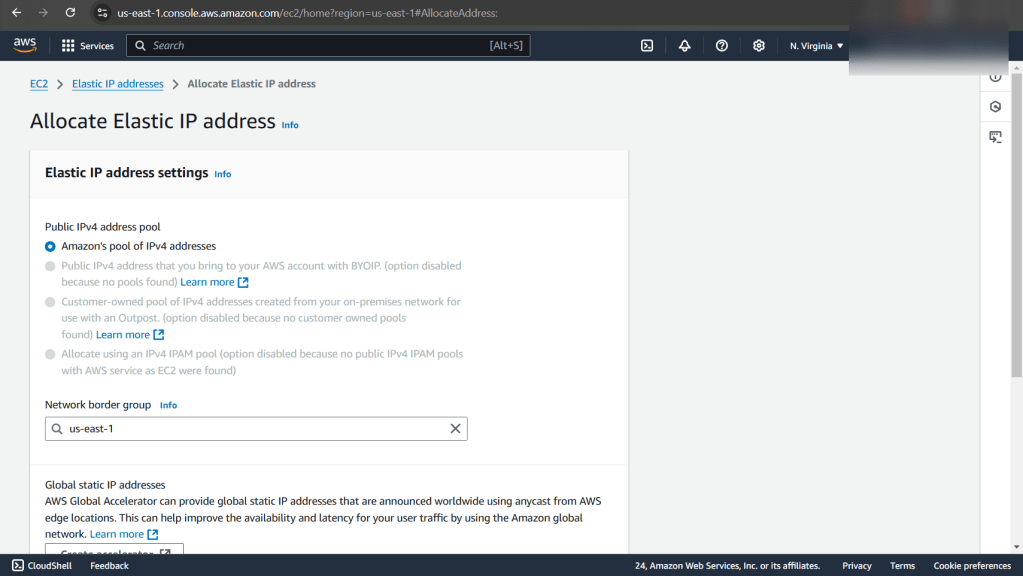
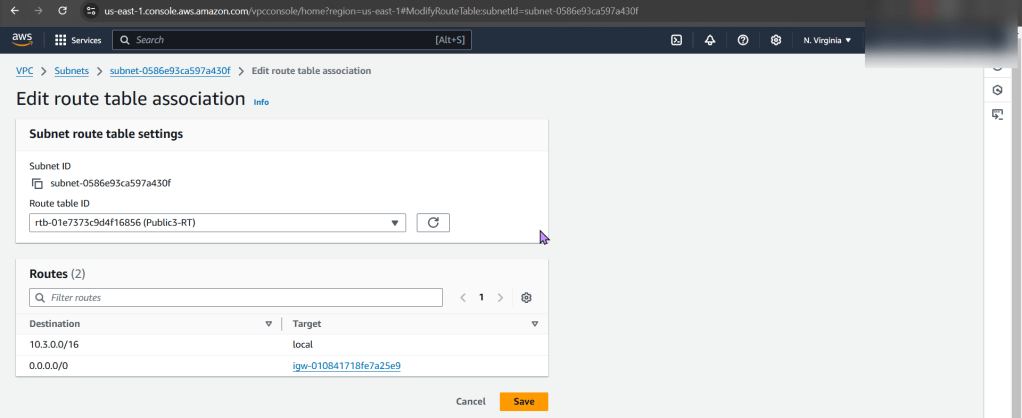
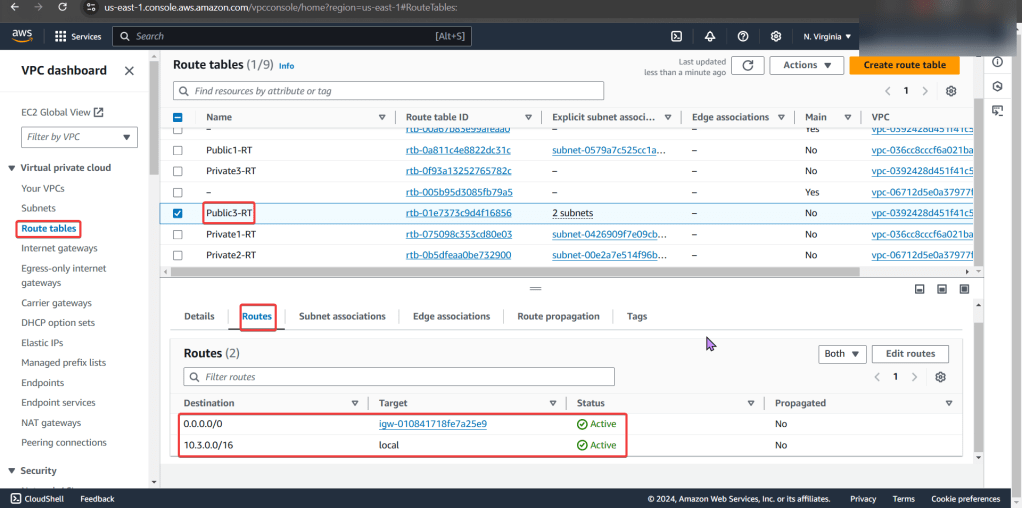
Use DNS name of Load Balancer to Test the Cluster:
- Now curl the load balancer DNS name…walllll-ahhhhh