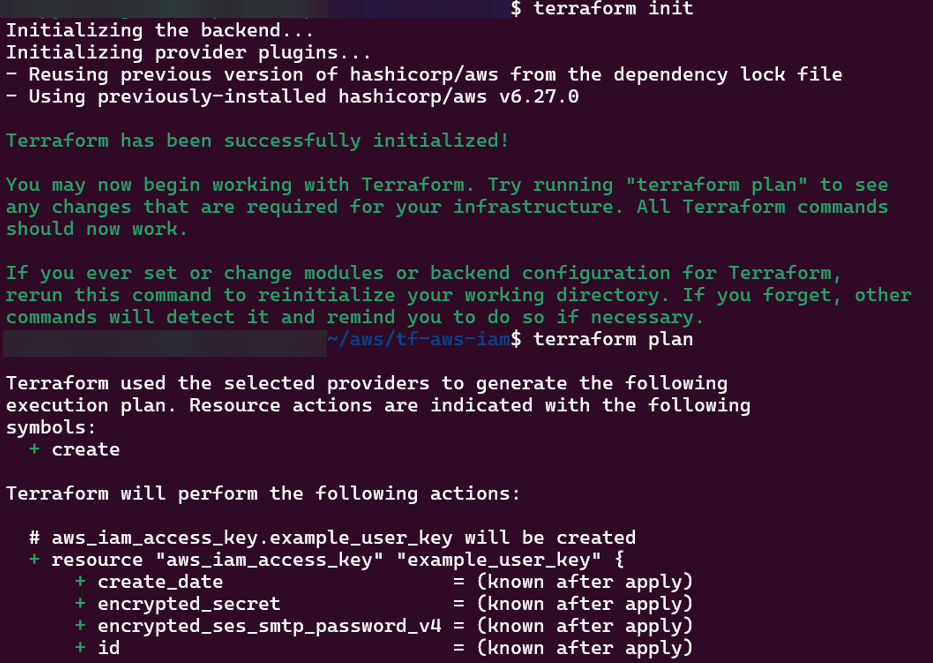
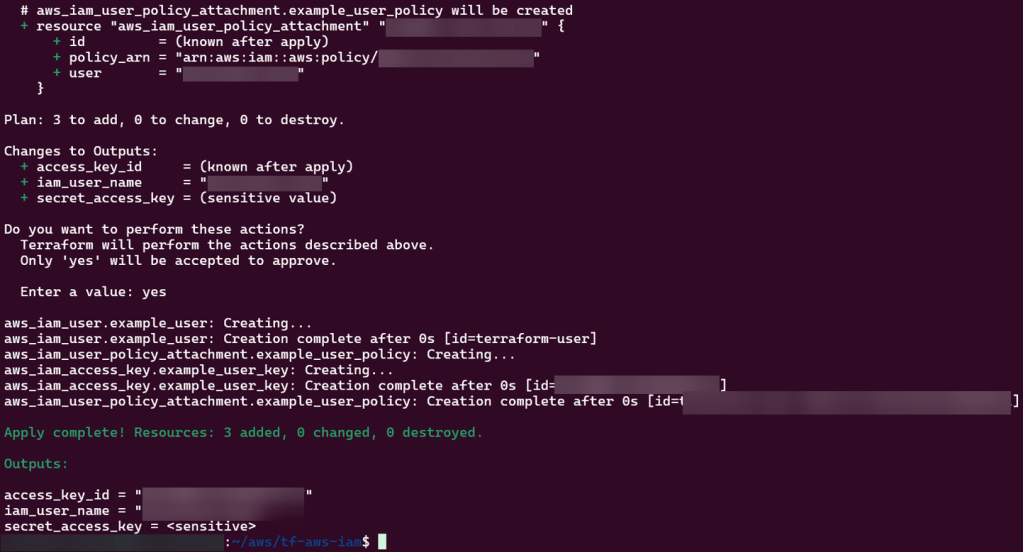
main.tf
provider "aws" {
  region = var.aws_region
}

# Create IAM user
resource "aws_iam_user" "example_user" {
  name = var.user_name
}

# Attach policy to the user
resource "aws_iam_user_policy_attachment" "example_user_policy" {
  user       = aws_iam_user.example_user.name
  policy_arn = var.policy_arn
}

# Create access keys for the user
resource "aws_iam_access_key" "example_user_key" {
  user = aws_iam_user.example_user.name
}
output.tf
output "iam_user_name" {
  value = aws_iam_user.example_user.name
}

output "access_key_id" {
  value = aws_iam_access_key.example_user_key.id
}

output "secret_access_key" {
  value     = aws_iam_access_key.example_user_key.secret
  sensitive = true
}
Inspiration is clutch & I received it for starting this bad boy, so why not dedicate the first post in how I Frankensteined (woah – I created a blog, a blog post, & a past tense verb all in one) it together?
My Goal:
Was to create a blog & WordPress site – I then had a brain blast (Queue Jimmy Neutron), what if I did this through some from of IaC? So I tried the basic goodies, you know:
Terraform
Ansible
Docker
AWS
ChatGPT
WUT!?
Click-Opps
Back-pocked that for last on the learning journey
All were fun to mess w/& see where I got stuck quicker than others to debug some of the code. However this post follows the option of AWS & I see joy in posting the other journeys I had later, but for now lets not see double & jerk that pistol & go to work (name that movie).
Lessons Learned:
New ways to spend my Bennies ($$$) w/a AWS Account, ayyyy
Create an RDS instance for the MySQL database
Create an EC2 instance for the WordPress application
Install and configure WordPress on EC2
Upload and download files to and from S3
Access your WordPress site from the internet
Step 1: Create a RDS instance for MySQL Database
Prolly important to have something to store “my precious” (another movie quote) data aka goodiezzzz
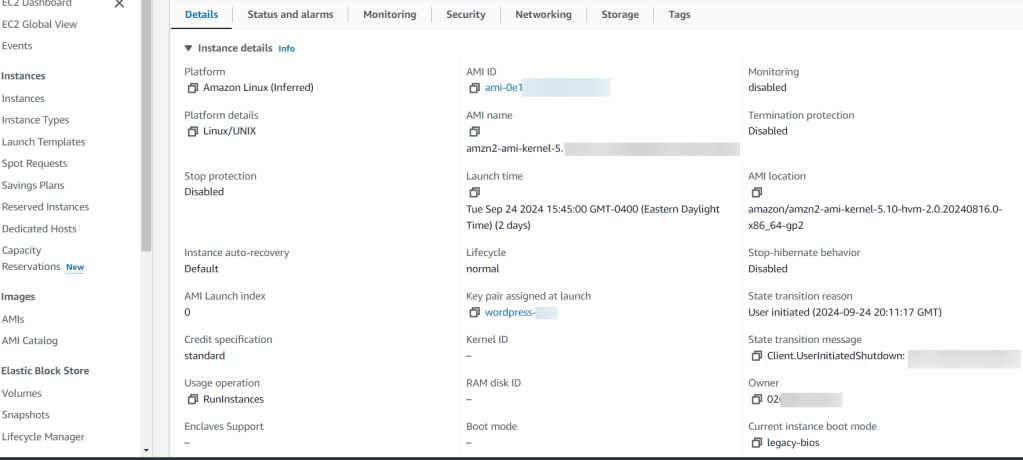
Step 2: Create EC2 Instance
I wanted to get virtual & had a plethora of options to configure w/AMI, instance type, storage, tags, key names, security groups, etc.
Oh yeah, I overlooked the key pair part…I didn’t save/remember that information – so I had to re-do this. #DOAHHHHH
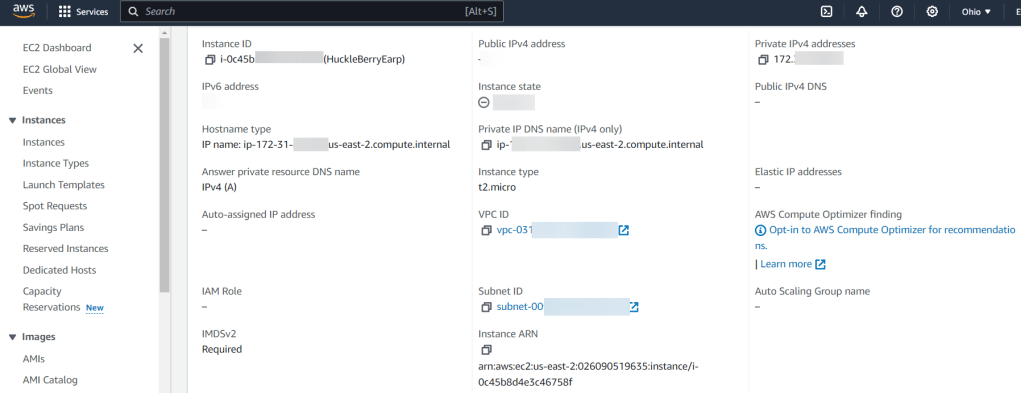
Step 3: SSH into EC2
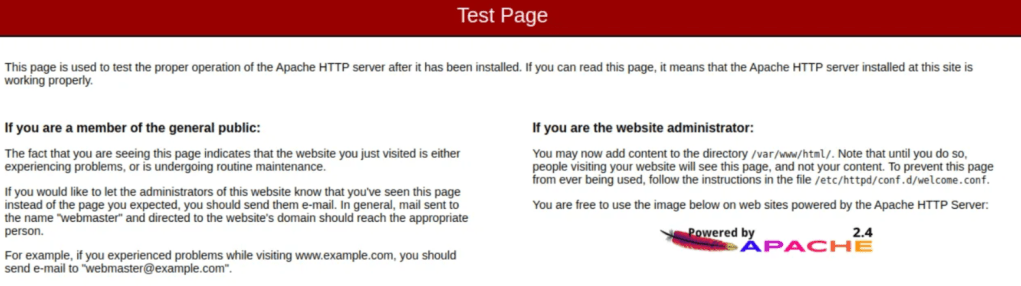
Here was a quick double check of my work that helped me re-navigate in the console to find key information to plug-in to my SSH command (yeah, I used PowerShell. Why? Cuz its the most powerfullest, duh)
Then after some yum & systemctl – I had an apache test page… Woah, I know fancy.
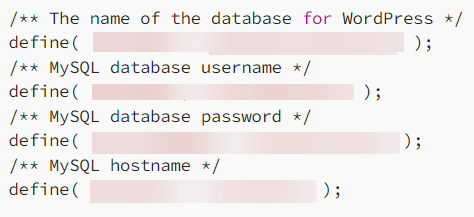
Really had to pay attention to the next handful of commands to download the latest WordPress Package, Extract it, change ownership w/some chown, & then nano/vi into the configuration file.
Couple Example Below (sparing you all the commands):
Then after copy-pasta the public-IP-Address from AWS I started to click more stuff..
Conclusion:
Just like that it was done & could check into the blog & AWS to see the specimen…. ANNNNND then I tore it down. Why? Cuz I was intrigued by the other options available & see the other avenues to create a blog. I don’t have a favorite, but as mentioned above I’ll have posts about how to create a WordPress blog in the handful of options above. Yeah, even some Chat GPT action, stay tuned.