
Goal:
Alright alright alright…. lets create a lil baby pod & eventually create an entire Kubernetes application!!
Lessons Learned:
- Create YAML file w/the pod details for the nginx pod
- Create the pod…just do it!
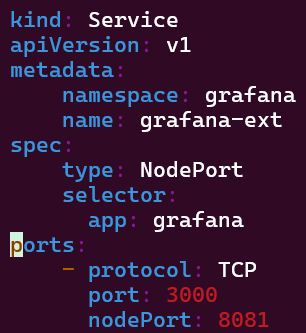
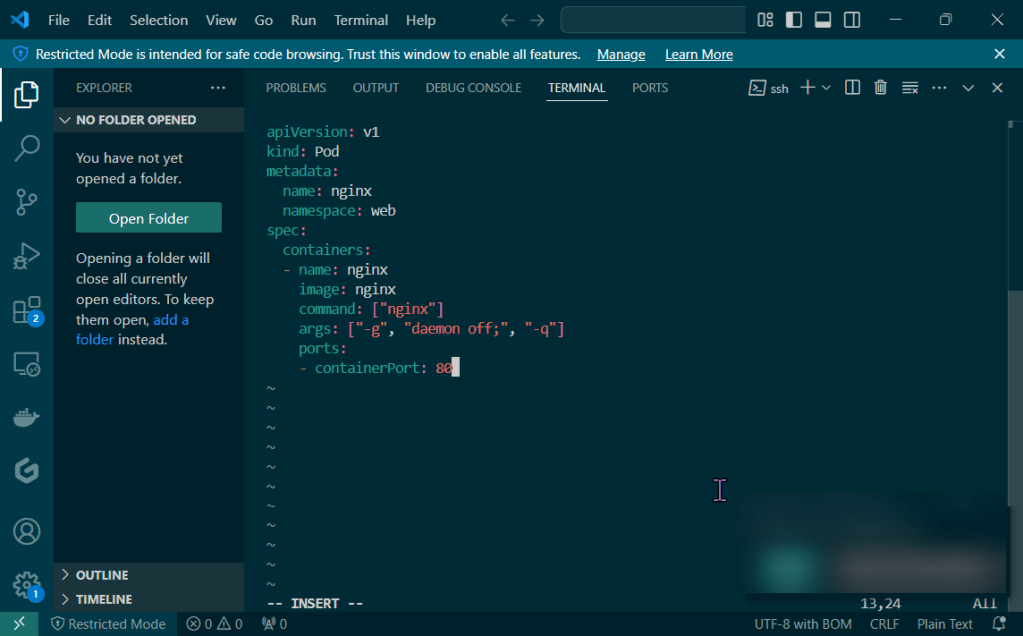
Create YAML file w/the pod details for the nginx pod:
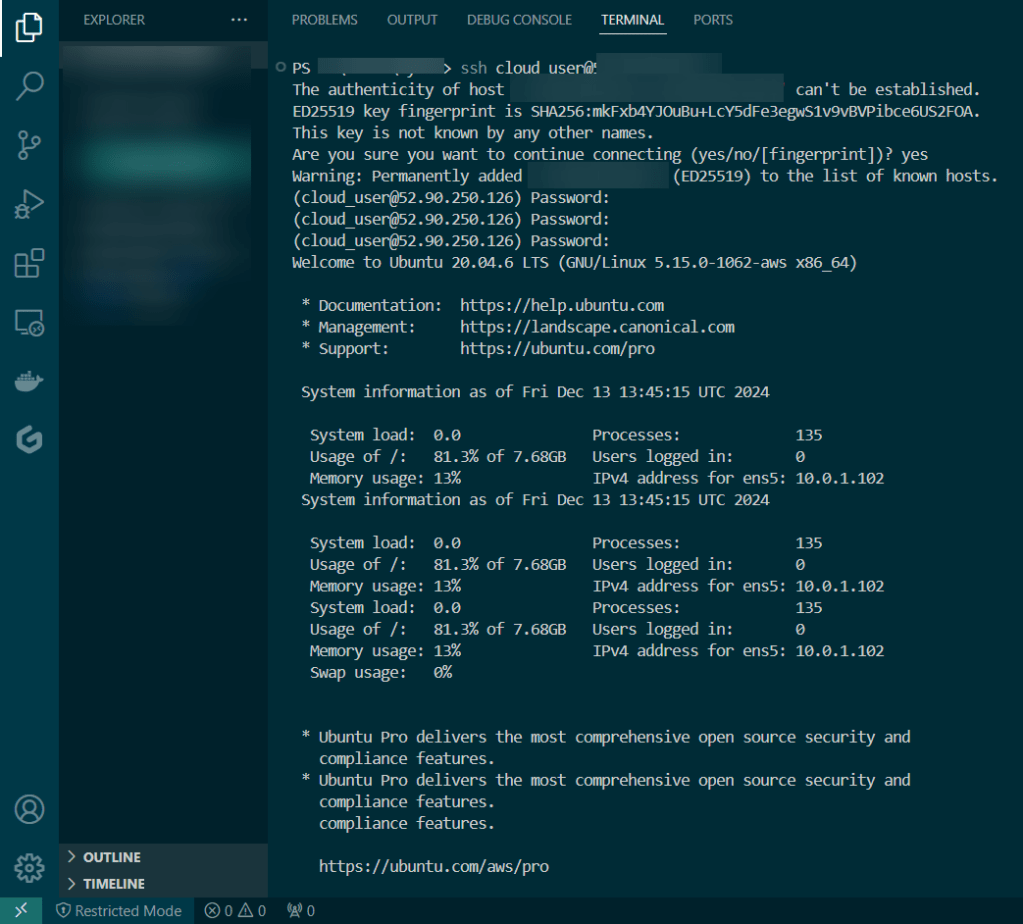
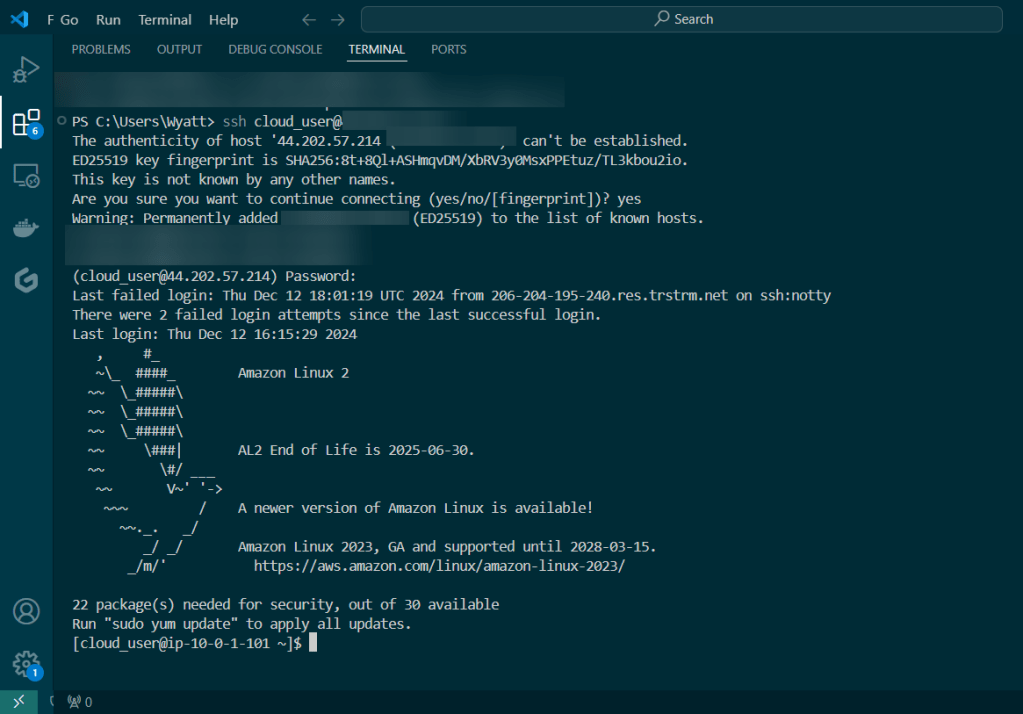
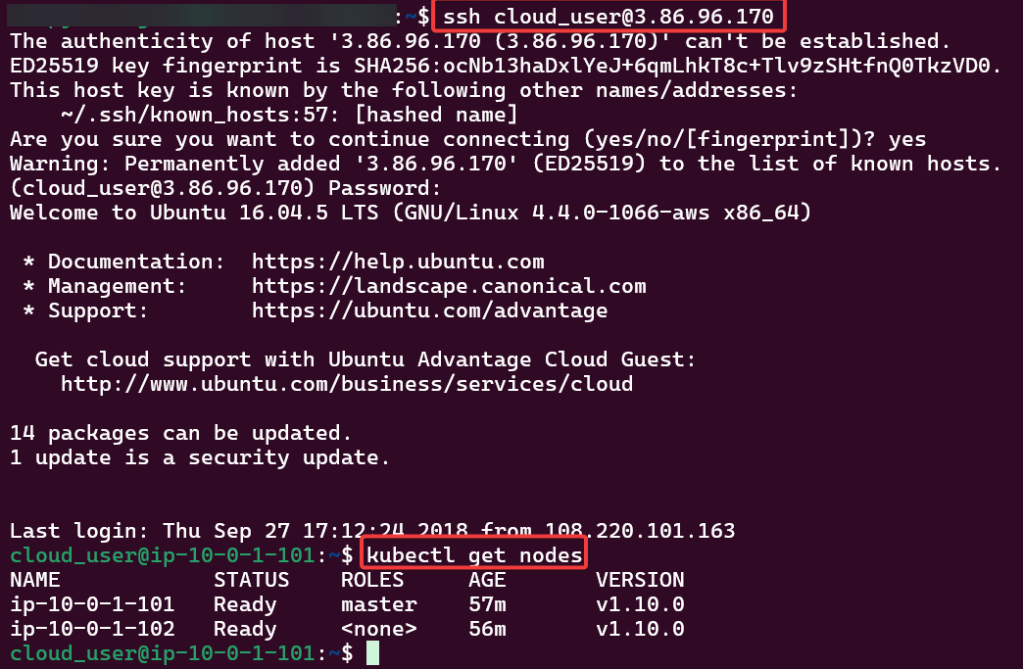
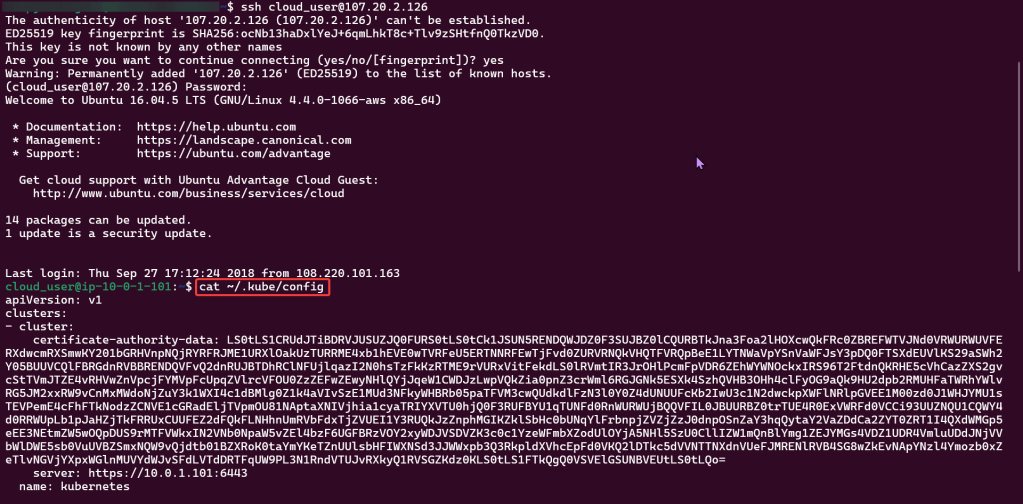
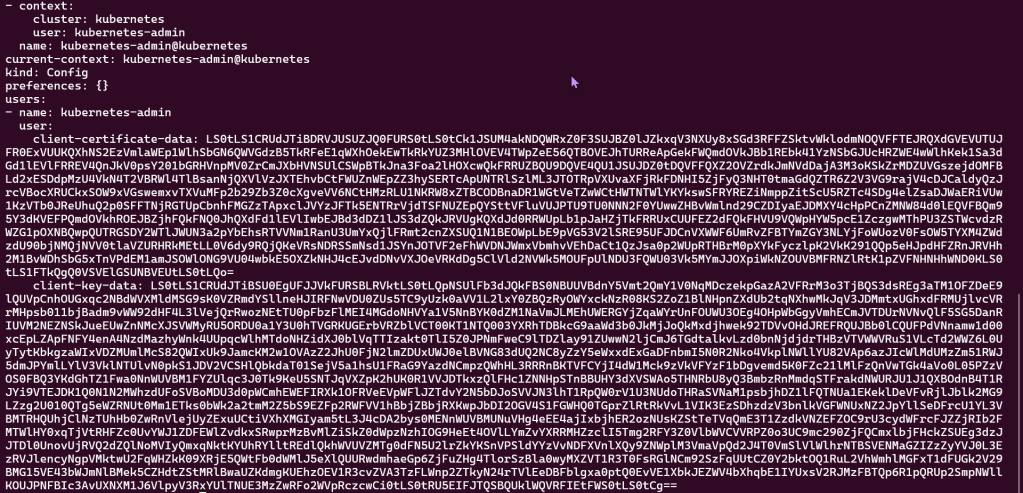
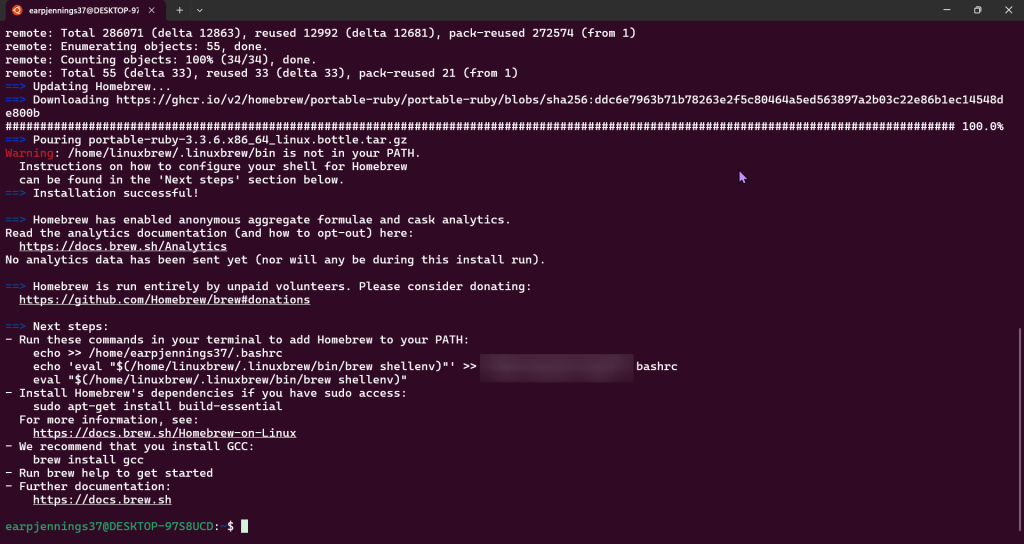
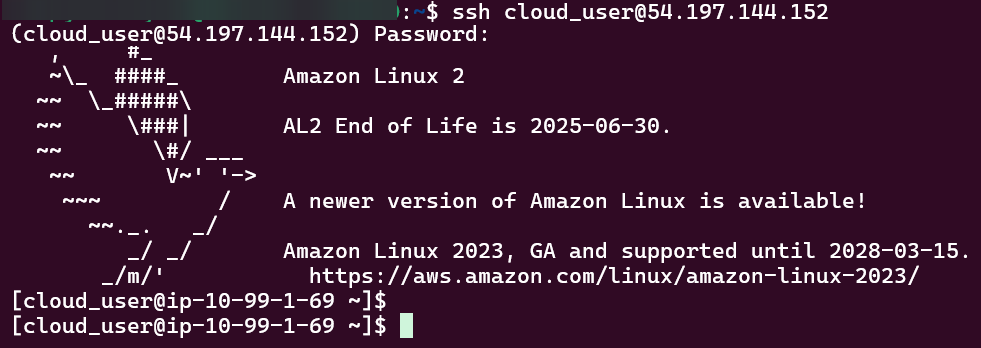
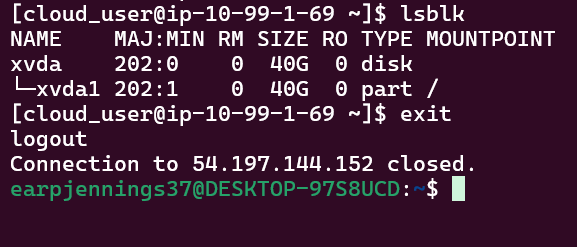
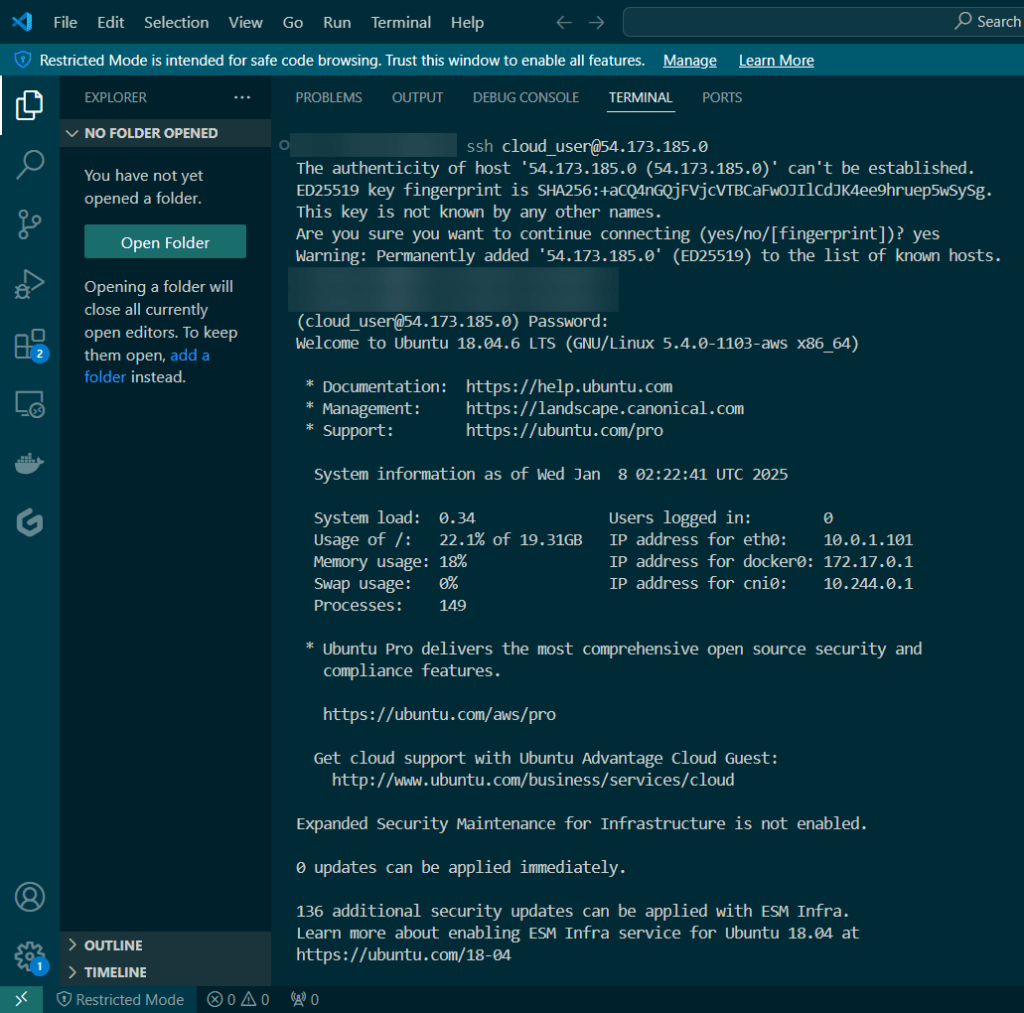
- SSH!!
Vi Nginx.yaml:
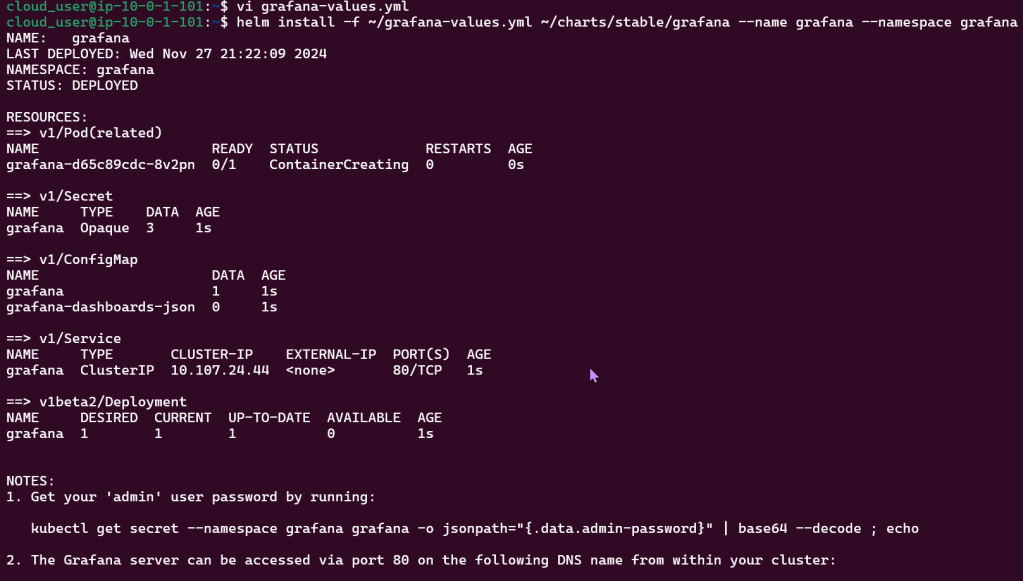
Create the pod…just do it!
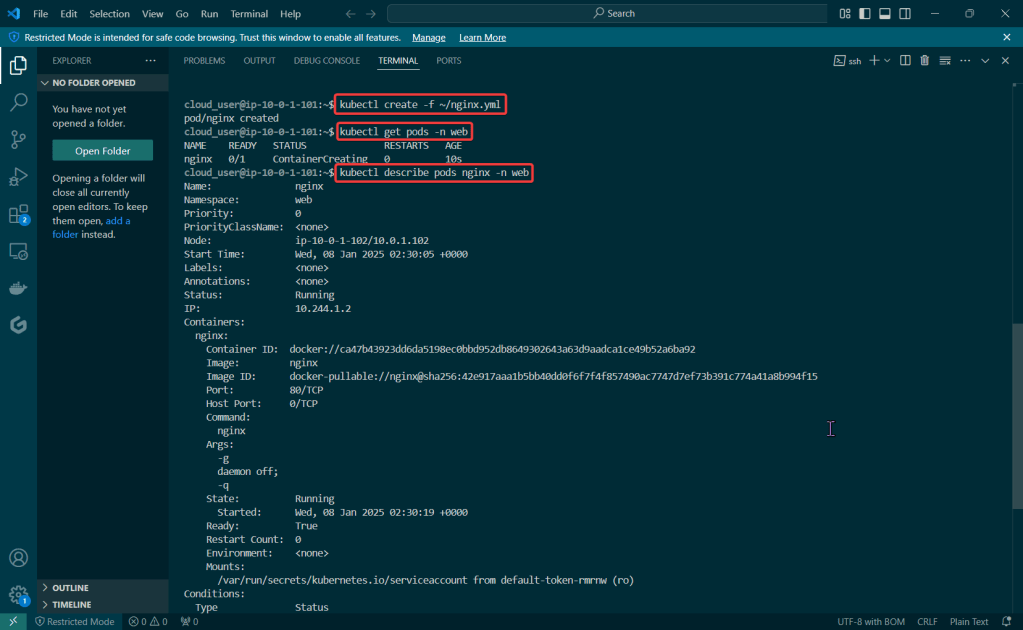
Kubectl create -f ~/nginx.yml:
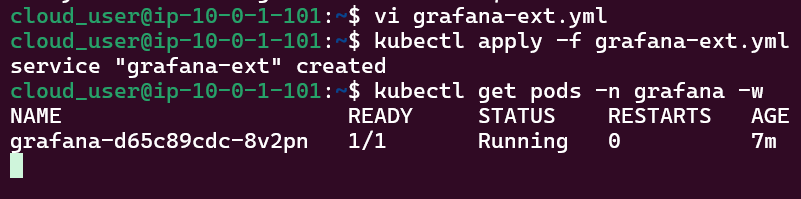
- Create the pod bro
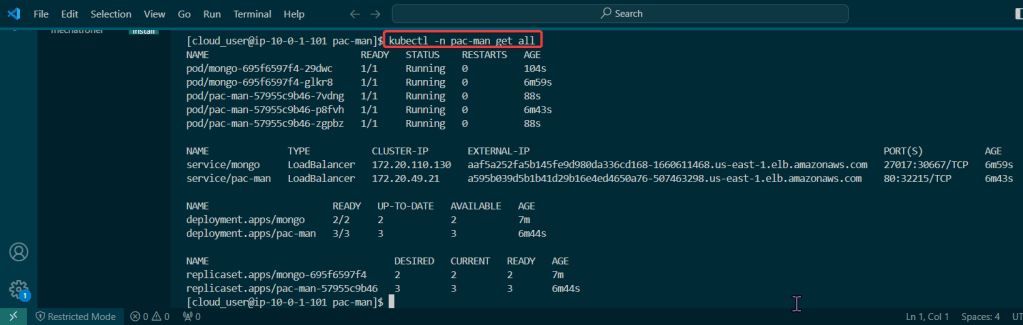
kubectl get pods -n web:
- Double check the pod is created dude
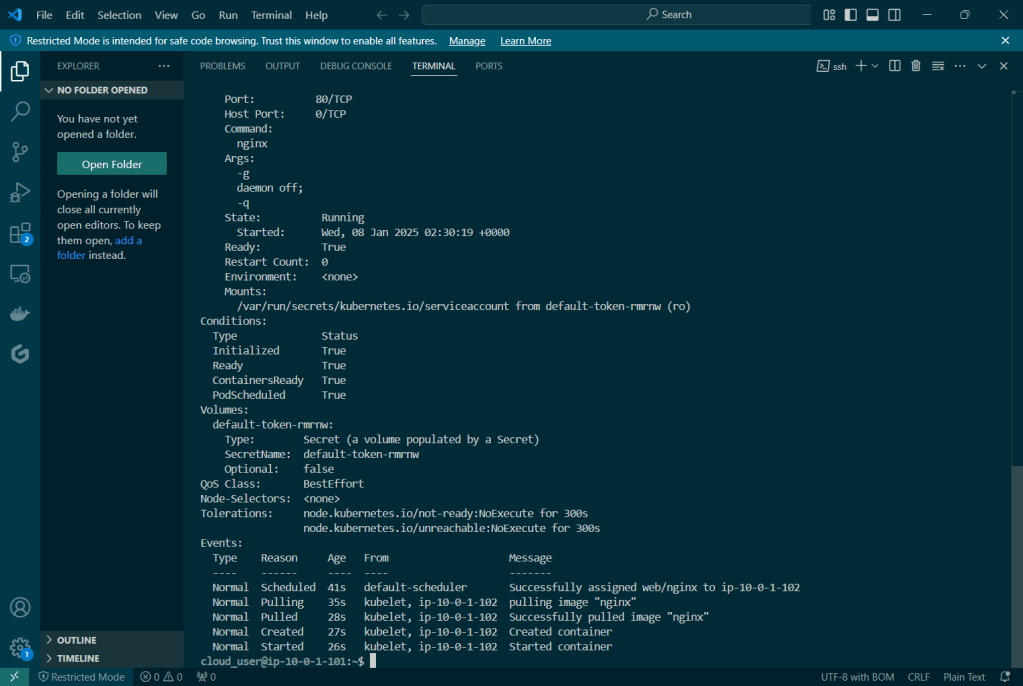
kubectl describe pod nginx -n web:
- Looooook at daaa deeeeetaillllllllzzzuhhh